How to create a Professional Email account
You can create your email address in your Webcentral account - just follow the below steps. If you're looking to manage your existing account, click here.
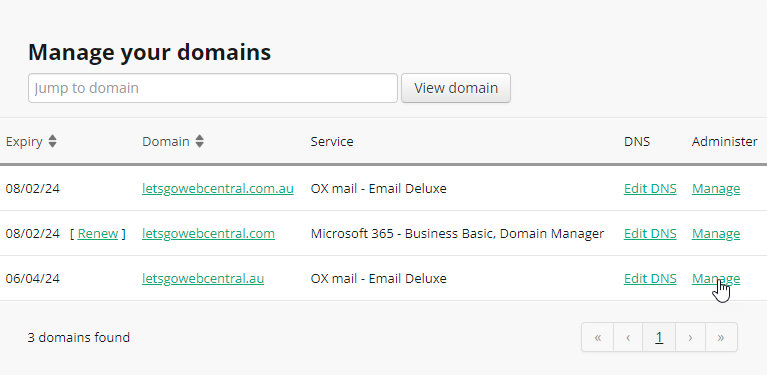
- Log in to your Webcentral account
- Click Manage, next to your domain with your Professional Email service
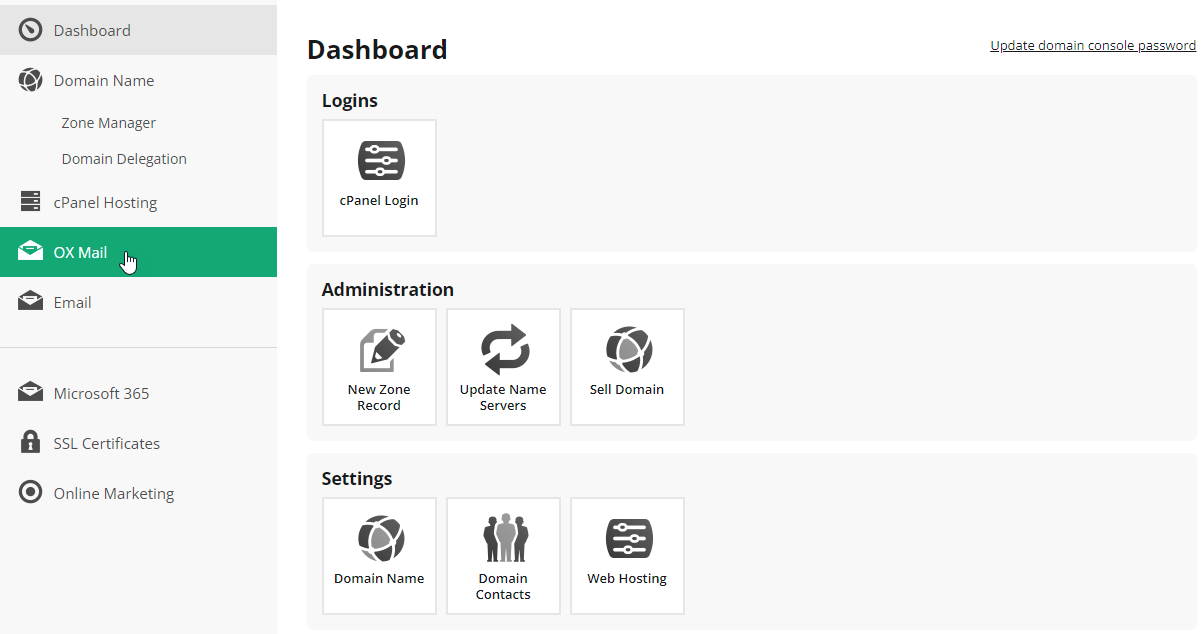
- Click OX MAIL
- Under Create a user account, click the drop-down menu
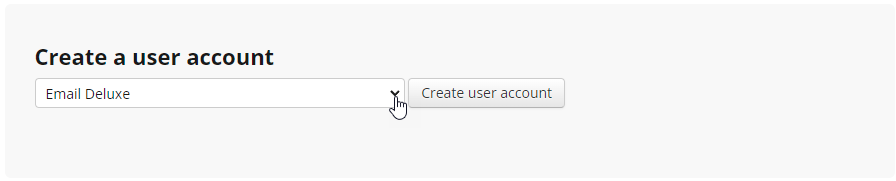
- Select the account type
E.g., If you have an email deluxe license then select Email Deluxe

- Click Create user account

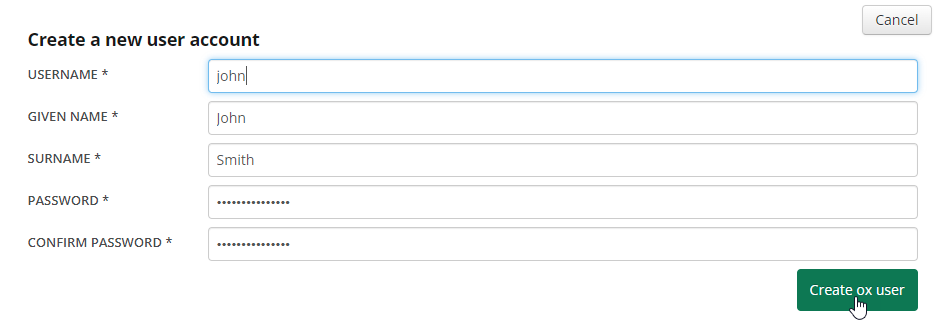
- Next to USERNAME, type a name for this email account
Only type in the part of the email before the @ symbol - the rest will be automatically added when you click Create ox user

- Next to GIVEN NAME, type in your first name
- Next to SURNAME, type in your last name
- Next to PASSWORD, type in a secure password
Your password must contain at least 12 characters including an uppercase and lowercase letter, a number and a special character (e.g. !, ?, $ etc.)
4. Next to CONFIRM PASSWORD, type in the password again
5. Click Create ox user
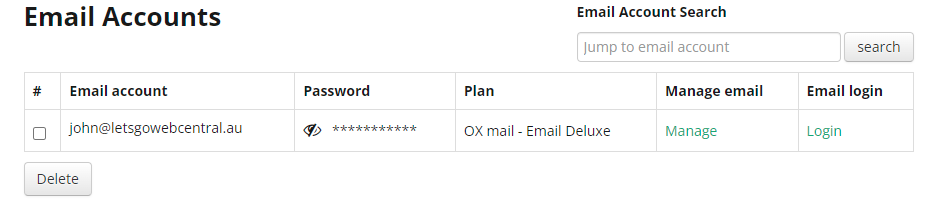
You can now find your email under Email Accounts. From here you can view and update your password, log in to Professional Email and delete the email account.
Updated 3 months ago