
How to build and publish your website using Website Builder
Website Builder gives you the tools to build a website that's right for your business.
This article will show you:
- How to log in to Website Builder
- How to start building your website
- How to customise your website
- How to connect your domain to your website
- How to publish your website
How to log in to Website Builder
- Log in to your Webcentral account
- Head to the Products and Services Tab and find your DIY service
- Click the log in option
How to start building your website
- Select your favourite template
After you have selected a template you will be shown a preview of the website. You can check out what it looks like on a computer, tablet, and phone - have a click around and see if it's right for you
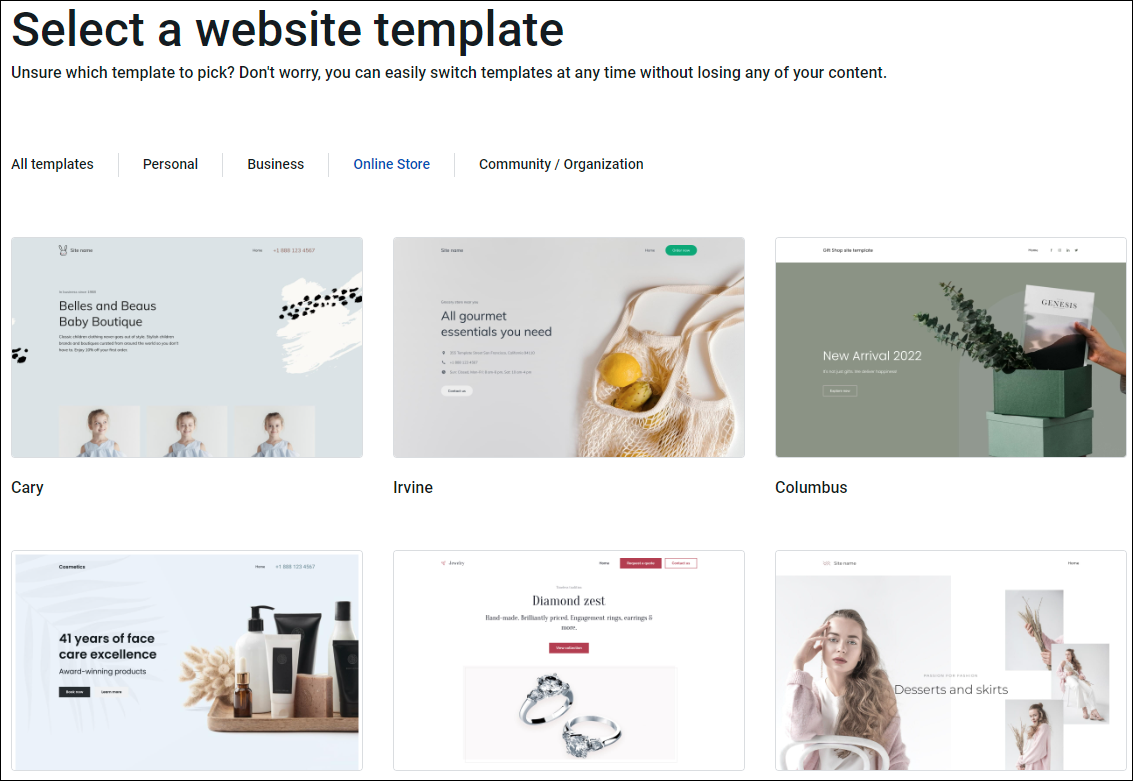
- When you've found the right one, click Use this template

- You can now choose to complete (Get started) or skip the onboarding (Skip onboarding)
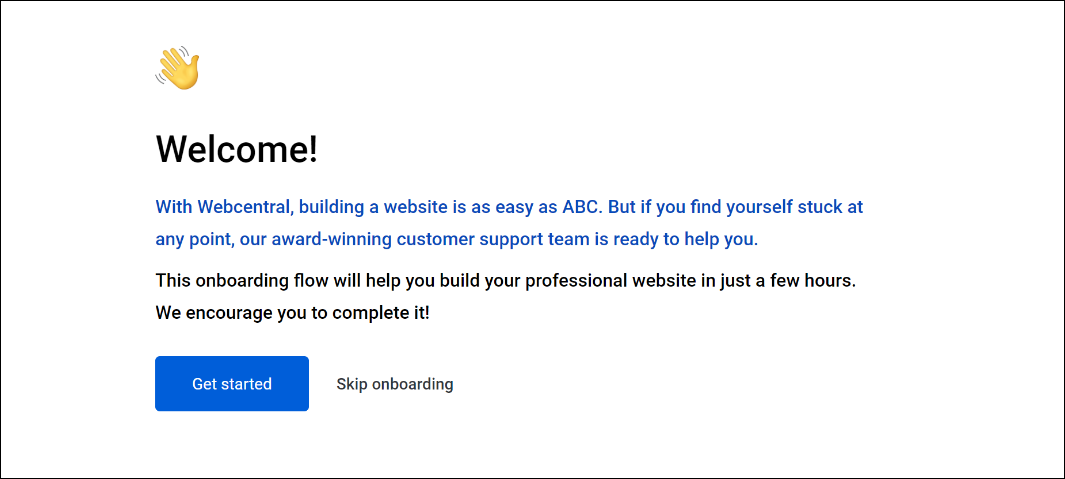
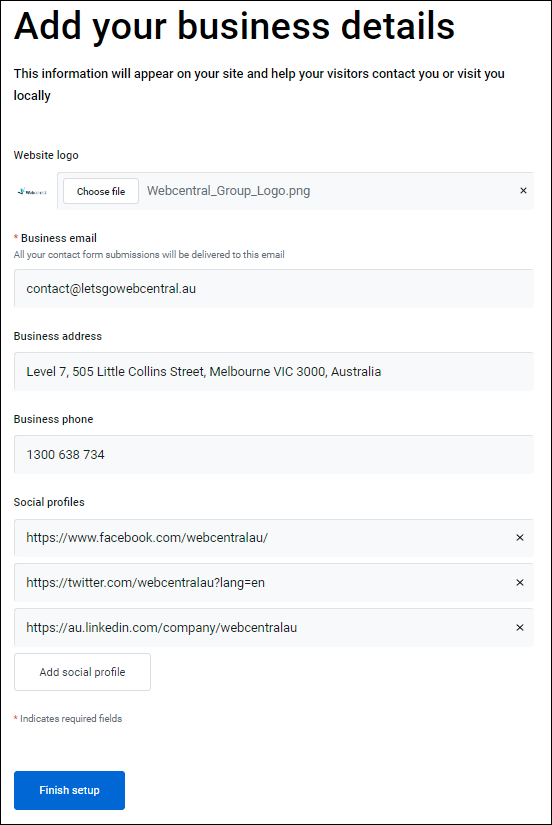
We recommend completing the onboarding as this will ask for some basic information about your site and business which will be added to your chosen template (e.g. your company logo, address, and contact email and phone number)
- After completing or skipping the onboarding, you will be shown a quick tutorial on some of the basic features of Website Builder
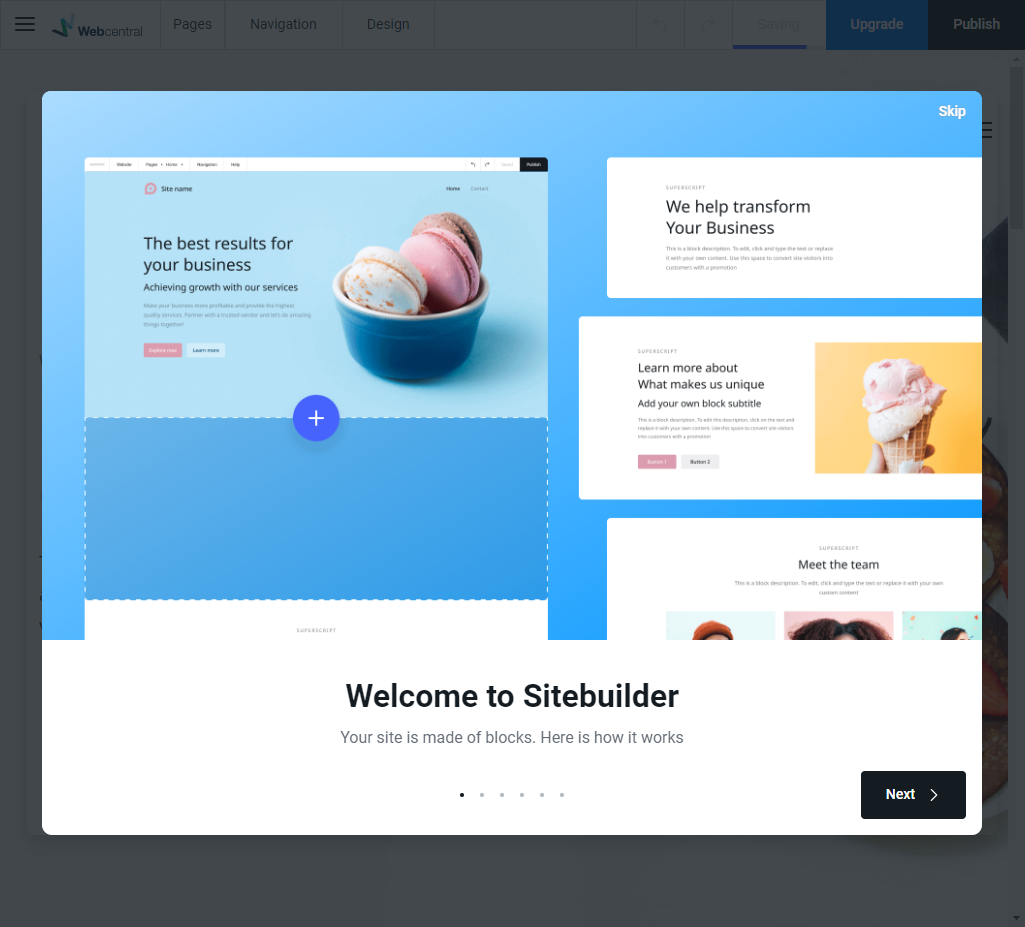
- You can now start to customise your website
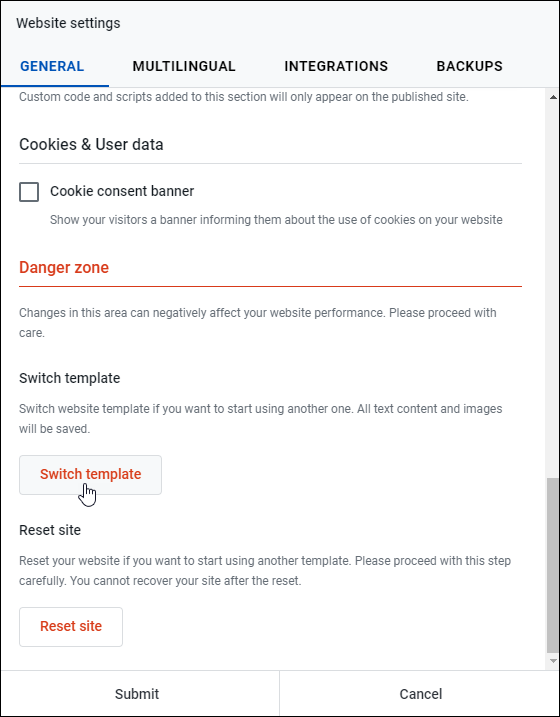
TIP: If you want to change your template, click the menu icon  and then click Settings and in GENERAL scroll to the bottom and select Switch Template (or Reset site if you want to start again)
How to customise your website
Your website pages are laid out into different sections called blocks. Blocks are used to add text, images, videos, forms, music, contacts, and much more. You can edit each block of your website. Just click what you want to change and customise it to your liking.
Use the menu at the top of the page to add and edit additional website pages, change the navigation of your website, change the design, and more.

Add additional pages
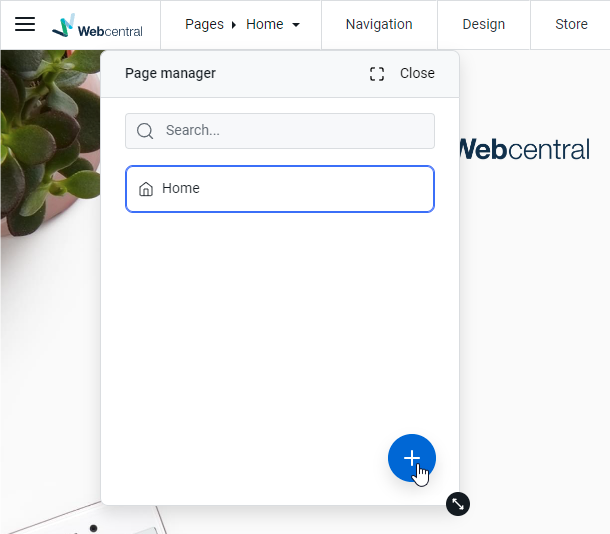
- Click Pages
- You can select the page you want to edit or add pages by clicking the + (plus) button
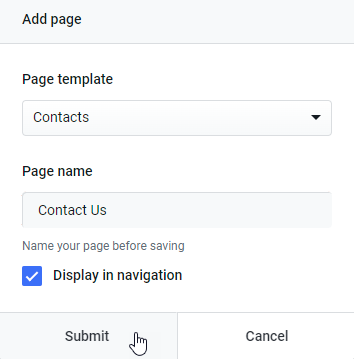
- Under Page template, select the type of page you want to add
Select Empty Page for a blank template
- Under Page name, name the page
E.g., Contact Us, About, Products etc.
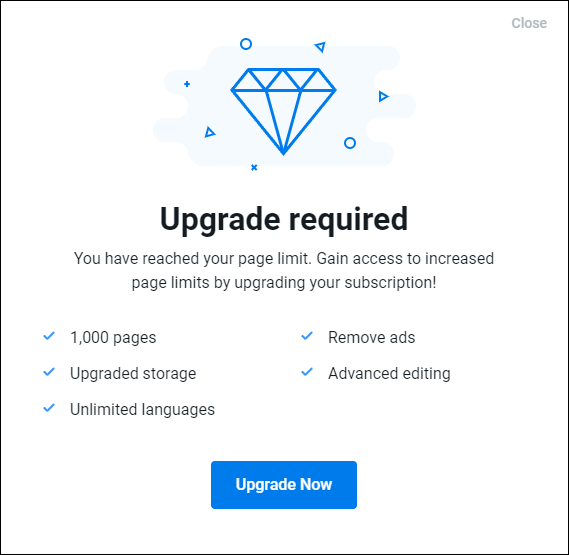
If you get a message saying Upgrade required,it means you have reached your page limit or are trying to access a feature that does not come with this DIY plan. You can click Upgrade Now to go to our website and purchase another DIY plan.
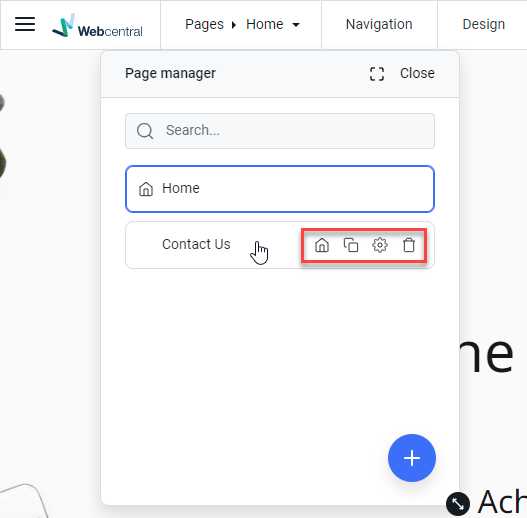
Navigate and edit pages
- Click Pages
- Click on the page you want to edit
You can also quickly set pages as the homepage  , copy the page
  , edit the name, code and SEO
  , and delete it
  .
.
Change the flow of your website
Customise how your customers will navigate your website and create drop-down menus to neatly organise your pages.
- Click the Navigation menuor click the Navigation block and click Navigation settings

- Drag the page over the top of another and release
- Click Submit
That page can now be accessed via a drop-down menu
Change your website's colour
You can customise your website's colour scheme which will apply to the:
- Website and block background
- Block titles and subtitles
- Links
- Icons
- Social media icons
- Dark and light block background settings
To change the colour of your website:
- Click Design
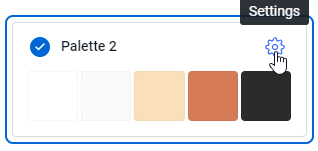
- Select a pre-existing colour palette
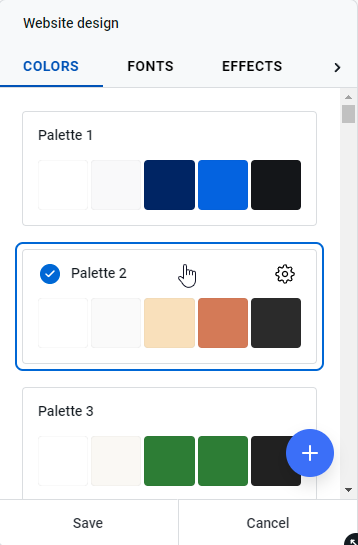
You can edit each palette by clicking Settings...
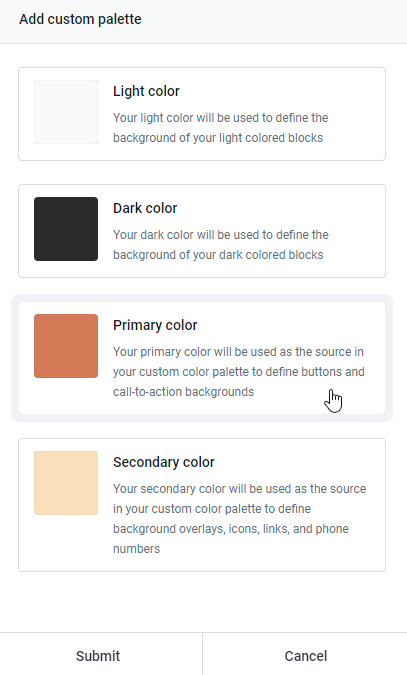
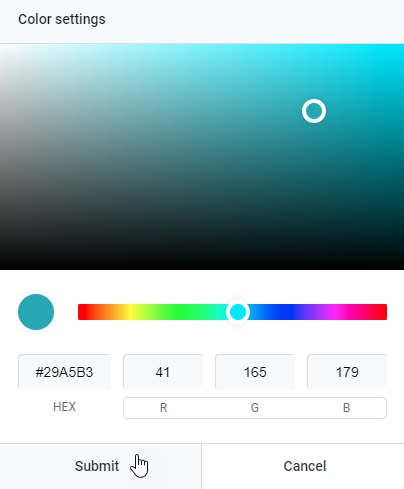
...selecting the colour you want to change...
...then select the colour and click Submit
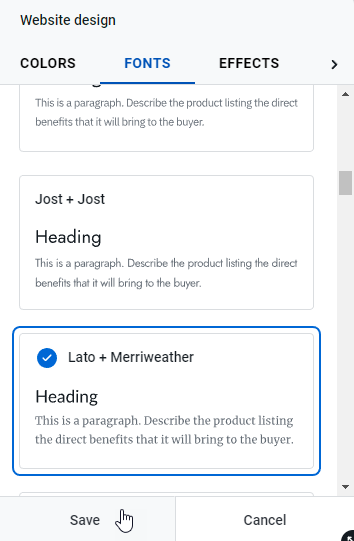
Change your website's font
- Click Design
- Click Fonts
- Select a font
- Click Save
Add additional blocks
To ensure your website is unique and best presents your brand or image, use custom blocks. Adding text, images, videos, forms, music, contacts and much more to your website provides your visitors with an engaging experience that will keep their attention for longer.
- Click the + (plus) button

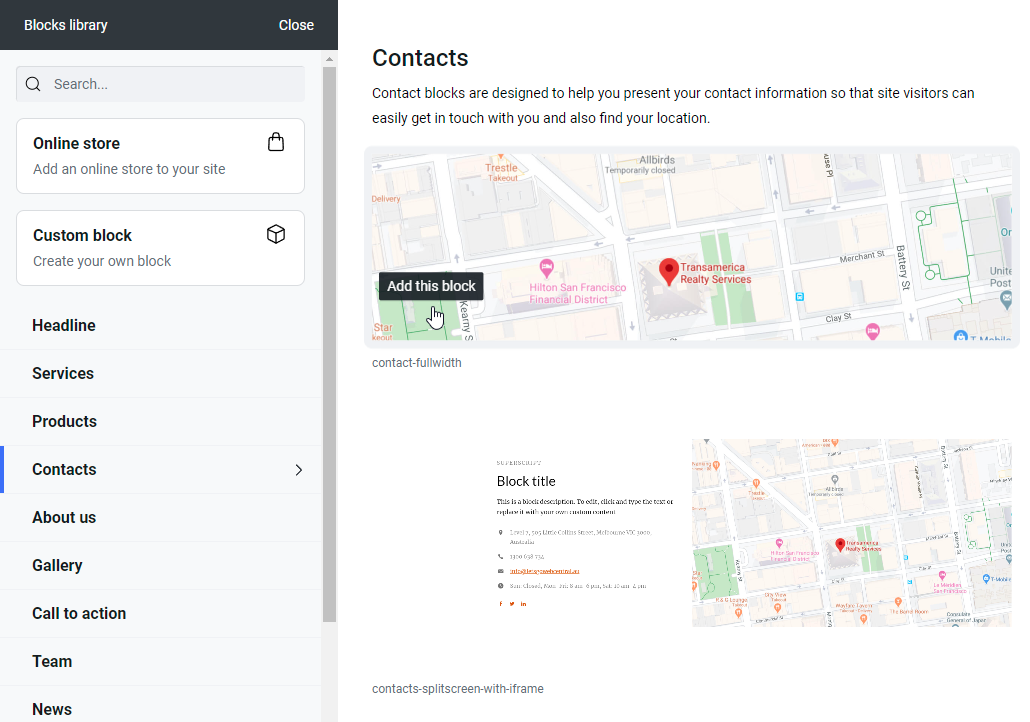
- Select the block you want from the Blocks Library
You can create your own Custom block as well
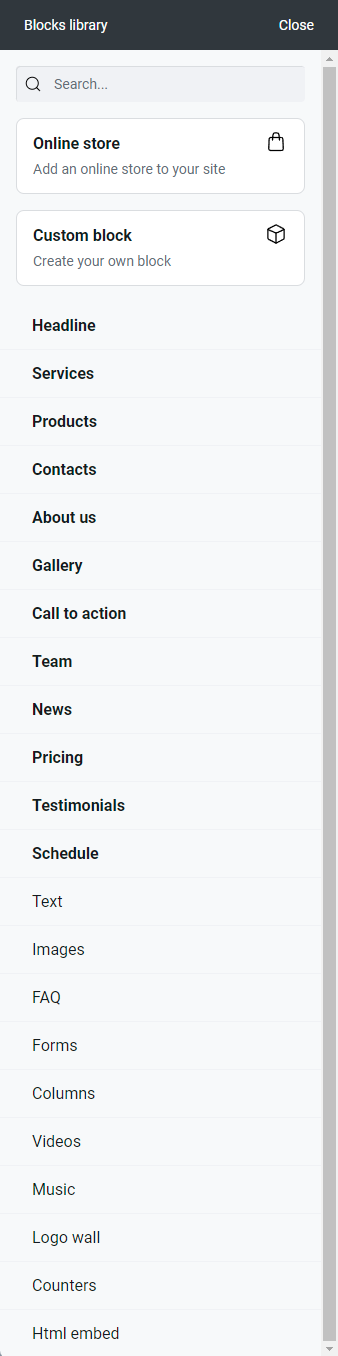
- Select the style of block
- The block has now been added to your website and can be customised
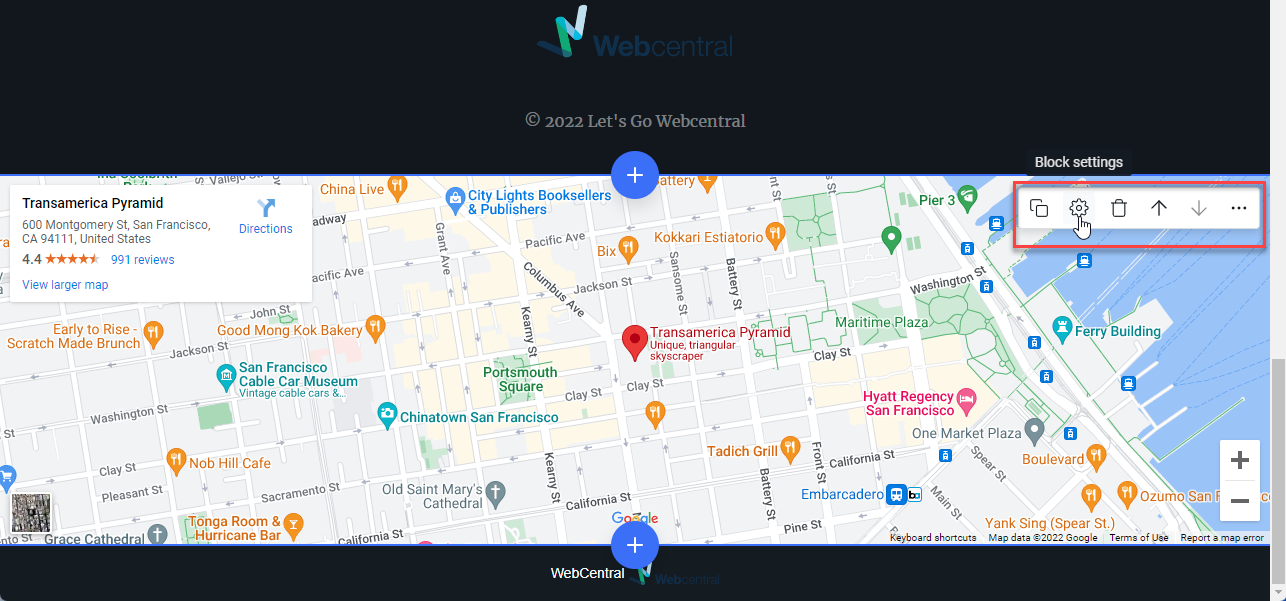
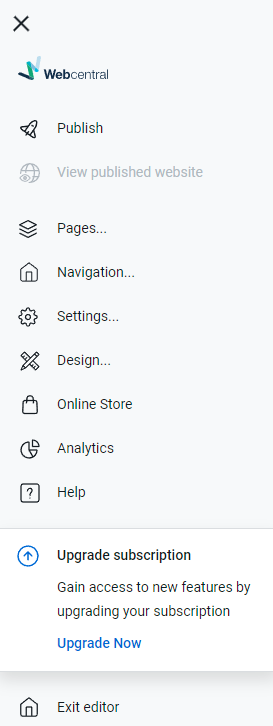
Click the menu for additional options
You can use the menu  to access more options such as Settings, the Online Store, and Analytics (your website must be published to use analytics).
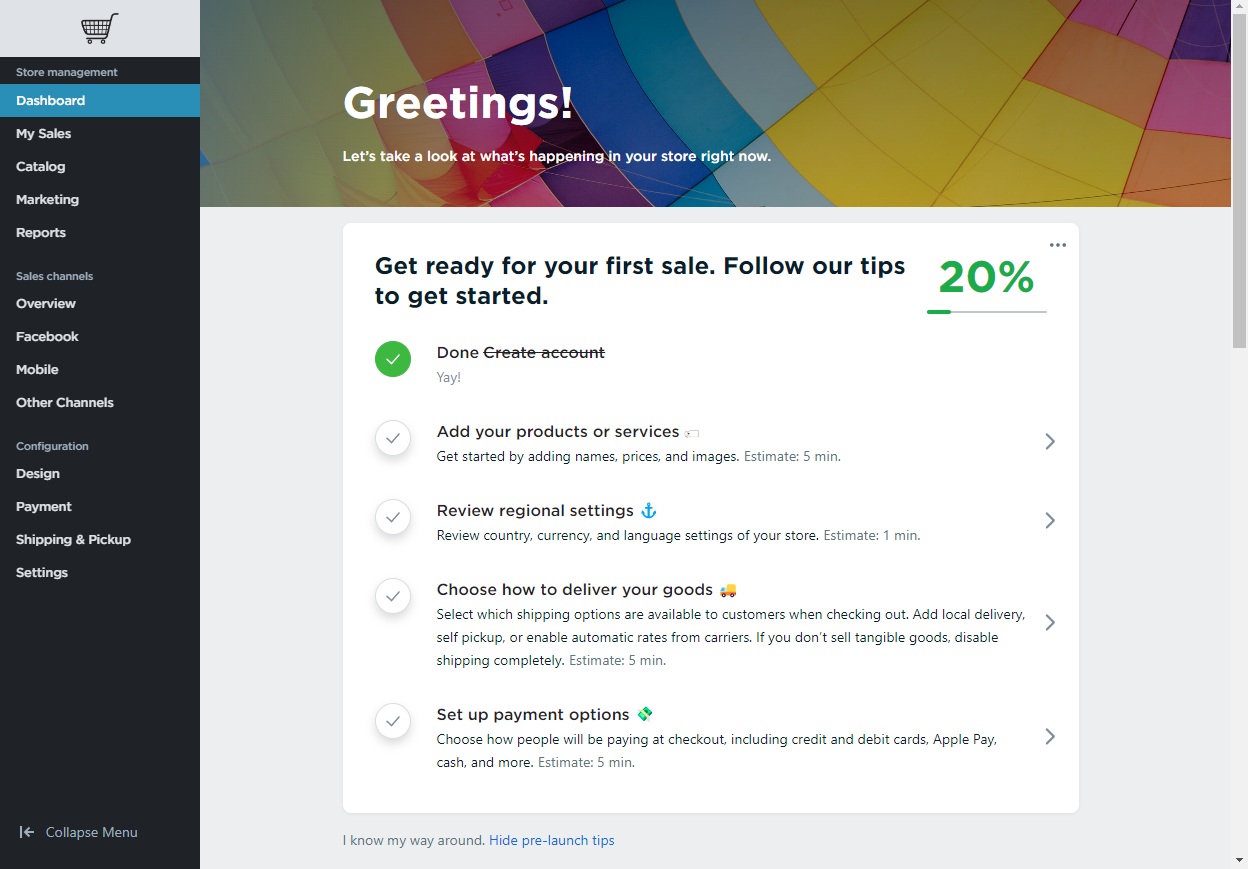
Online Store
If you have a plan that includes the online store (check out our website for our available plans) you can access the Online Store in the menu. This will take you to the Store management page. Follow the helpful To-do list to get your online store up and running.
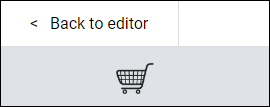
To go back to Website Builder, click Back to editor in the top left corner of the screen.
How to connect your domain to your website
Before publishing your website, make sure your domain is connected to your website hosting service (cPanel). Otherwise, your website won't load when people search for it. Click here for a handy guide on how to do this.
How to publish your website
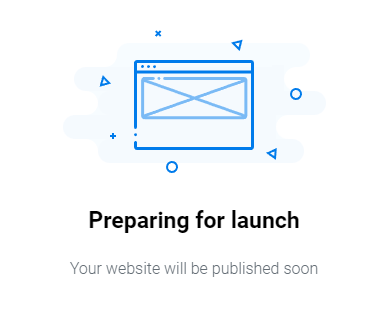
- When you're ready to publish your site click Publish, in the top right corner of the screen

- It may take a few minutes for your site to be published
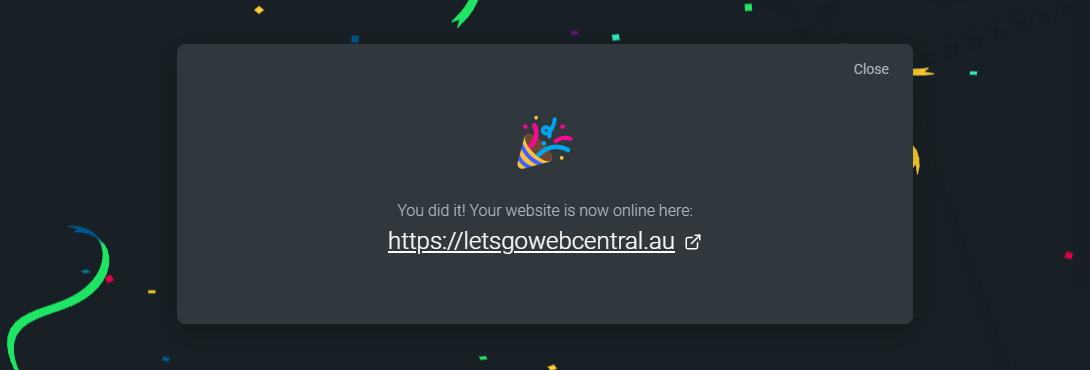
- Your site is now published on cPanel and live for the world to see
Updated about 2 months ago