
How to log in and use OX Email (including signatures, calendars and tasks)
As well as being able to add your Professional Email account to your devices such as your iPhone, iPad, tablet, Android, Mac or PC - you can also use Professional Email online. You can access your mail, calendar, contacts, tasks, and more from your web browser (e.g. Google Chrome, Safari, Firefox etc.). OX
This article will show you how to:
- Log in to OX Email
- Add OX Email to your phone and tablet's home screen
- Send an email
- Create an email signature
- Make an appointment in your calendar
- Add or edit a task
How to log in to OX Email
After you've created your email, you can log in to OX Email through your web browser by using your email address and password. Follow the below steps to log in:
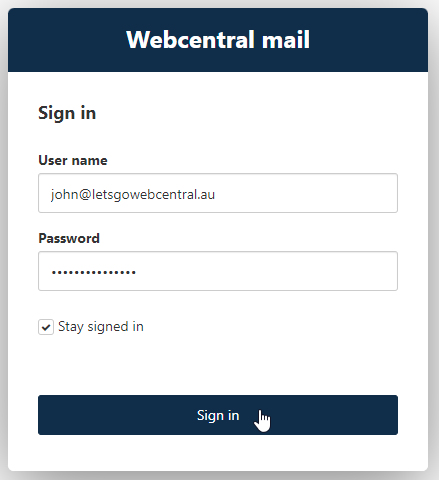
- Click here to go to the OX Email login portal
- In the User name text box, type your email address.
- In the Password text box, type your password.
- Optionally, you can select the Stay signed in check box.
Important
When this option is enabled, you are not signed out after you close your browser. You can return to your account later, on the same device, without having to sign in again. This can be useful to save time, but it is also a security risk if other people use your device.
- Click Sign in.
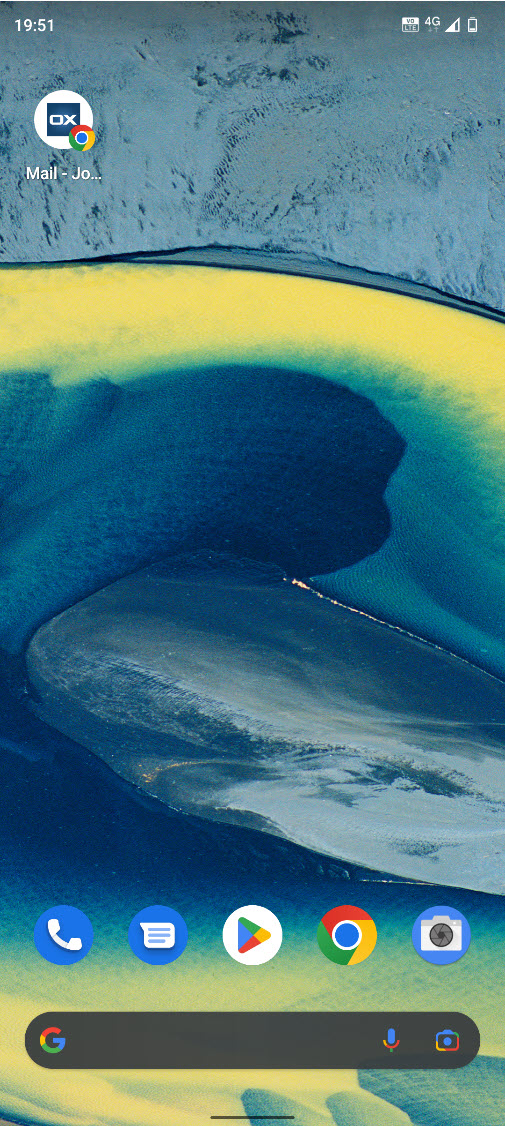
How to add OX Email to your phone and tablet's home screen
To help you quickly access your OX Email online, you can add it to your phone and tablet's home screen. Click here to see our guide on how to do this on an Android and iPhone/iPad.
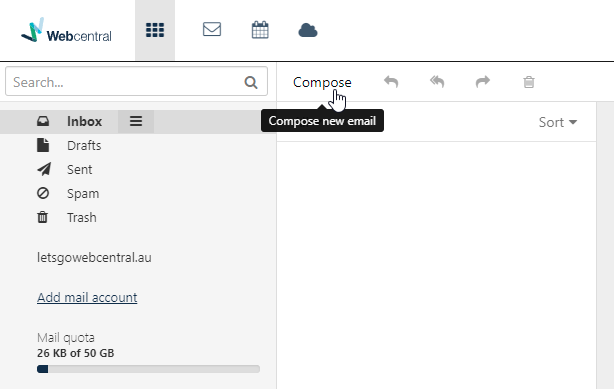
How to send an email
- In OX Email, click Compose
- Compose your email
You can add attachments from your computer or drive by clicking either 
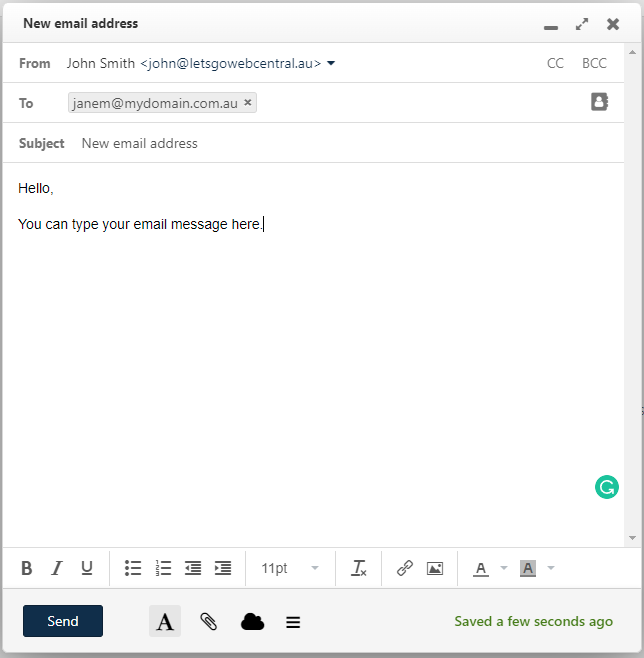
- Click Send
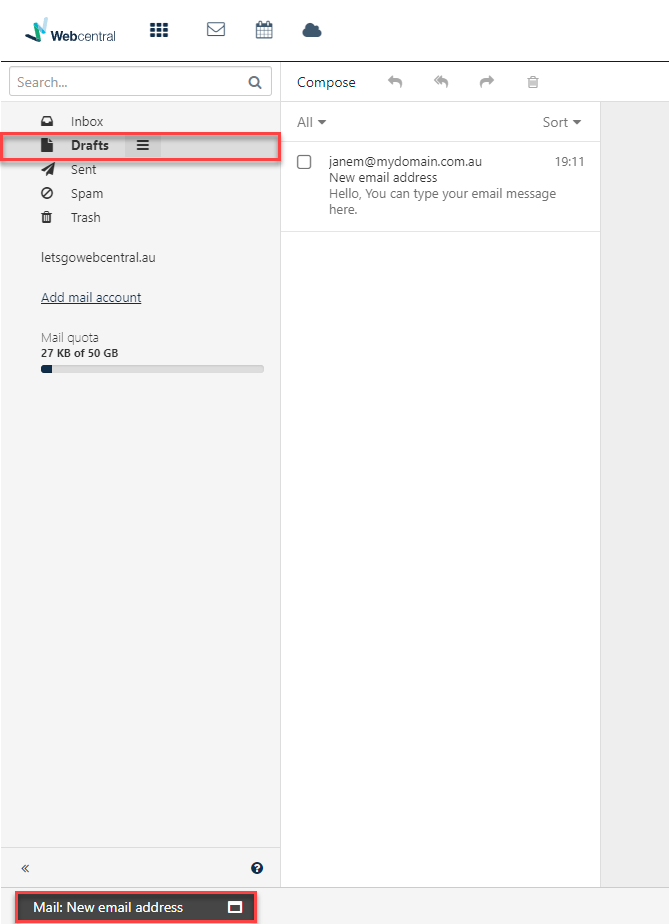
If you're not ready to send your email and want to continue editing it later, you can click the minimize button
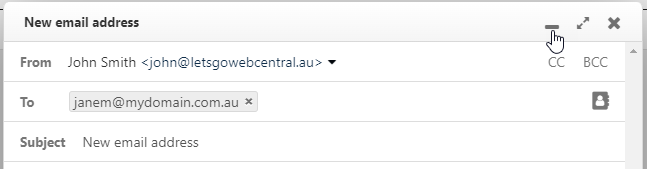
You can return to editing your email by clicking it on the bottom left of your screen or double-clicking the email in Drafts
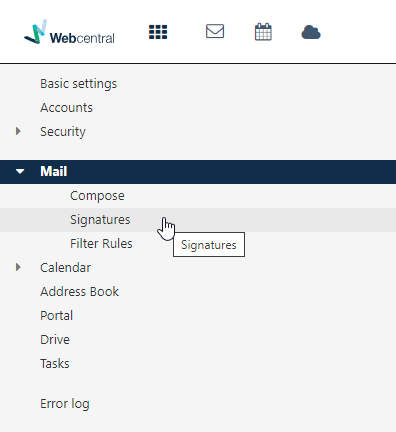
How to set up a signature
- Click Settings

- Click Mail to reveal more options
- Click Signatures
- Click +Add new signature

- Fill in the details to create your signature
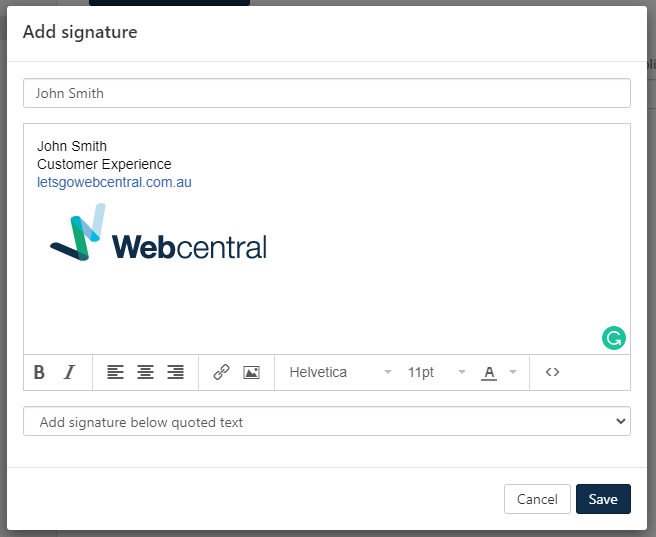
You can hyperlink text or add an image with these buttons 
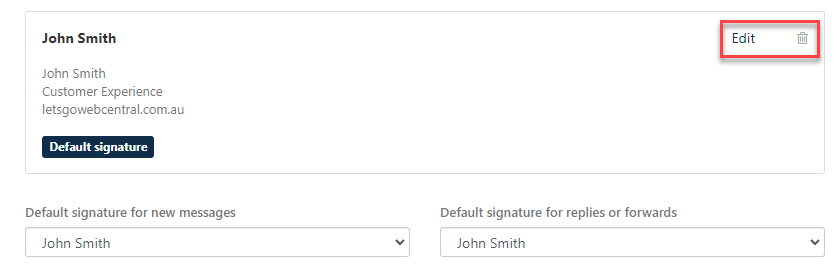
- You can edit or delete this signature from the Signatures menu in Settings
How to use the calendar
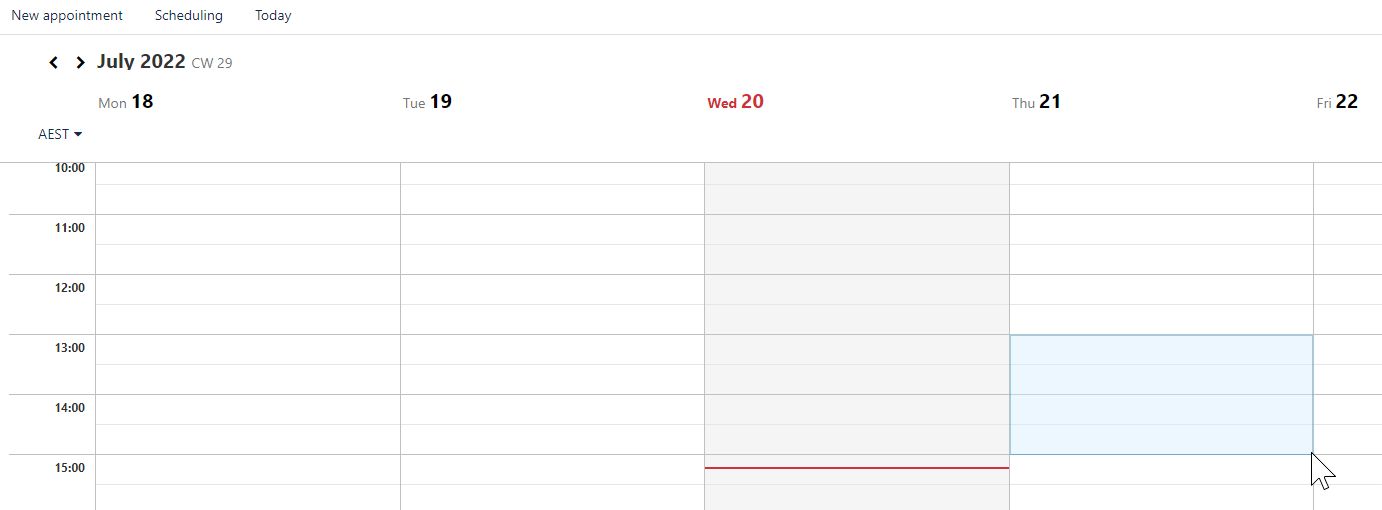
- Click the calendar icon


- To book an appointment, double-click on a time slot or click and drag your mouse to book a longer appointment
- Fill in the details
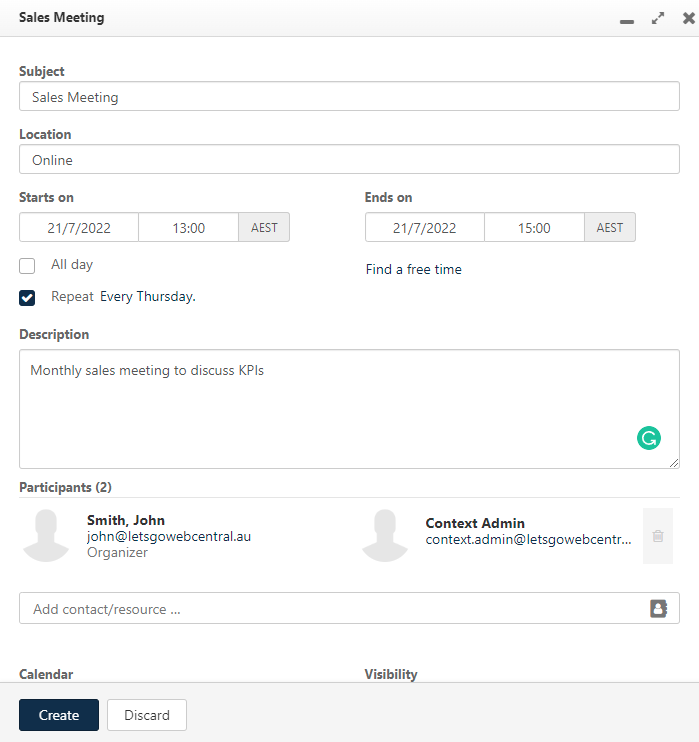
- Click Create
You have now created an appointment and any participants will have this added to their OX Email calendars as well.
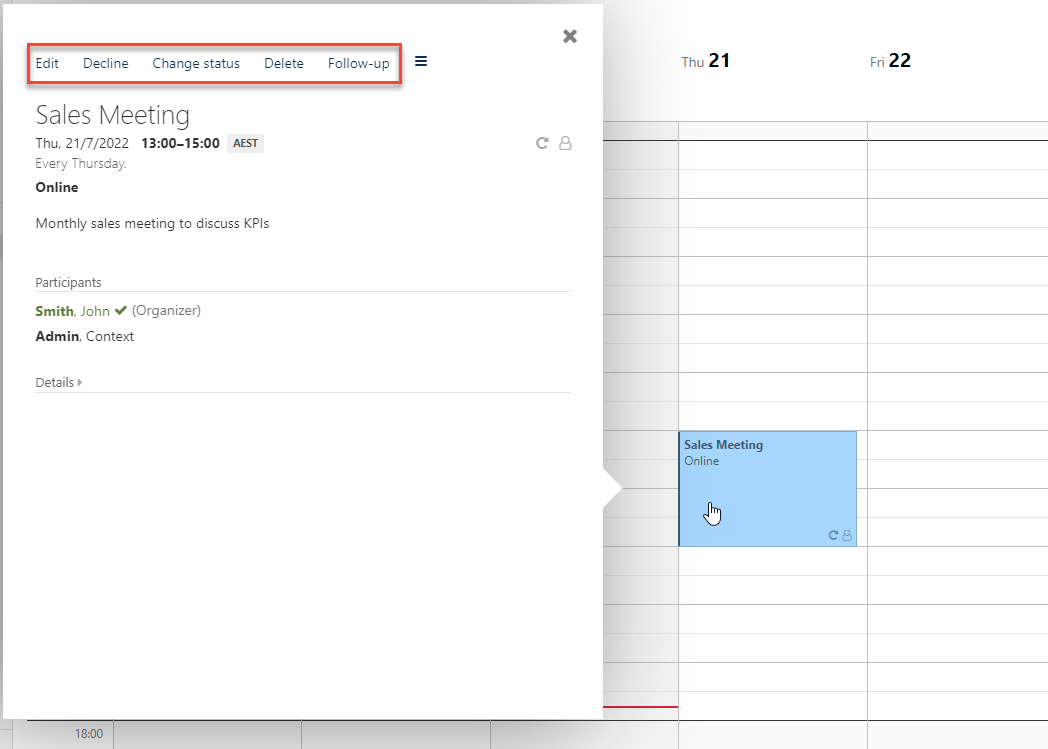
- To view the appointment details, edit them, or delete the appointment, click on the scheduled appointment in your calendar
How to add a task
You can create tasks to easily manage and track your to-do list. To create a task follow the below steps:
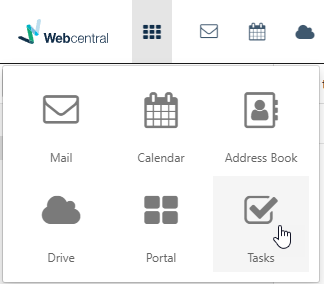
- Click the app menu

- Click Tasks
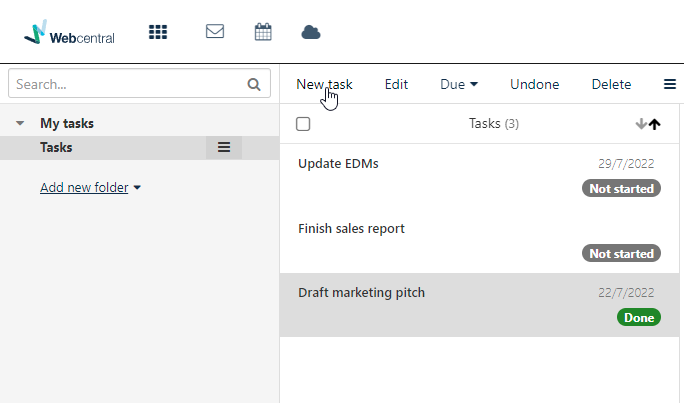
- You can view and edit your existing tasks and create new ones
- When creating a new task, you can keep it simple and just type the Subject and Description
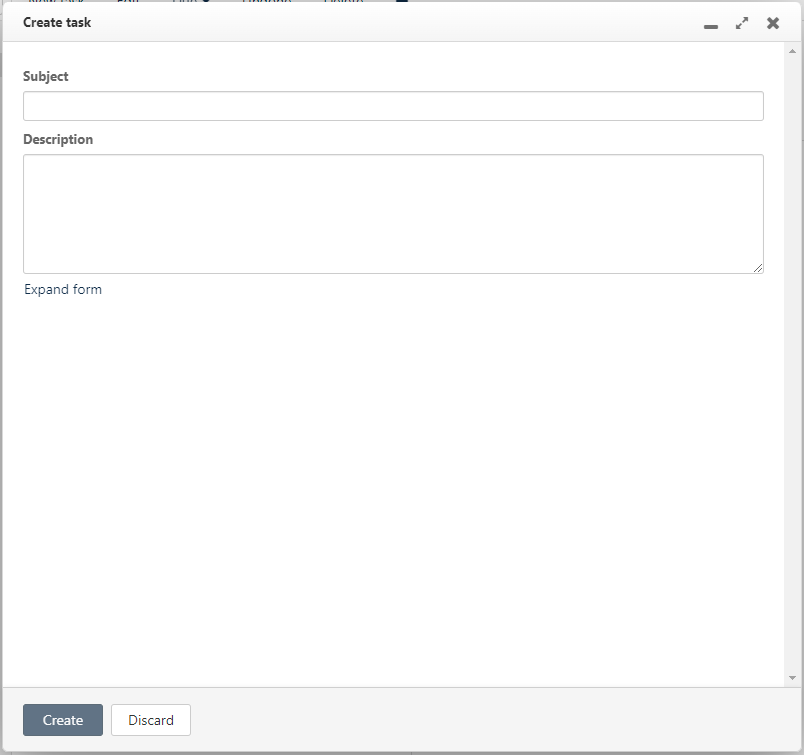
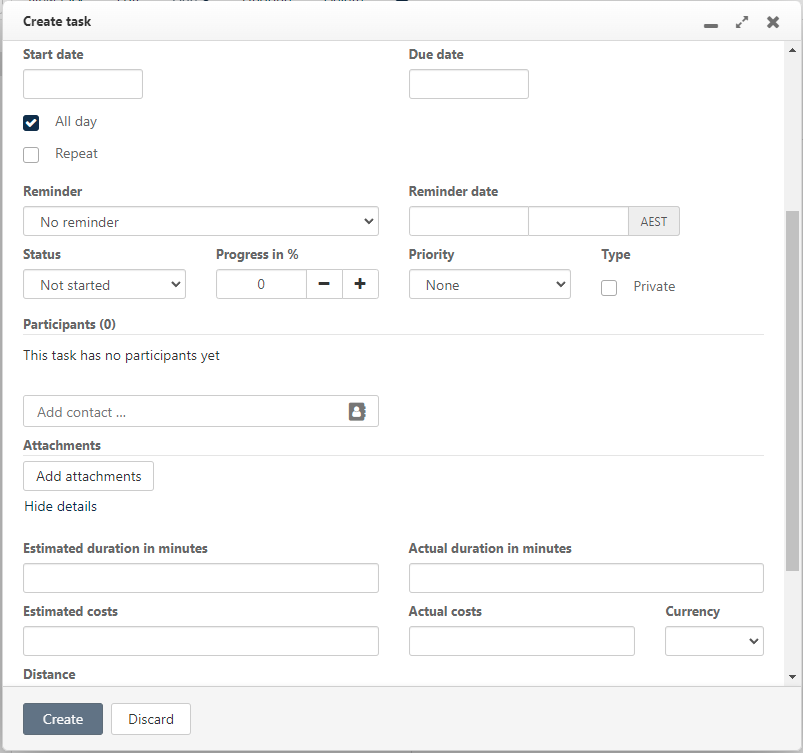
Or you can click Expand form to include more details such as start and end dates, reminders, set the status and priority, update its progress, invite participants and more.
- Click Create
You can quickly edit, set a due date, mark as done and delete existing tasks.
