How to add your OX Email account to Windows Mail
Important: OX Email needs to be added to your device as IMAP or POP. It is not compatible with Exchange.
If you have been migrated from Microsoft Email Essentials to OX Email,you will need to migrate your calendars and contacts manually. Please check out Microsoft's guides on exporting and importing contacts and calendars.
You can add your OX Email account to Windows Mail.
Our recommended settings are:
- IMAP
- server: mail.wcg-mail.com
- port: 993 (SSL encryption)
- SMTP
- server: mail.wcg-mail.com
- port 587 - encryption TLS
Add your email to Windows Mail
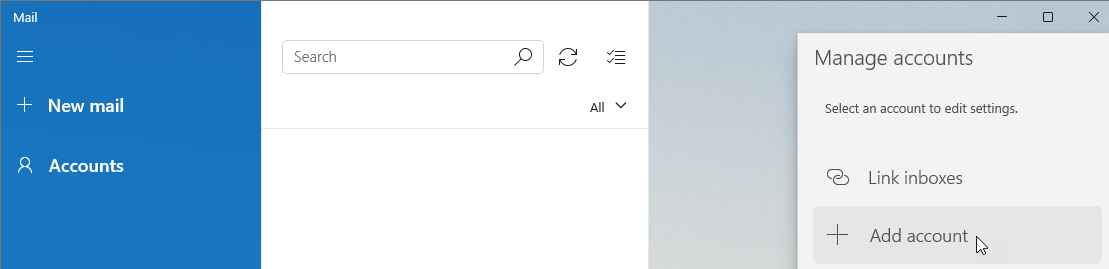
- Open Windows Mail
- Click Accounts
- Click +Add account
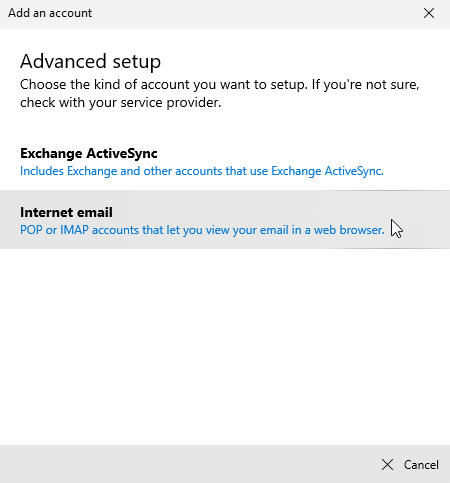
- Click Advanced setup

- Click Internet email
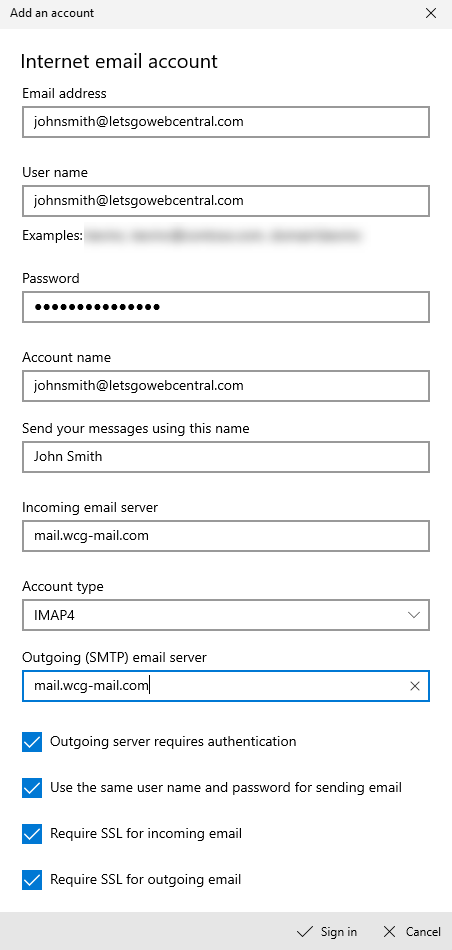
- Under Email address, type in your email address
- Under User name, type in your email address again
- Under Password, enter your password
If you have forgotten your password, click here to find it in your Webcentral account.
- Under Account name, name this account (e.g. your email address or name)
- Under Send your message using this name, type in whatever you want customers to see as the sender (e.g. your name or business)
- Under Incoming email server, type in mail.wcg-mail.com
- Under Account type, select the type of account you want to add
We recommend IMAP4 as this will sync all your devices together.
- Under Outgoing (SMTP) email server, type in mail.wcg-mail.com
- Leave all the options ticked
- Click Sign in
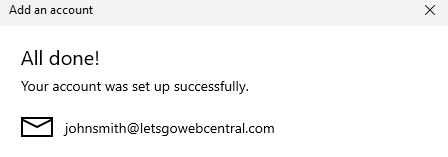
- Click Done
It may take a few minutes for all your emails to arrive.