Outlook Setup on iOS or iPadOS
Before you can configure email software to send and receive emails from our servers, you must
- Purchase a cPanel, OX Mail or MS365 subscription service
- Create an email account and have your password on hand
- Have your Zone Records set up correctly, contact us if you need help ensuring these are up to date
- Ensure you have your incoming, outgoing settings ready to go. If you need these details, please find them here
Note: As a courtesy to our customers, we provide general online guides on how to configure various email software. Our staff, are not able to provide support on how to use third-party software. For assistance in how to use software not sold or developed by us, please contact the software manufacturer or visit their relevant online support pages.
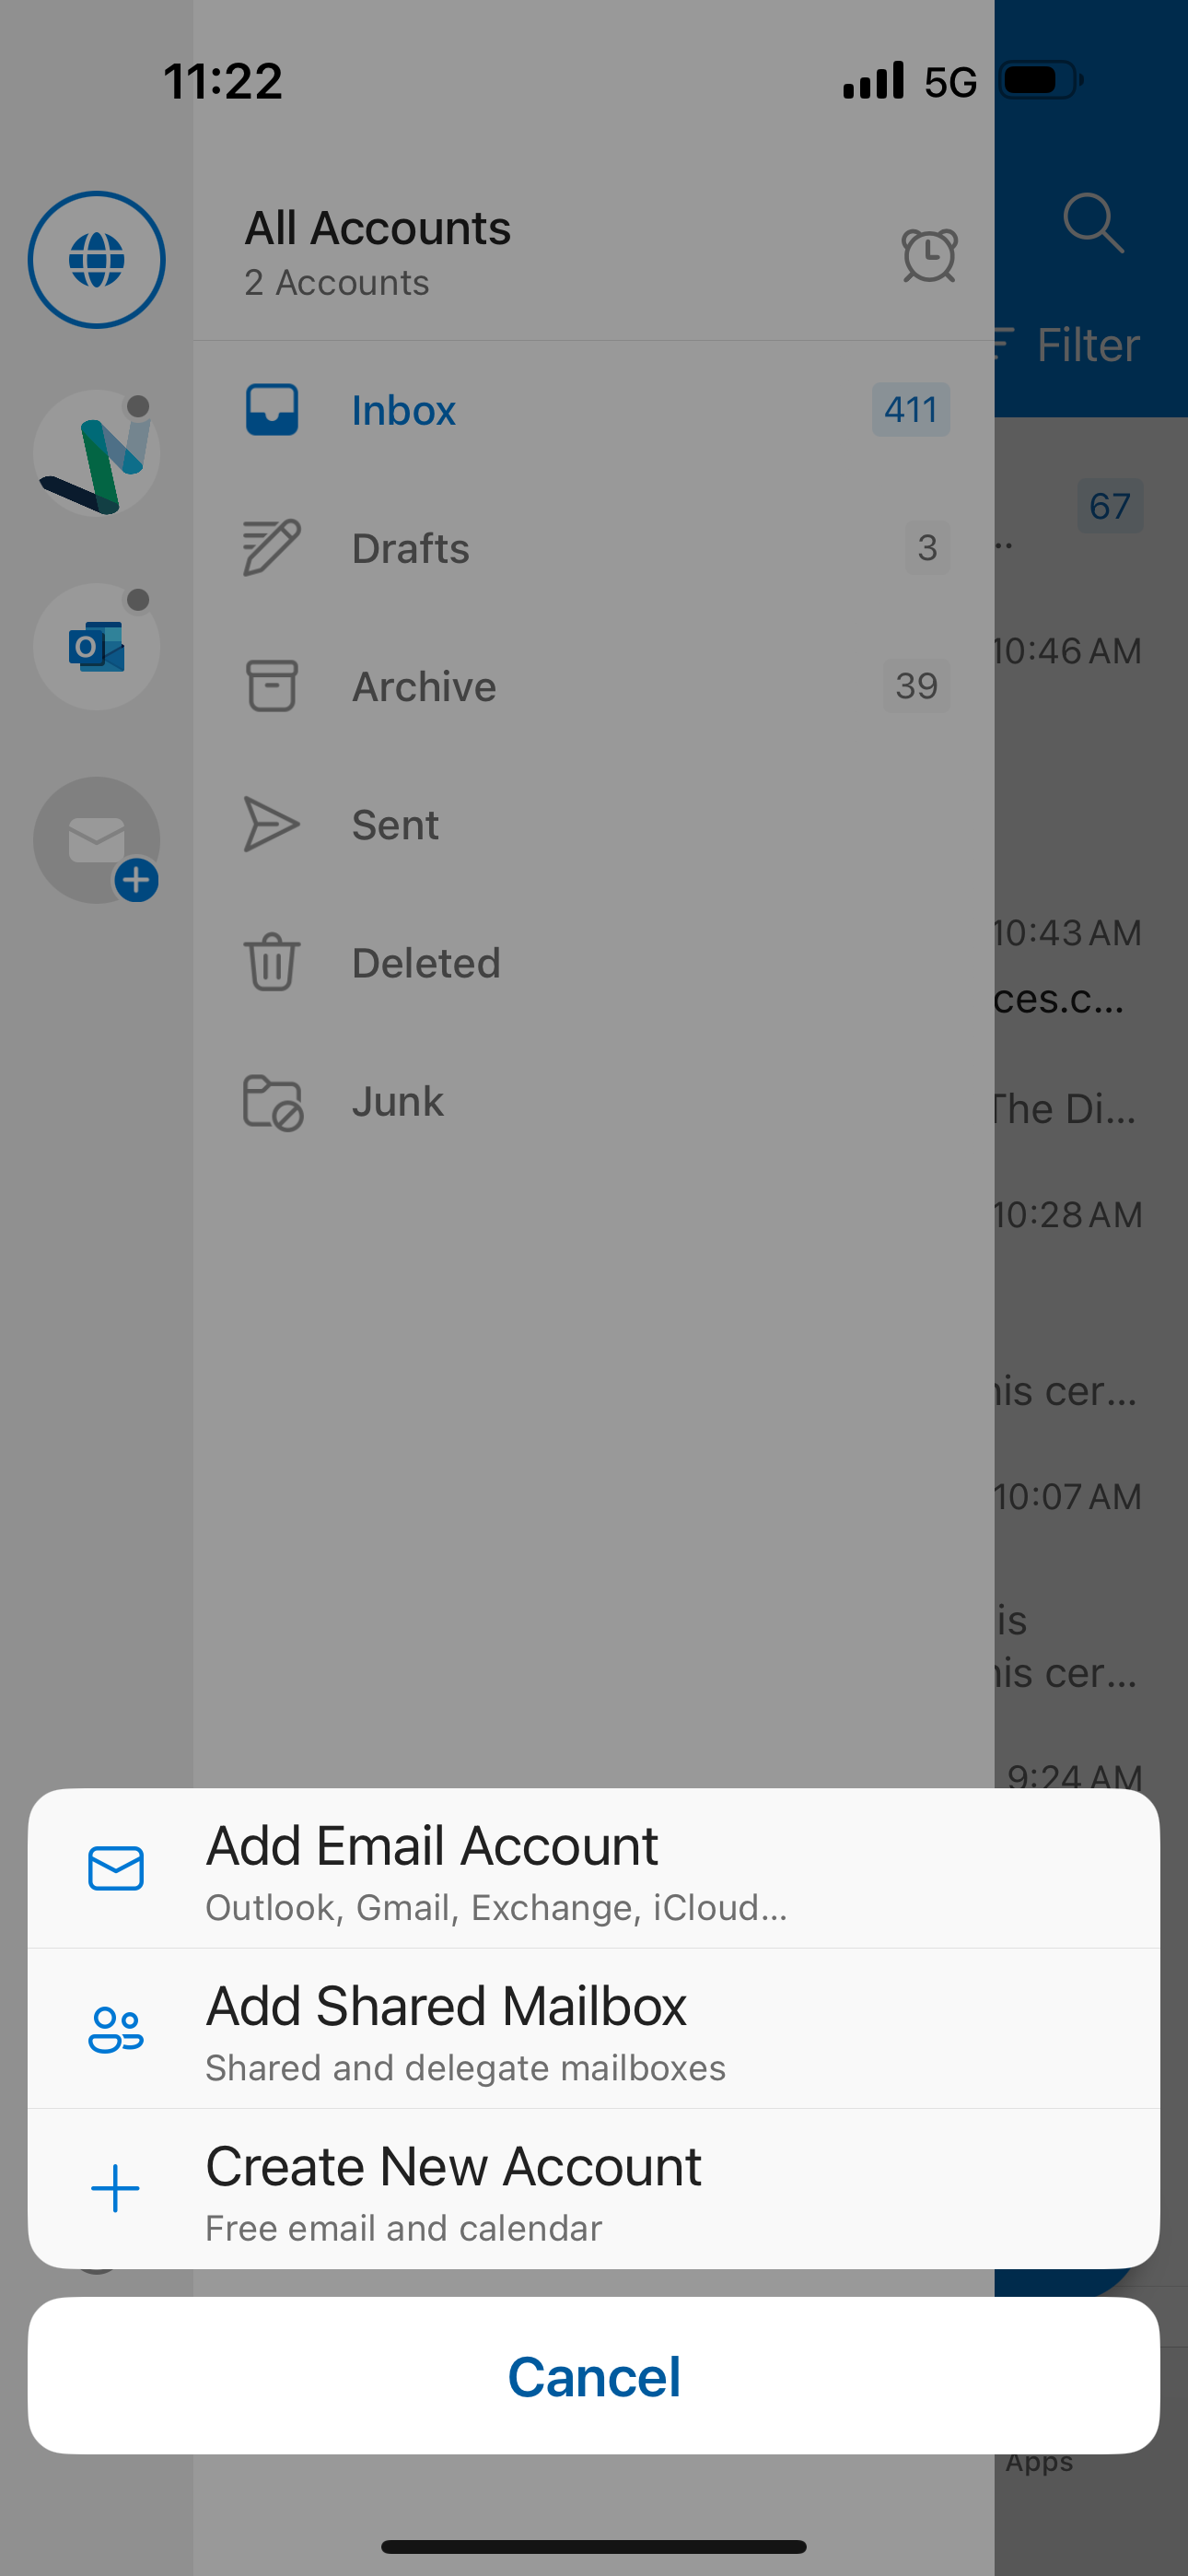
Step 1
Head to the Outlook app and swipe over to find the menu, click the plus icon, then click on the Add Email Account button
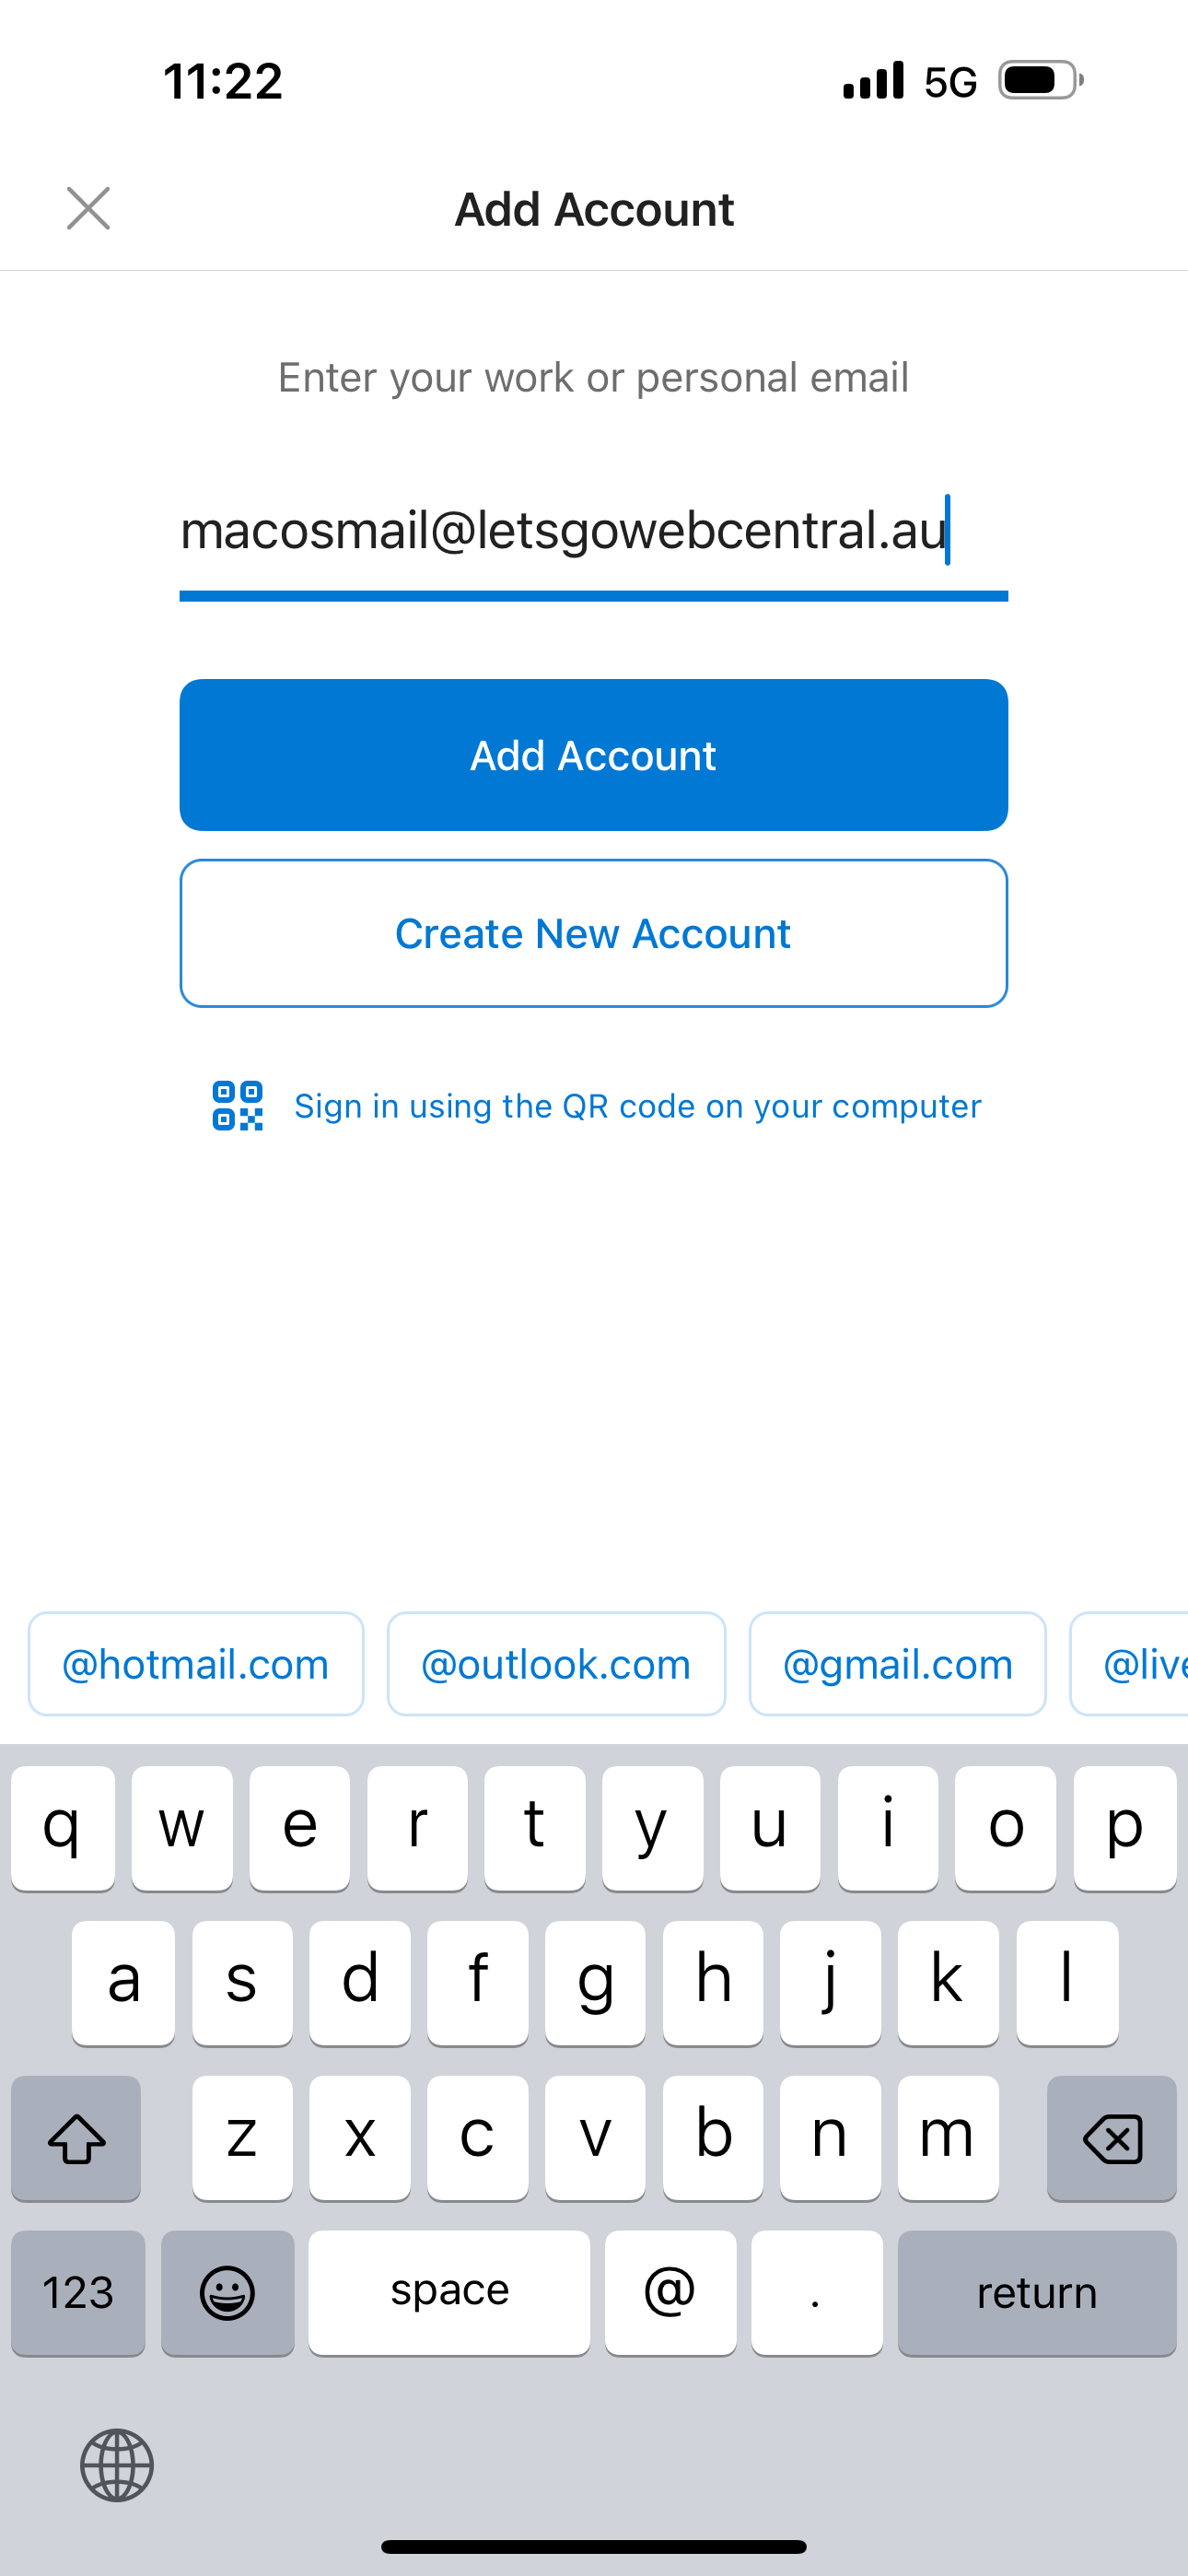
Step 2
Enter in your email address and tap Add Account
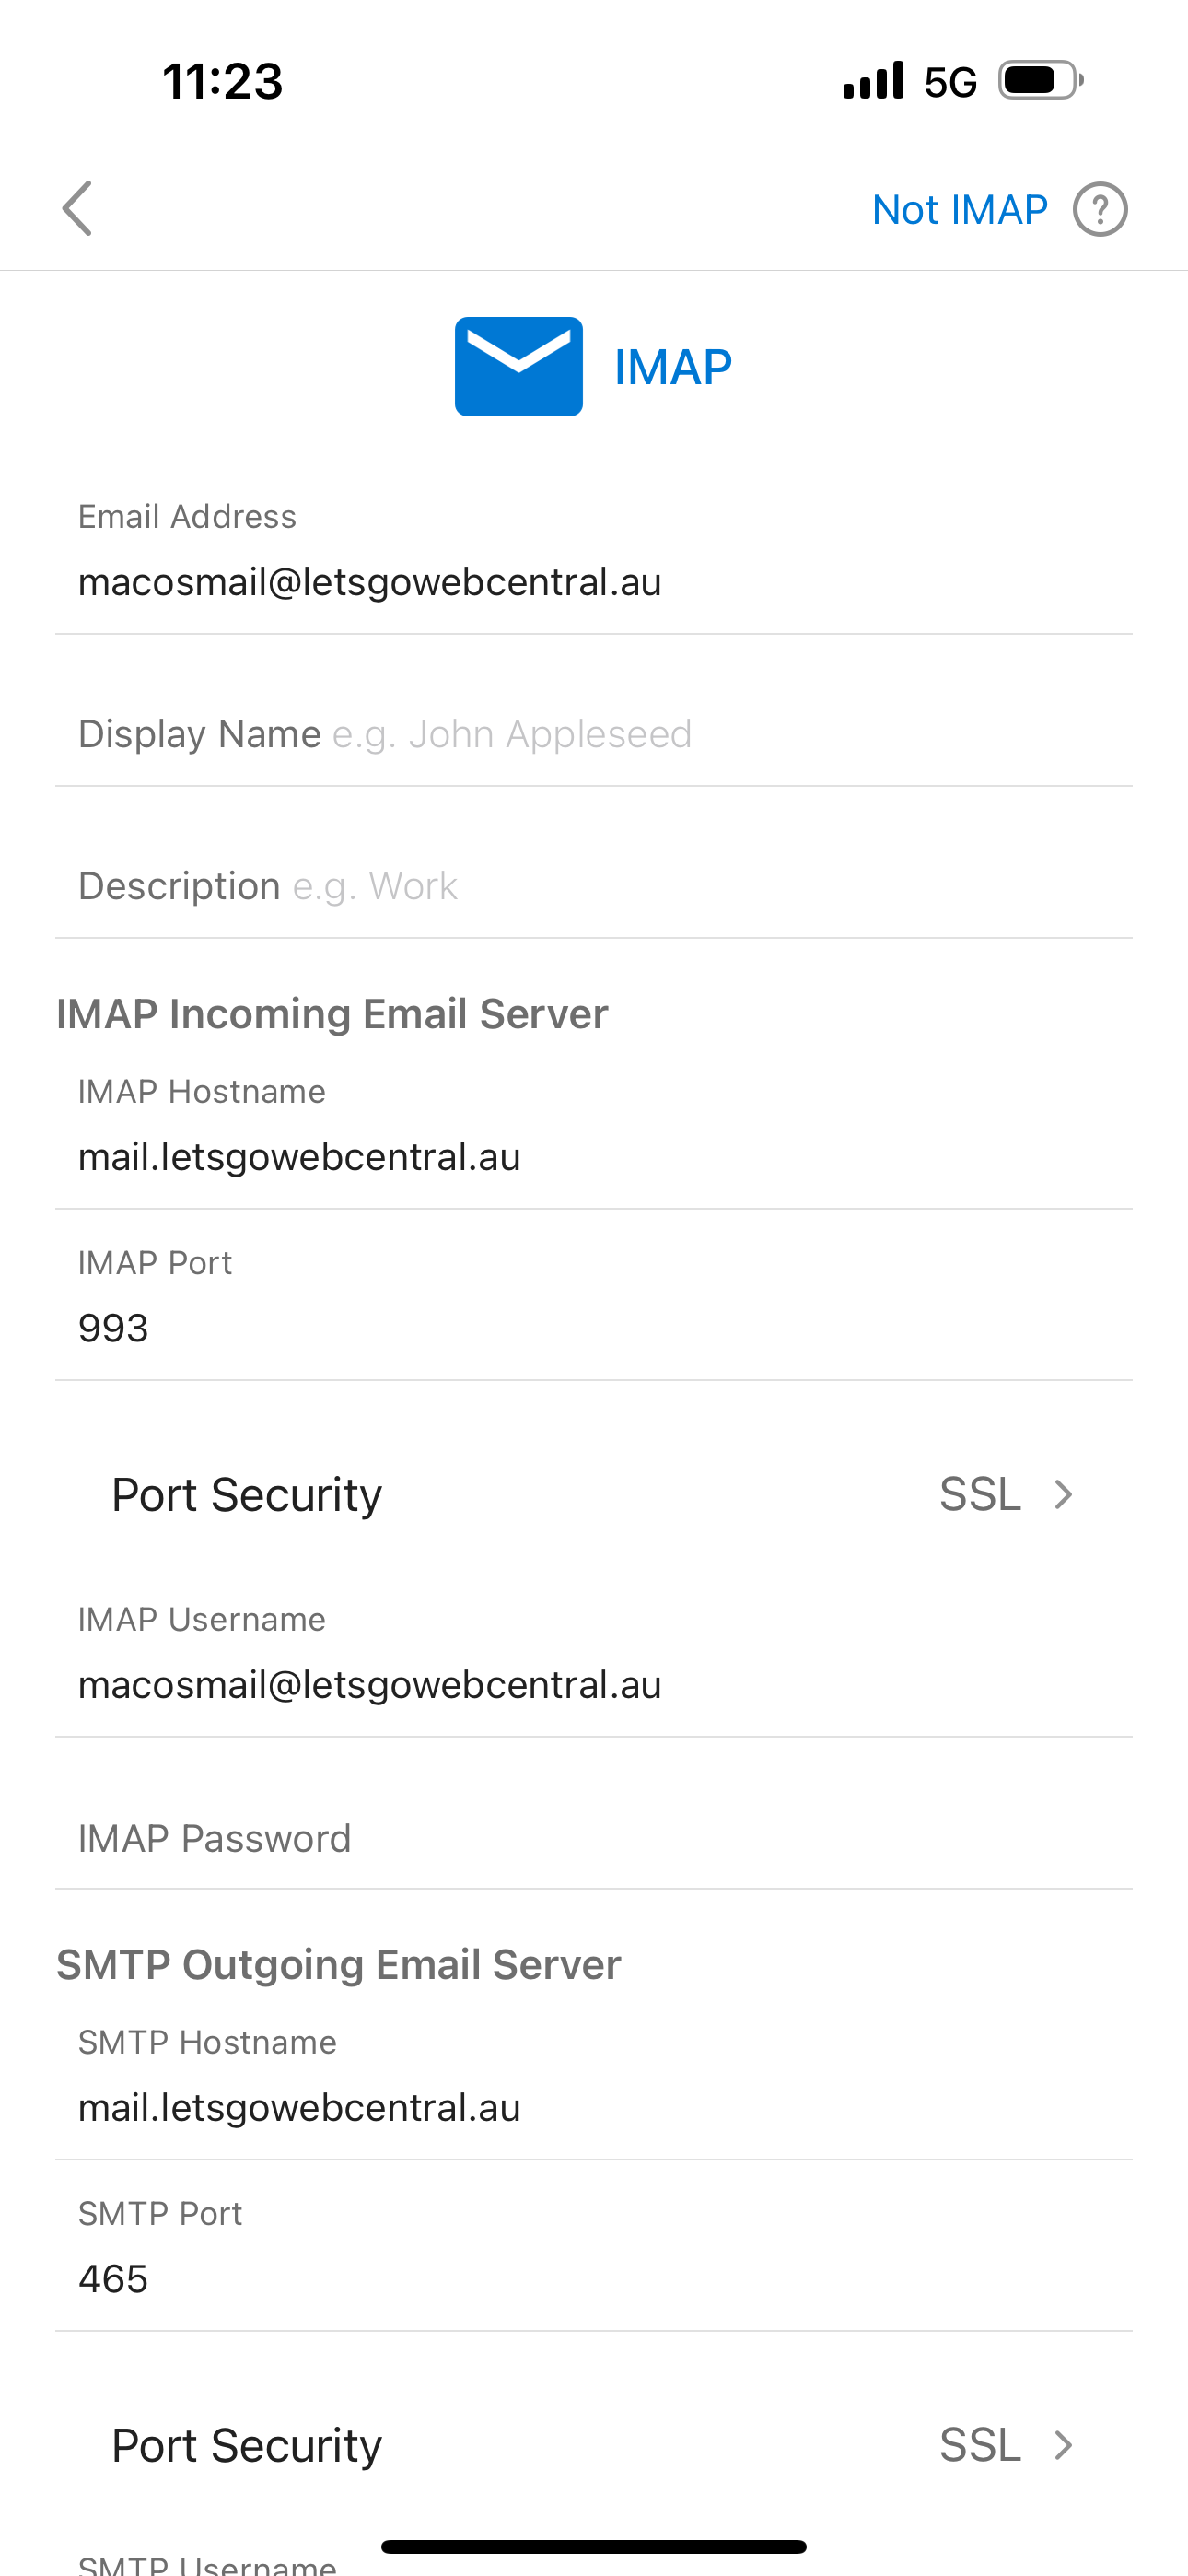
Step 3
Enter in the email settings specific for your email service
Step 4
Once the app has finished verifying your email account, it will start to download and sync your emails