
Using Advanced Domain Manager
Entering in new zone records, creating email forwards and setting up domain redirection is now easier than ever with Advanced Domain Manager. To get started, simply login to your Webcentral portal and follow the following steps:
Domain Redirection
- Log into your Webcentral account.
- Click on the Products and Services tab from the menu
- Find the Advanced Domain Manger service that you wish to change and select it
Pro Tip: use the categories to filter the services you wish to find on the left hand side
- On the overview sub-tab, you will see three options, DNS Editor HTTP redirect and Email Forwarders
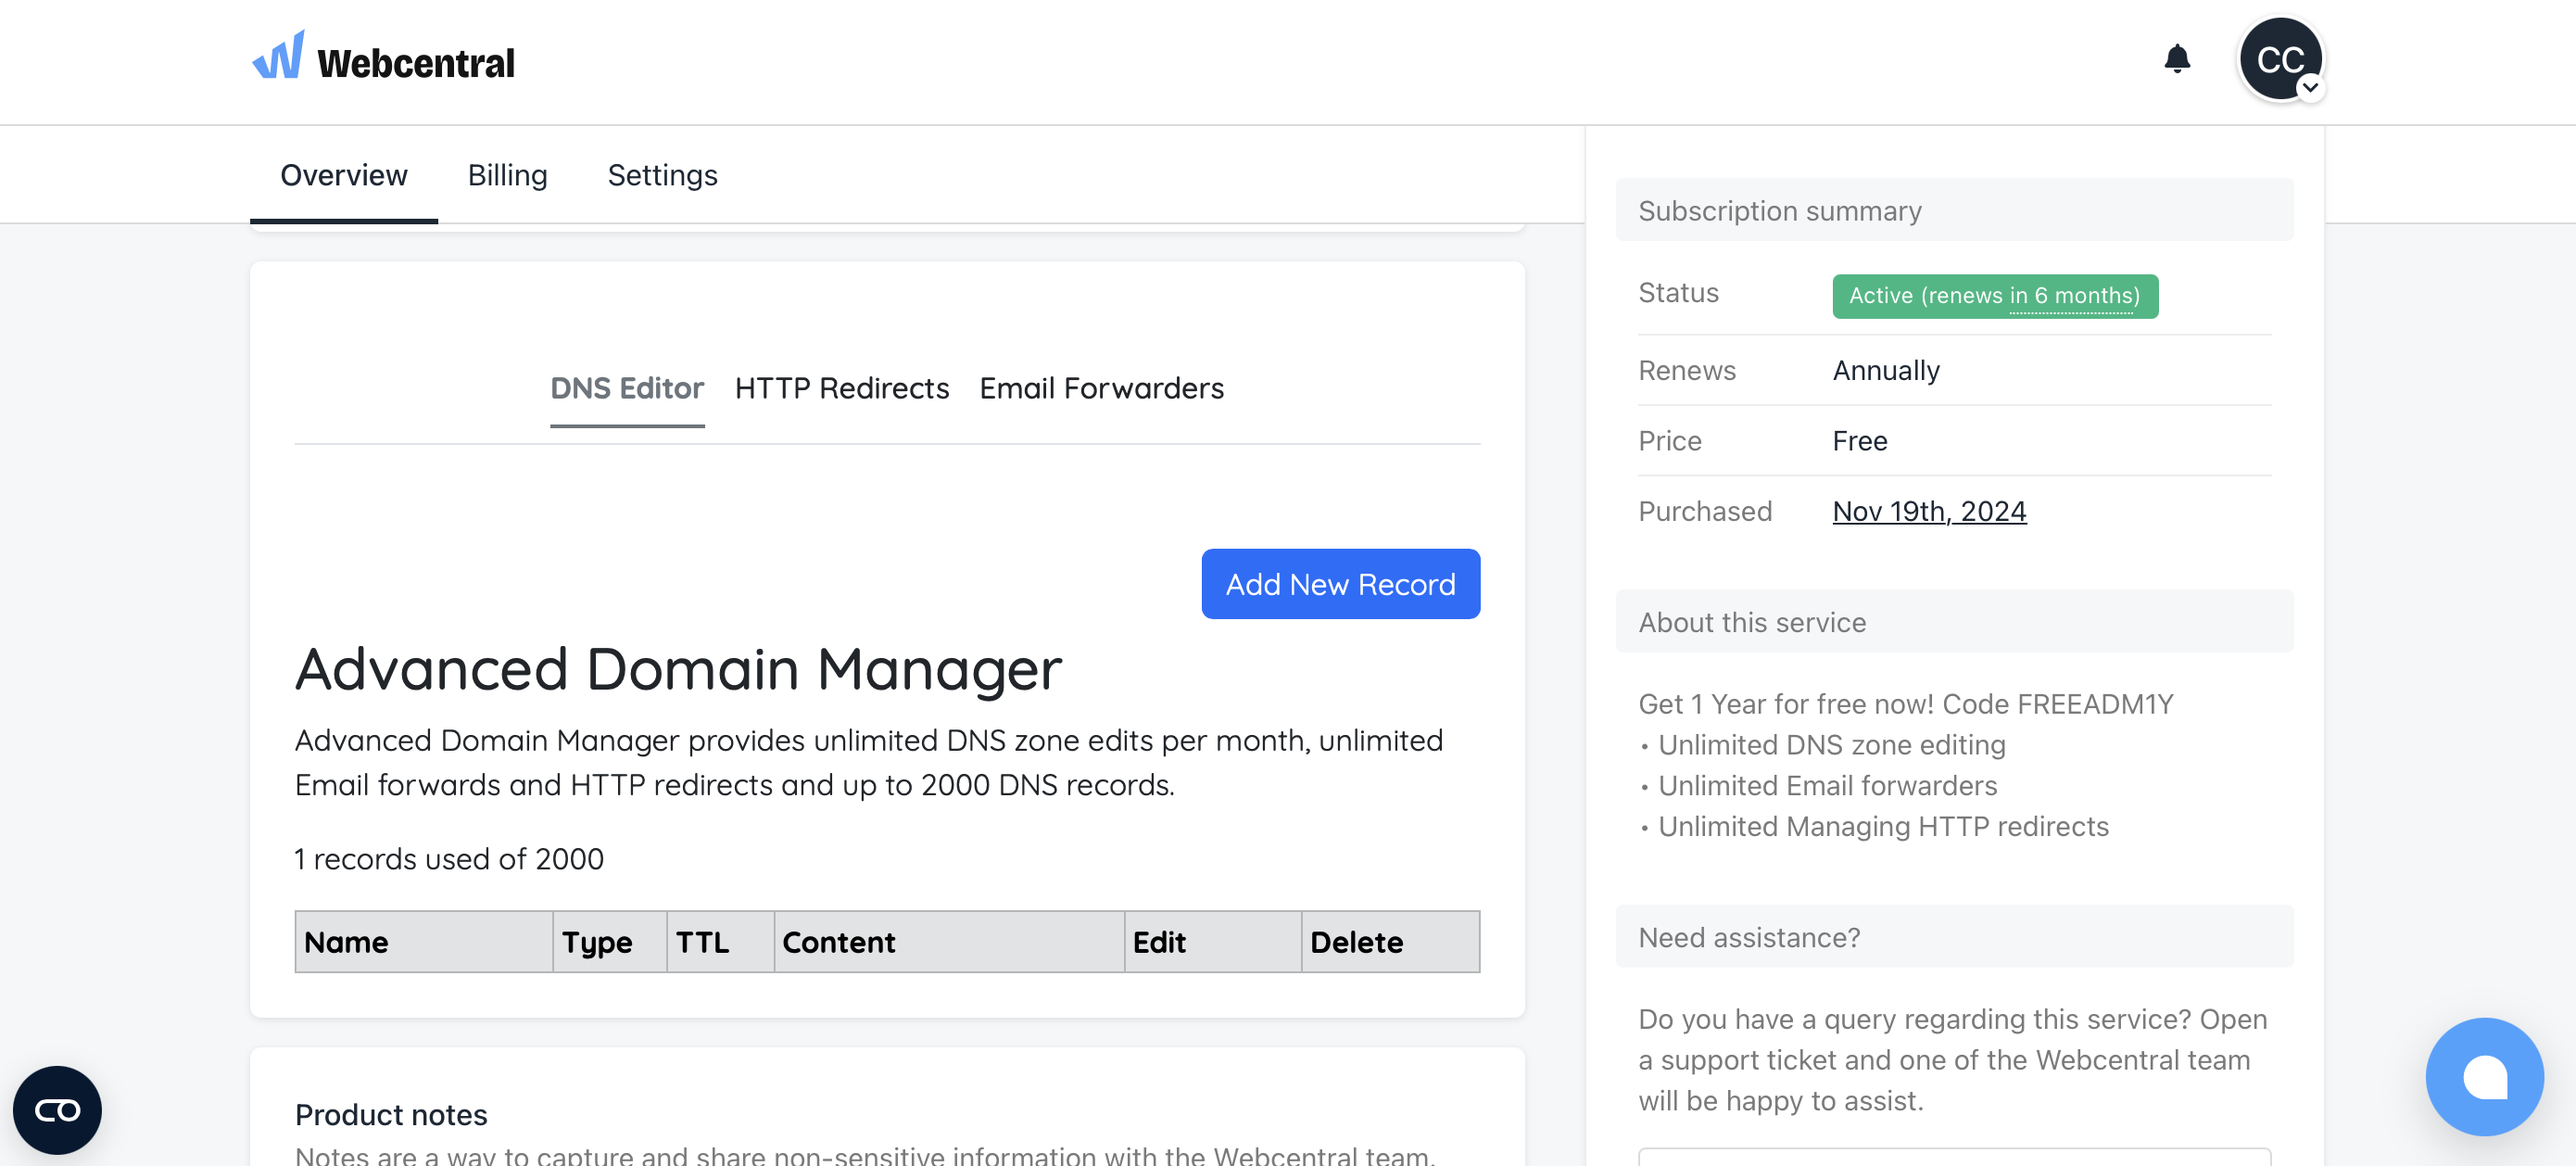
- Select the HTTP Redirects option
- Enter the target address or the address where you want visitors to be directed to. It should be fairly instant, so please open an private browser window and test the redirect!
Email Forwarding
- Log into your Webcentral account.
- Click on the Products and Services tab from the menu
- Find the Advanced Domain Manger service that you wish to change and select it
Pro Tip: use the categories to filter the services you wish to find on the left hand side
- On the overview sub-tab, you will see three options, DNS Editor HTTP redirect and Email Forwarders
- Select the Email Forwarders option
- Enter the email address that you would like to be forward and the target email address. Keep in mind that as it is a forwarder, there is no SPF/DKIM to change or enable and our servers do not store the emails that are forwarded.
Editing DNS records
- Log into your Webcentral account.
- Click on the Products and Services tab from the menu
- Find the Advanced Domain Manger service that you wish to change and select it
- On the overview sub-tab, you will see three options, DNS Editor HTTP redirect and Email Forwarders
- Select the DNS Editor option
- Either find the record you wish to edit or select the blue Add New Record button at the top. Select the correct type of record and enter the information as given by your service provider. For third party providers, refer to their "Connecting a Third Party Domain" documentation or their support team
- Once filled out, save the record. You can add another or can safely return to the Dashboard.
Because the zone records have to cache in the different servers around the world, it may take some time for the new records to take effect. You can keep track of the progress by using tools like whatsmydns.net or the dig tool in terminal.
If you ever have any questions or need assistance in doing any of the above, please don't hesitate to reach out to us 24/7.