
Managing WordPress plugins from the Webcentral Dashboard
Learn how to manage your WordPress plugins directly from the Webcentral Dashboard.
You can manage your WordPress plugins directly from the Webcentral Dashboard without having to log in to the WordPress admin area. You can install plugins, activate and deactivate plugins, view the current version number, and check if there are any updates available.
Installing plugins
To install a WordPress plugin using the Webcentral Dashboard, follow these steps:
- Log in to the Webcentral Panel at https://theconsole.webcentral.au/
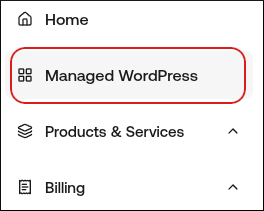
- In the left sidebar, click Managed WordPress:

- On the My Websites page, locate the site, and then click Manage:

- On the Webcentral dashboard, click the Plugins icon:
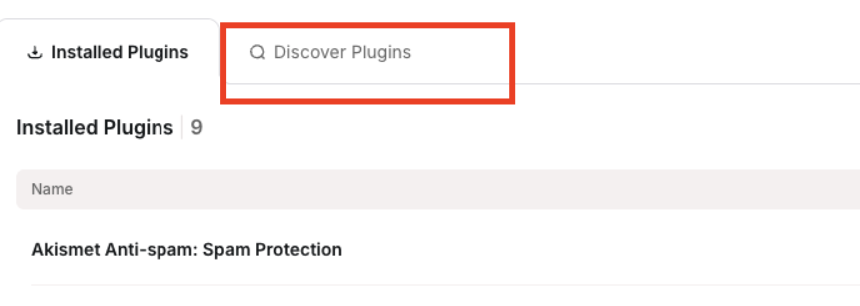
- Click the Discover Plugins tab:
- In the Search Plugins text box, type the name or functionality of the plugin you want to install.
- In the search results, locate the plugin you want to install, and then click Install. The plugin now appears on the Installed Plugins tab.
Managing installed plugins
You can activate, deactivate, update, and delete your installed plugins. To do this, follow these steps:
- Log in to the Webcentral Panel at https://theconsole.webcentral.au/
- In the left sidebar, click Managed WordPress:
- On the My Websites page, locate the site, and then click Manage

- On the Webcentral dashboard, click the Plugins icon:

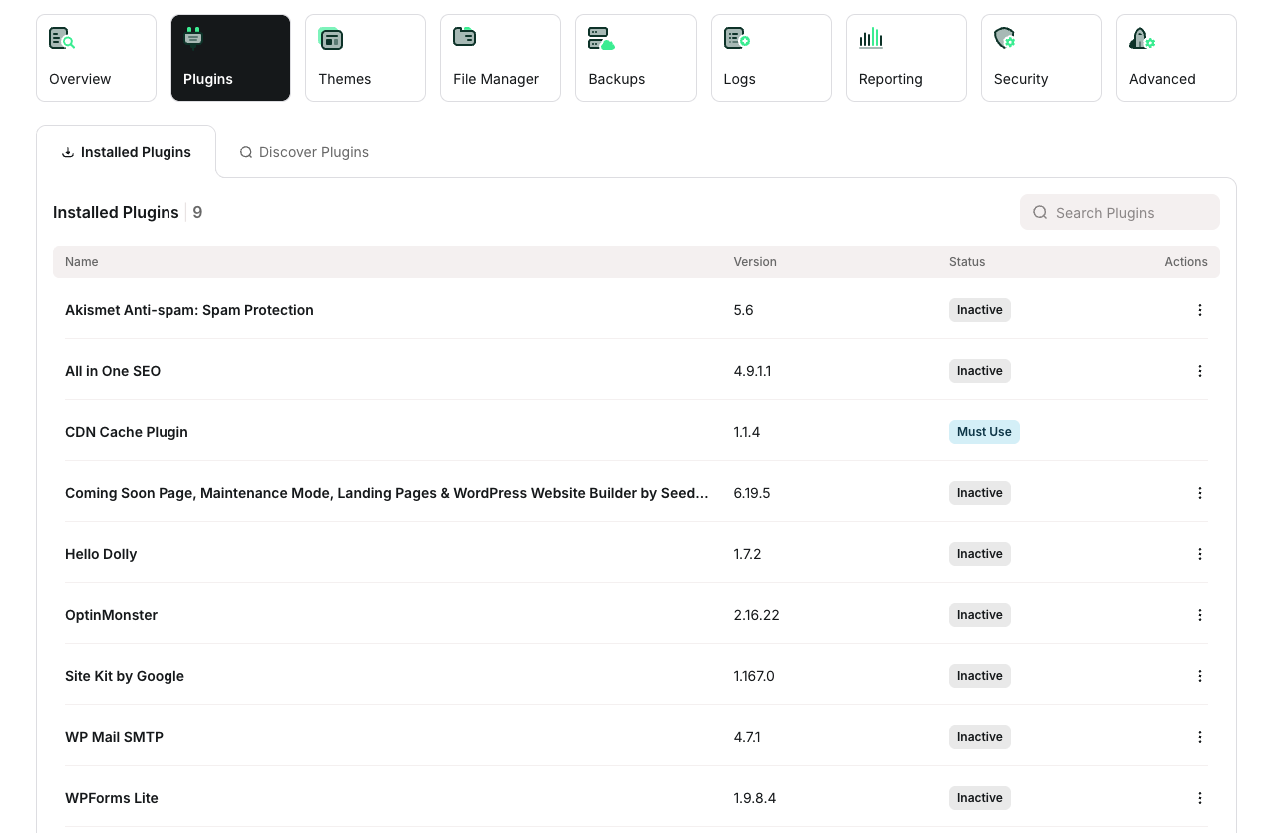
- On the Installed Plugins tab appears a list of your installed plugins appears. Choose one of the following actions:
- To deactivate an active plugin, in the Actions column, click the three-dot icon, and then click Deactivate.
- To activate a deactivated plugin, in the Actions column, click the three-dot icon, and then click Activate.
- To update a plugin, in the Actions column, click the three-dot icon, and then click Update.
- To delete a plugin, in the Actions column, click the three-dot icon, and then click Delete