
How to create a site on Webcentral Managed WordPress
Learn how to create your first site on webcentral.au Managed WordPress.
Creating a WordPress site on webcentral.au Managed WordPress is quick and easy. To get started, follow these steps:
- Log in to the Webcentral Panel at https://theconsole.webcentral.au/
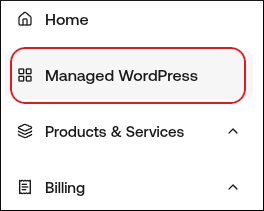
- In the left sidebar, click Managed WordPress:
- On the My Websites page, click Add Website:

- On the Add a Website page, in the Site name/label text box, type your WordPress site’s name
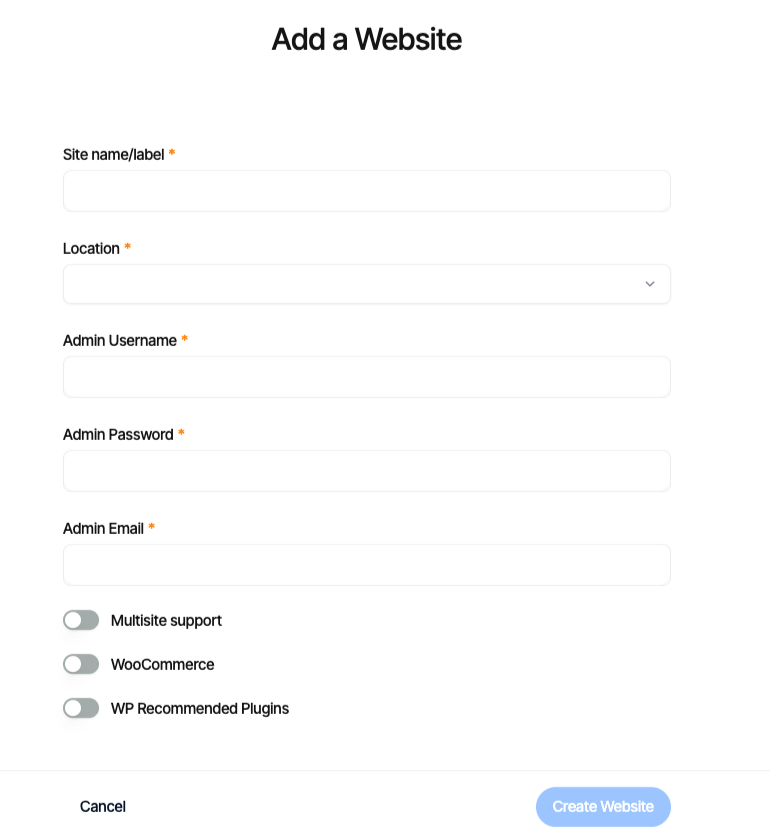
- In the Location list box, select the location for your WordPress site.
Tip!: This selection doesn't impact your visitors, because they will be using Cloudflare Enterprise. Instead, it should be a location geographically close to you, because your work in the WordPress Dashboard is not cached.
- In the Admin Username text box, type the admin username you want to use.
Important: Use a unique name instead of admin.
- In the Admin Password text box, type a complex password for the admin user.
Important: Never reuse old passwords.
- In the Admin Email text box, type your admin email address to receive important WordPress emails.
- Enable any additional options for your installation, and then click Create Website.
Updated 4 months ago