
How to use FTP with FileZilla Pro on webcentral.au Managed WordPress
Learn how to use the FileZilla application to access your webcentral.au Managed WordPress website using FTP.
Every WordPress site on webcentral.au Managed WordPress supports FTP access. This article describes how to use the FileZilla application to access your account using FTP.
To configure FileZilla, follow these steps:
- Start FileZilla.
- On the File menu, click Site Manager. The Site Manager dialog appears.
- Click New Site, type a name for the site, and then press Enter:
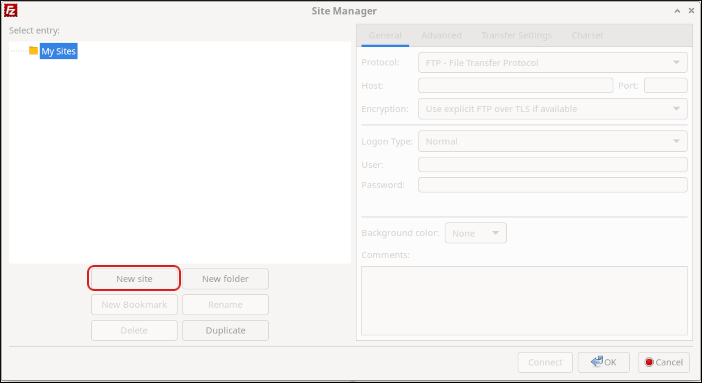
- On the General tab, in the Protocol list box, select FTP - File Transfer Protocol.
- In the Host text box, type the server name. Tip: You can find the FTP server name in the webcentral.au Dashboard on the General tab in the Site Information section, just above the FTP Accounts section
- Leave the Port text box blank.
- In the Logon Type list box, select Normal.
- In the User text box, type the username listed in the FTP Accounts section on the General tab of the webcentral.au Dashboard.
- In the Password text box, type the password for the account you specified in step 8.
- Optionally, you can specify a default directory for FileZilla to open on the remote server after it connects. To do this, click the Advanced tab, and then in the Default remote directory text box, type the directory name.
- Click Connect. After a few seconds, FileZilla establishes the connection. Note On your first login to FTP, you will receive a message about the certificate on the server. Select Always trust this certificate in future sessions, and then click OK. You will then be able to log into the root directory of your website’s file system.
Updated 4 months ago