
How to install a new WordPress plugin on Webcentral Managed WordPress
Learn how to install a new WordPress plugin on a Webcentral Managed WordPress hosting plan.
It's easy to install a new plugin in WordPress. You can use the WordPress admin interface or the Wecentral Dashboard.
Method #1: Use the Webcentral Dashboard
- Log in to the Webcentral Panel at https://theconsole.webcentral.au/
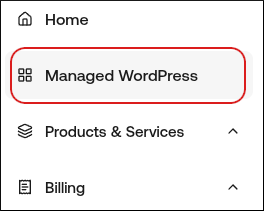
- In the left sidebar, click Managed WordPress:
- On the My Websites page, locate the site, and then click Manage:

- On the Webcentral dashboard, click the Plugins icon:
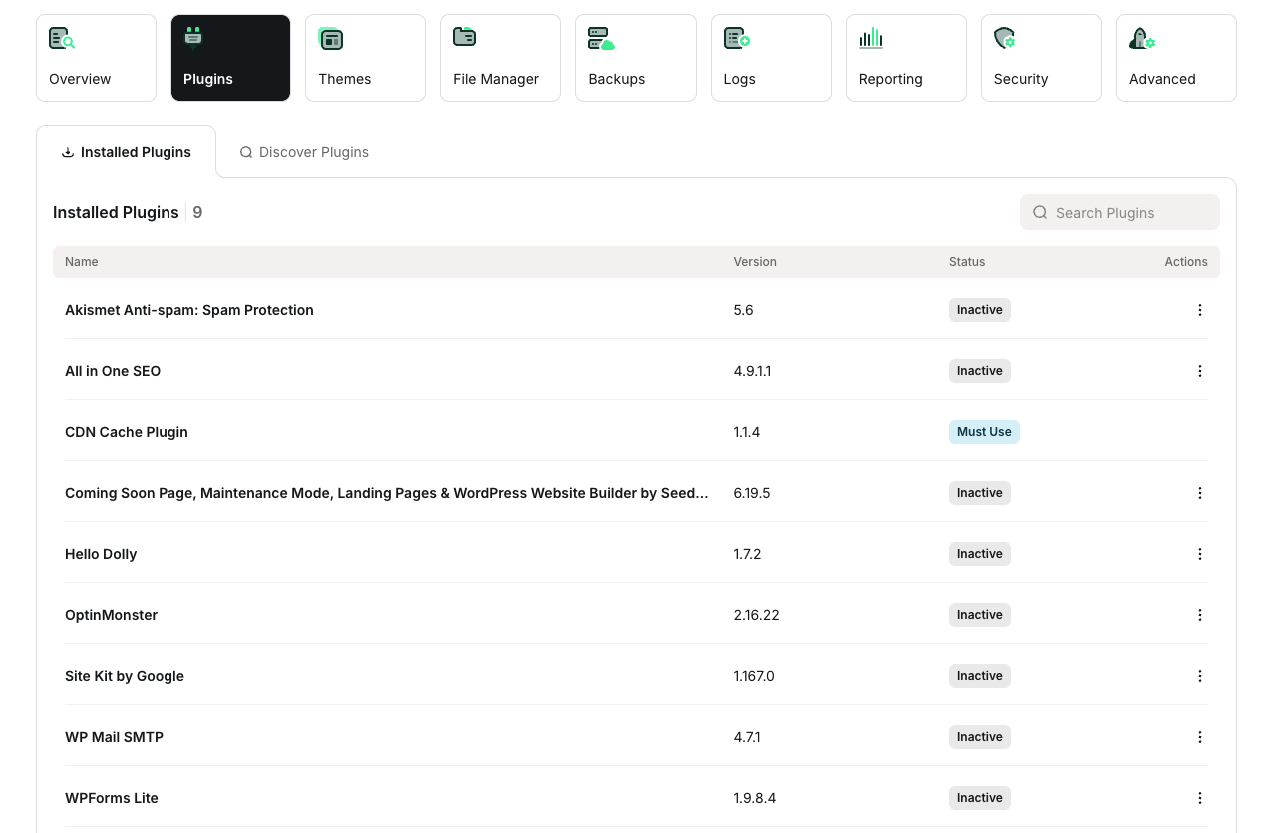
- Click the Discover Plugins tab.
- In the Search Plugins text box, type the name or functionality of the plugin you want to install.
- In the search results, locate the plugin you want to install, and then click Install
Method #2: Use the WordPress admin interface
To install a plugin using the WordPress admin interface, follow these steps:
- Log in to your WordPress site as the administrator.
- In the left-hand pane, click Plugins. A list of featured plugins in the WordPress Plugin Directory appears.
- To install a plugin, click Add New.
- In the Search text box, type the name of functionality, and then click Search Plugins.
- In the Name column, locate the plugin, and then click Install Now.
- After WordPress finishes installing the plugin, click Activate Plugin.