
How to configure DNS at Namecheap for Webcentral Managed WordPress
Learn how to configure DNS settings at Namecheap for Webcentral Managed Hosting for WordPress.
This article describes how to update your domain's DNS settings at Namecheap to point to a Webcentral Managed Hosting for WordPress site.
To update DNS settings at Namecheap, follow these steps:
- Locate your site URL on the Webcentral Dashboard:
- Log in to the Hosting Panel at https://theconsole.webcentral.au/
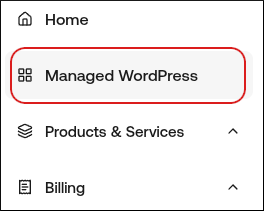
- In the left sidebar, click Managed WordPress:
- On the My Websites page, locate the site, and then click Manage:

- The site URL appears at the top of the page (for example, abc123.onrocket.site).
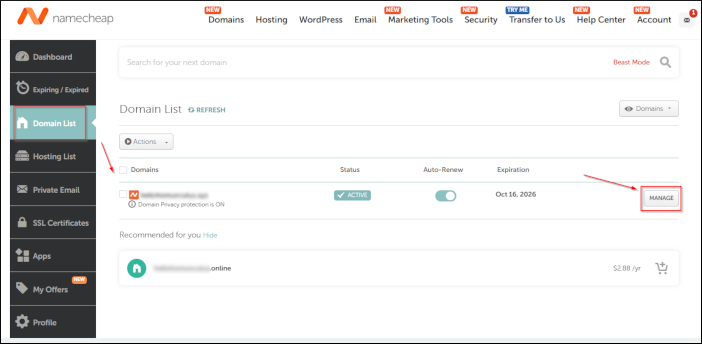
- Log in to your Namecheap account.
- In the left sidebar, click Domain List, locate your domain, and then click Manage:
- Go to the Advanced DNS tab at the top of the page, and then locate the Host Records section.
- Click Add New Record.
- In the Type list box, select A Record.
- In the Host text box, type @. (The @ symbol represents your bare apex domain, such as example.com).
- In the Value text box, type 104.19.154.92.
- If you’re also pointing the www subdomain (for example, www.example.com) to us. click **Add New Record **again and create a CNAME record for www.
- Click Save All Changes each time you need to save the record.
Updated 4 months ago