
Editing your website with Sitebuilder
This tutorial takes you through how to add and modify pages and blocks on your website.
Create a new page
To create anew page on your website, follow these steps:
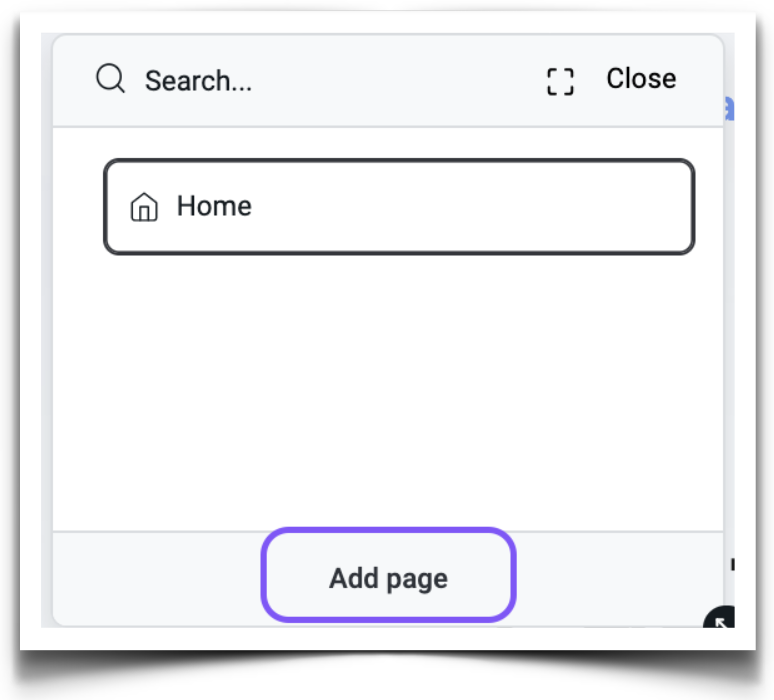
1. In the Website menu, click Pages…to activate the Pages menu.
2. Click the Add page link at the bottom of the panel to add a new page.
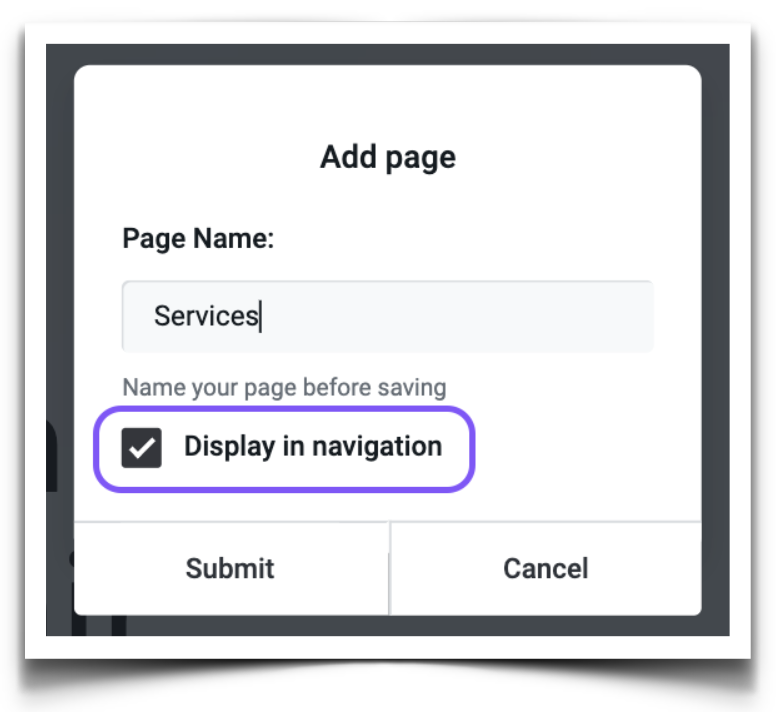
3. In the next step, you will be prompted to add the page name. For example, we have named our new page "Services". Enter the name of your page in the field Page Name.
You can also choose whether you want to show this page in the navigation bar. For the page to appear in the navigation, check Display in navigation box. Click Submit.
4. Once the new page has been created, you will see a blank screen with Add a block + button.
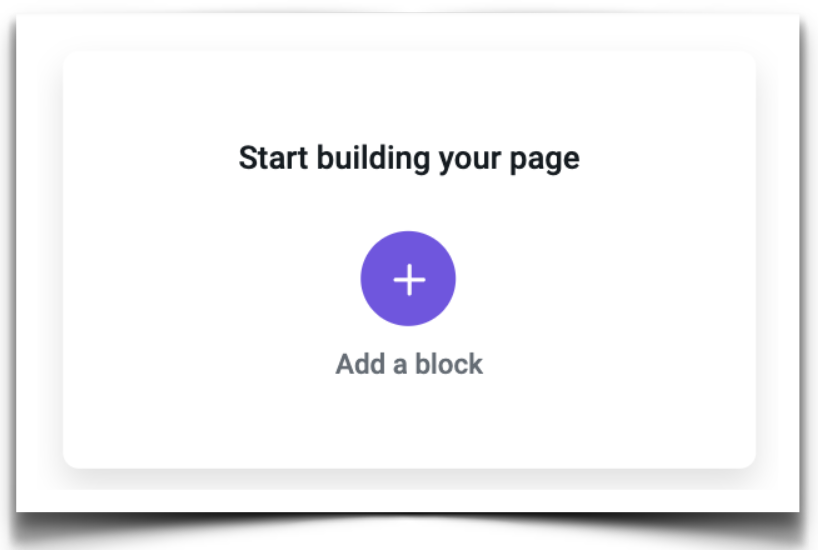
Click Add a block button to activate the Block Library for a selection of pre-made website sections such as pricing tables, forms, testimonials, and more.
Adding and modifying blocks
You can activate different menus, or Control Panes, to perform different actions with blocks and block elements on a page. Instead of navigating a cluttered workspace, you activate only the menu for the element you want to change. All you need to do is to hover over the block, image, or icon that you wish to modify:
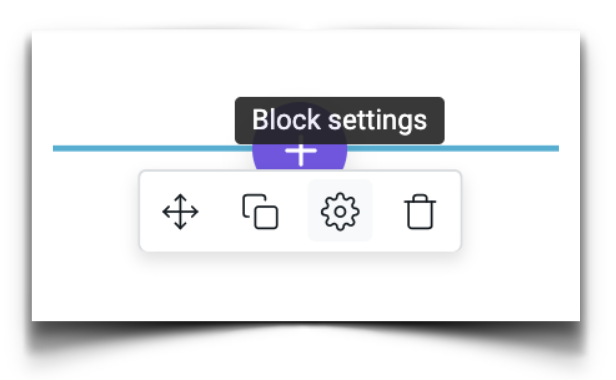
When you hover over the line that divides two blocks, you can also add a block and access the menu to modify the existing block:
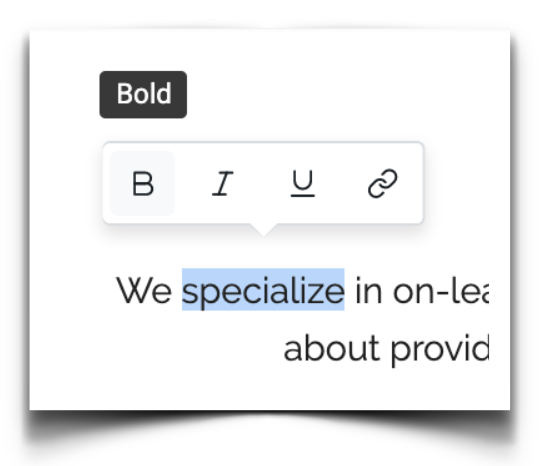
Highlight a word in the text to activate a Text editing menu:
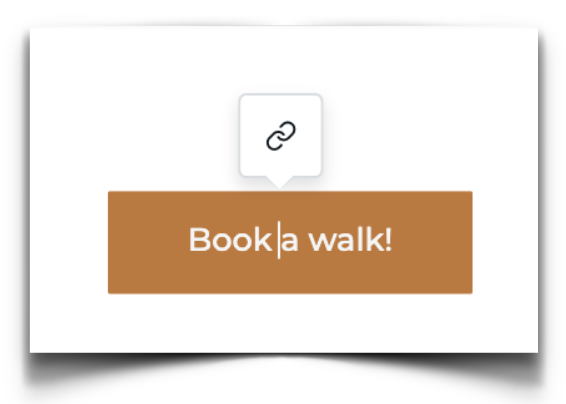
Click on a button to add a link and modify the text inside the button:
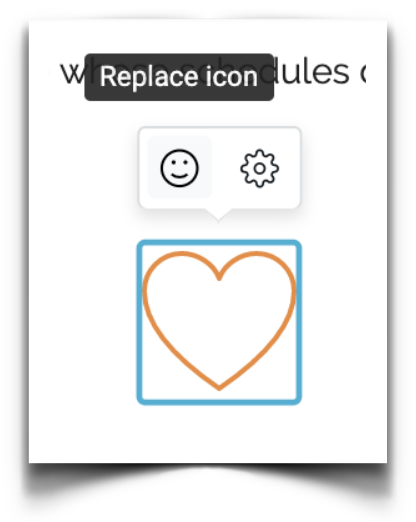
Hover over an icon to activate the icon editing menu:
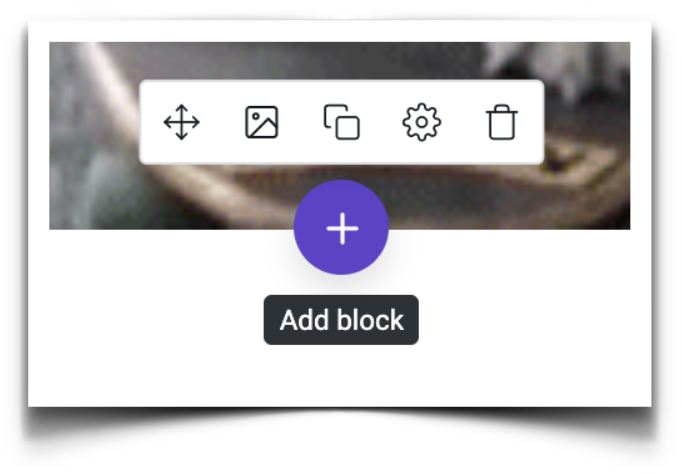
Hover over an image to activate the image editing menu:

Activating a menu on mobile
When using a Sitebuilder on mobile, instead of hovering over, simply tap on any element you wish to modify.
Updated 7 months ago