Set up your website with Sitebuilder
Creating a stunning website is easier than ever with our Sitebuilder range. This quick tutorial will take you through the initial steps to get your website started with no coding experience necessary.
Step 1. Enter the Template Gallery
After you sign up you land in a Template Gallery presenting dozens of professionally designed templates tailored for every business niche, from hair salons to IT services, and more. Scroll the gallery to choose the template that suits your taste and business needs.
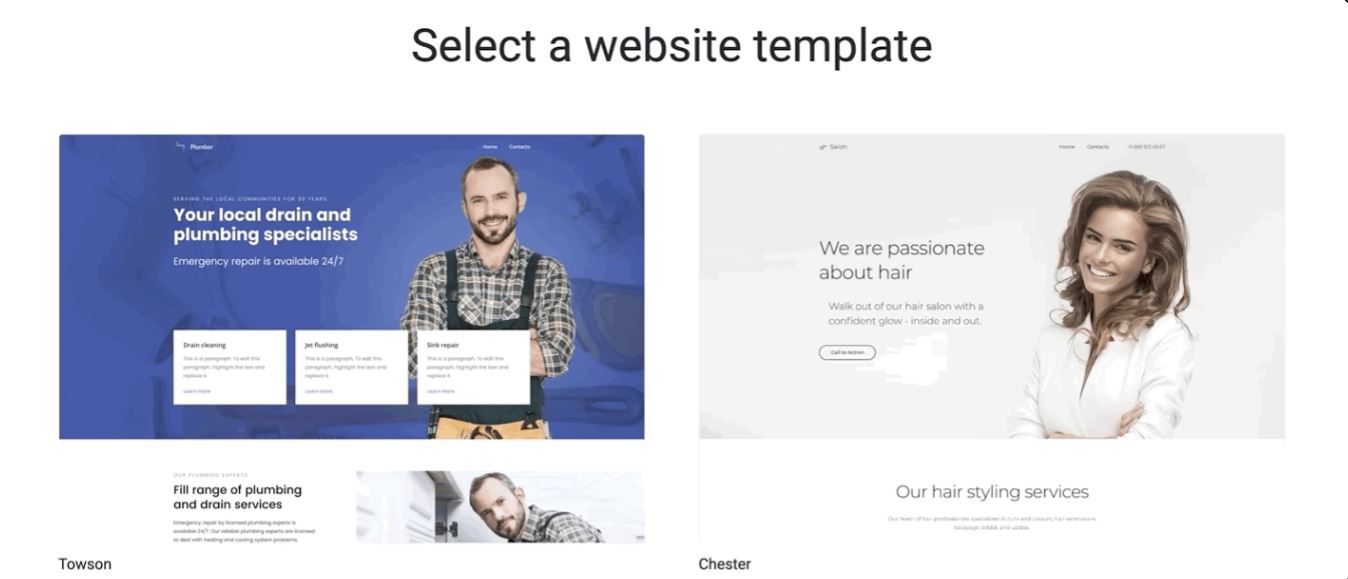
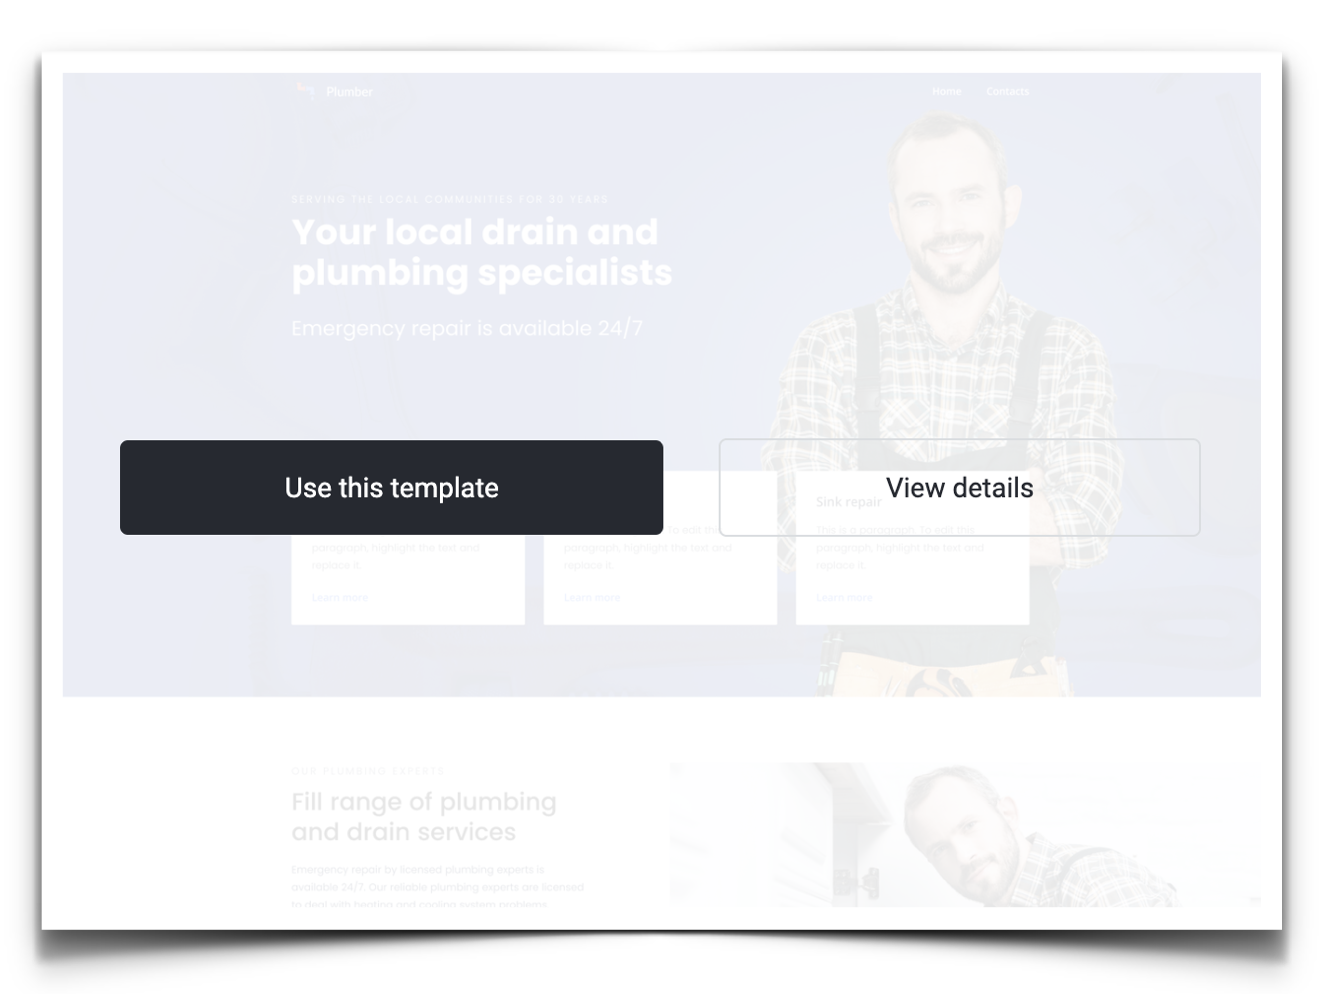
To explore a template and its features fully, click View Details and the Builder will launch it for you.
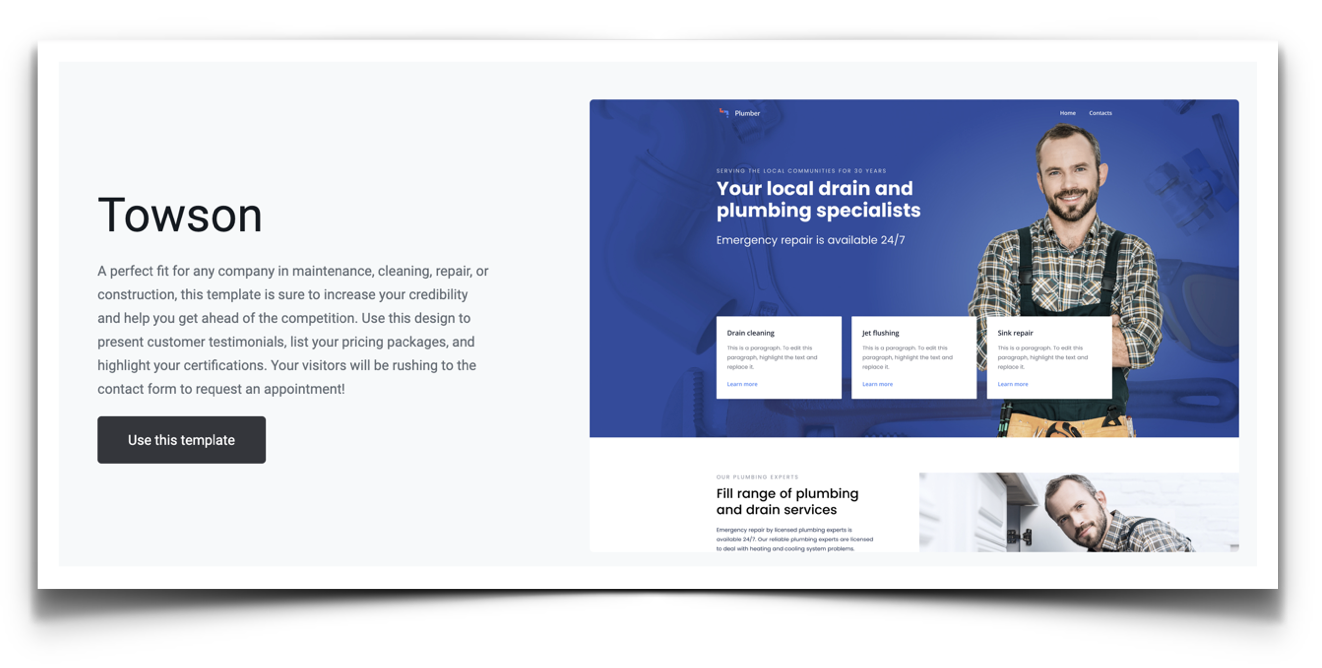
Once you've found a template you're happy with, click Use this template.
Step 2. Set up your website details.
Once you have selected your website theme, you can add a few essential details about your business.
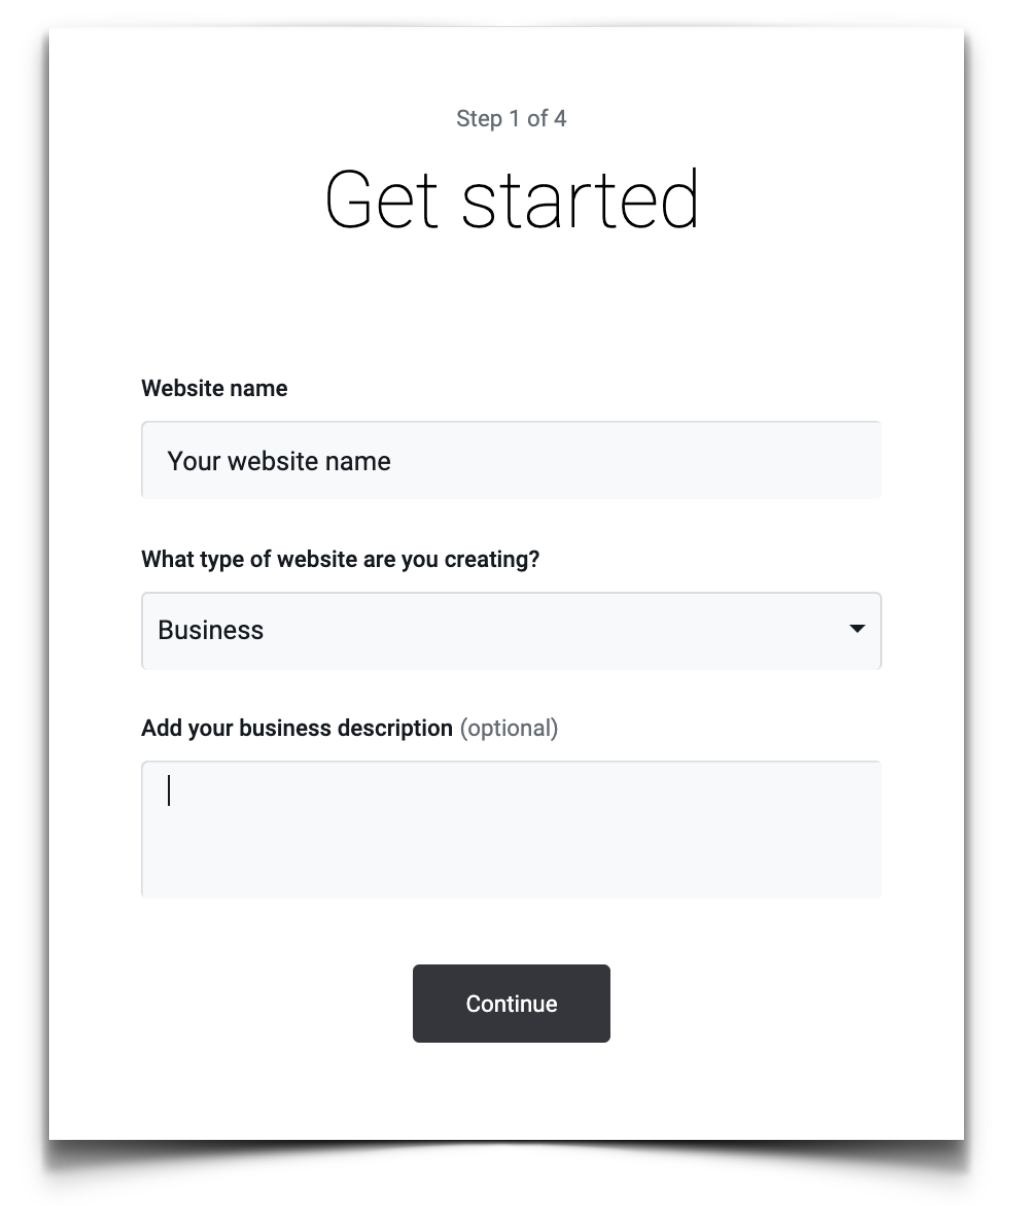
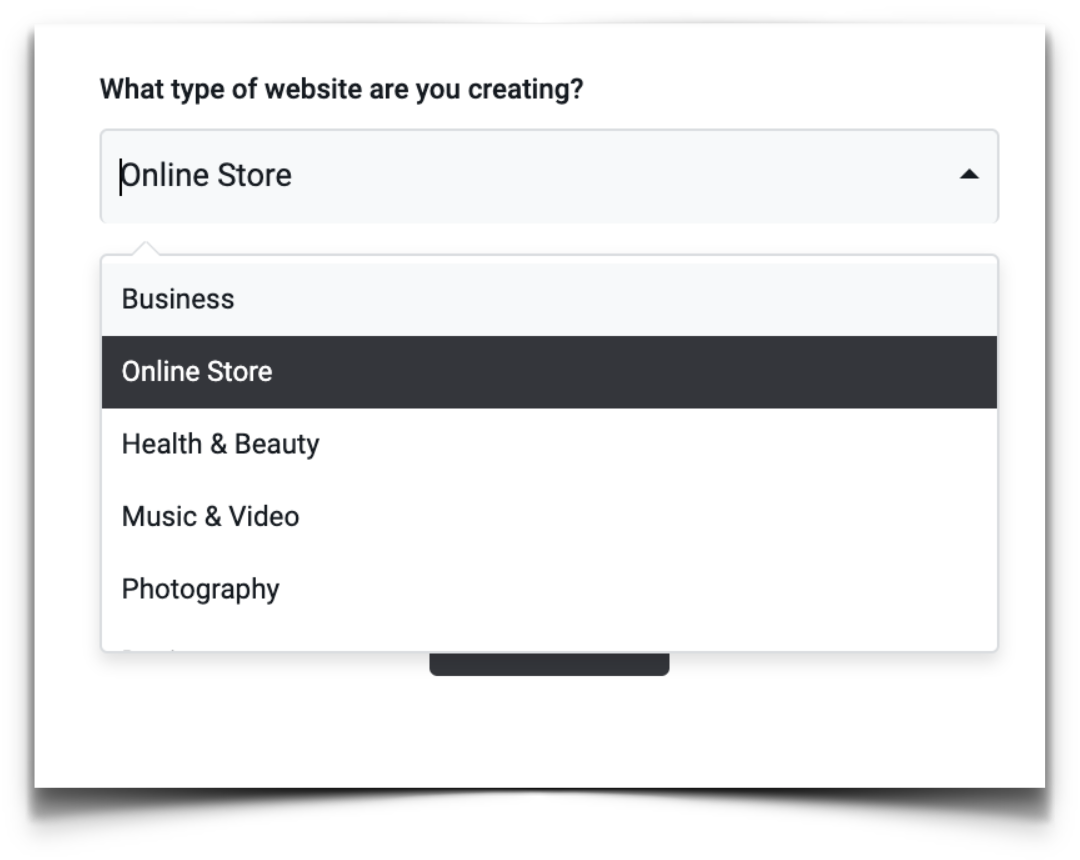
Enter your website name and choose the type of the website from the drop-down list.
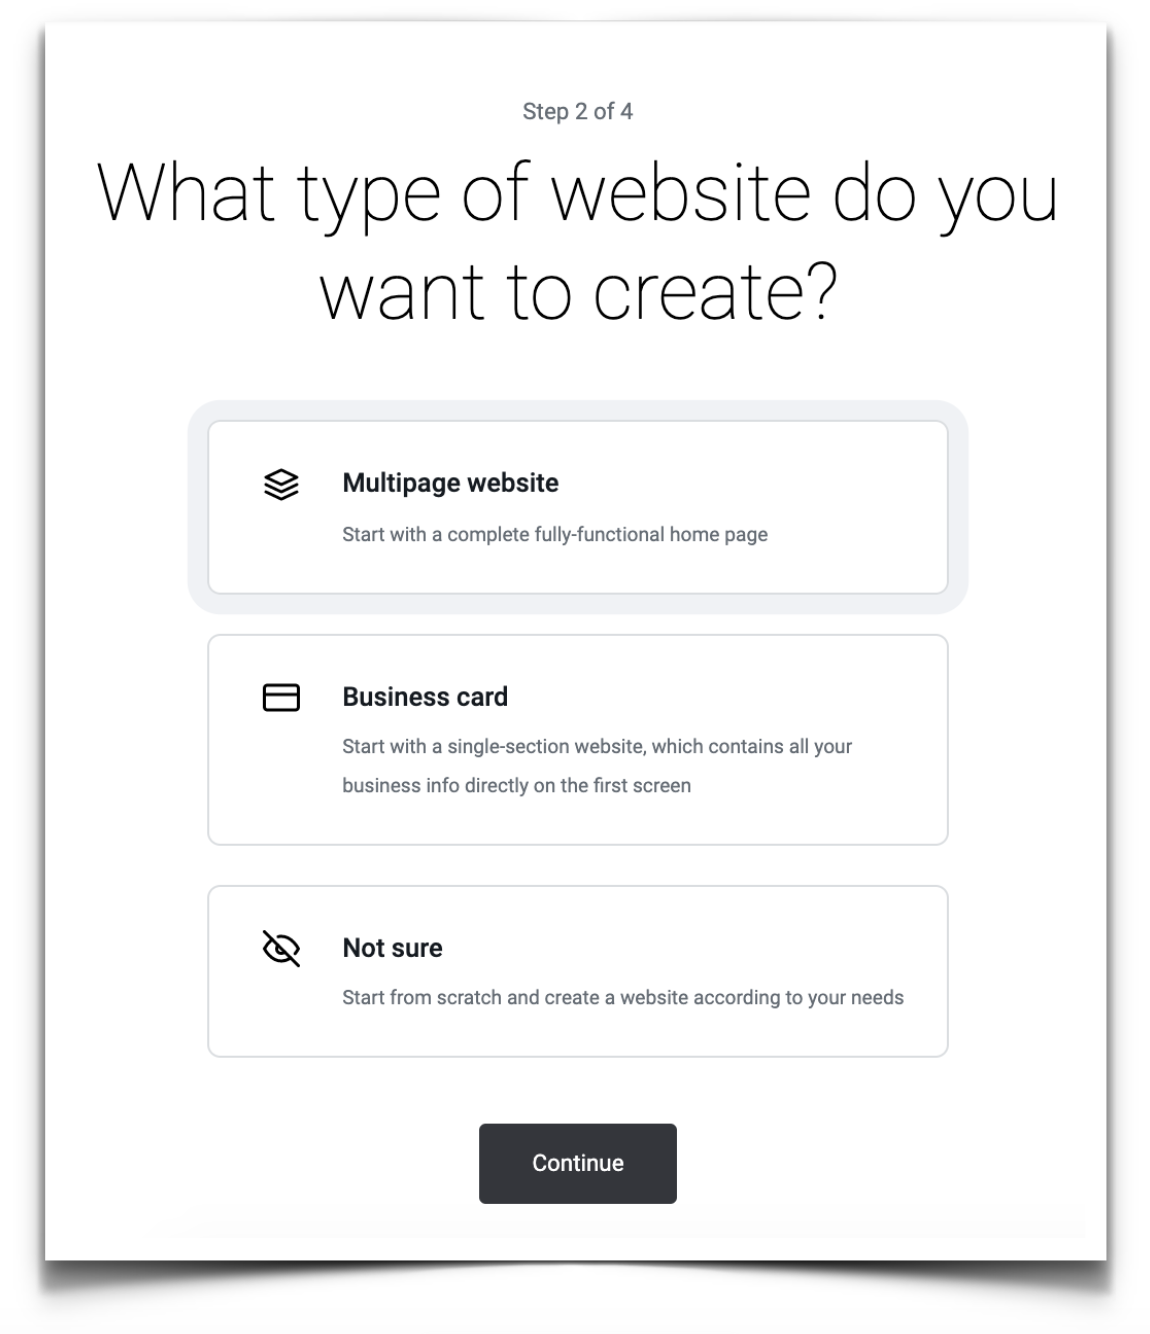
On the next page choose the type of a website you are planning to build. You can create a one-page business card-style website or a regular website with several pages. If you aren't sure which one to choose, click Not sure.
Tip: To return to the previous step, click the Back button at the bottom of the screen.
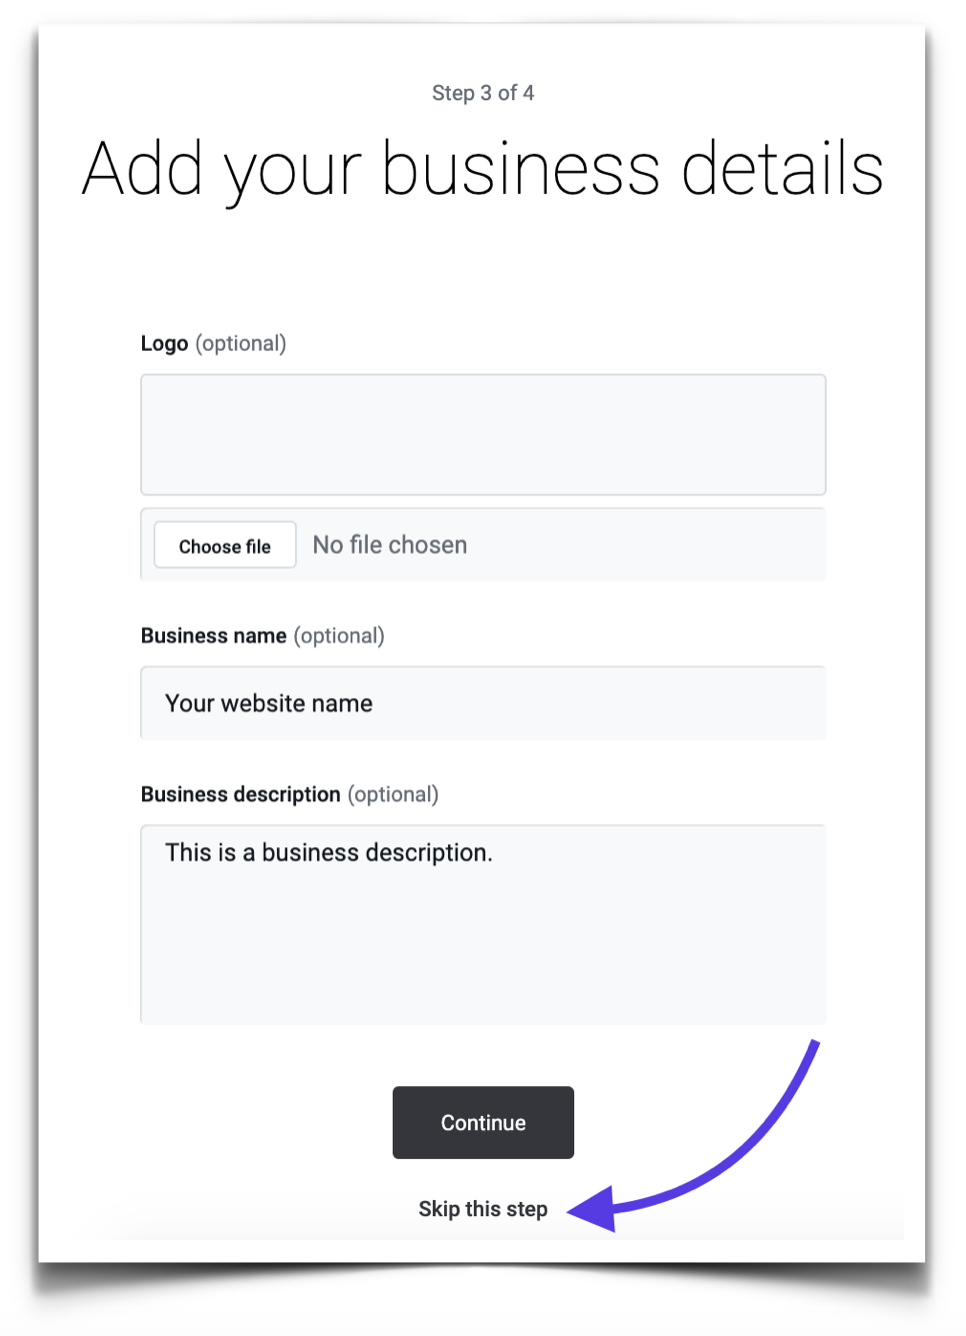
At the next screen, add a few details about your business: your logo, business name, and business description. You can always add these details later, so if you want to start building your site as quickly as possible, click Skip this step link at the bottom of the page.
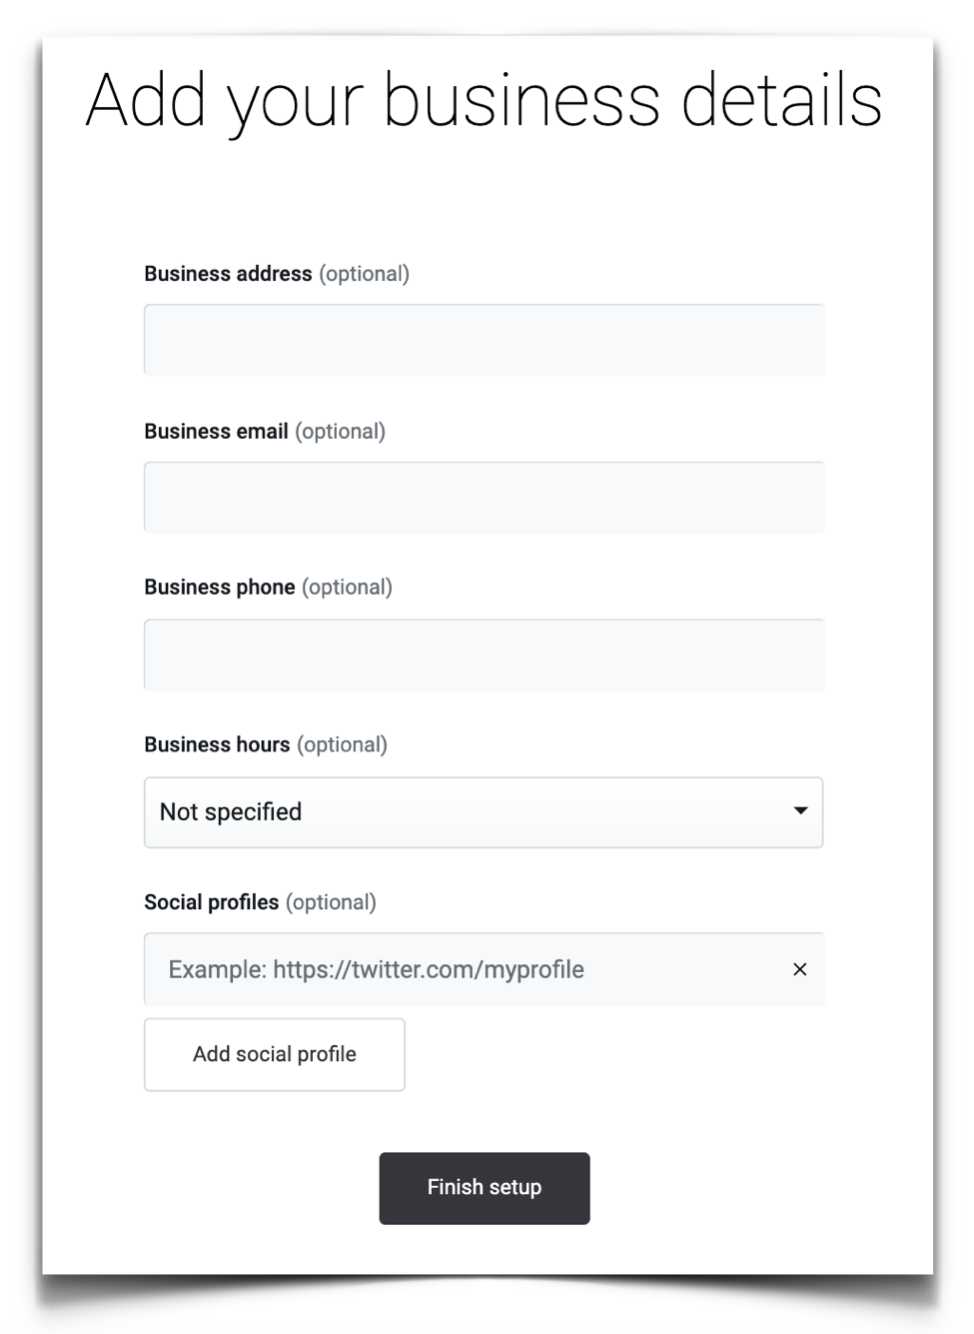
Add even more business details such as business hours, your contact information, and social media accounts in the next screen. These details will be added to your website.
You can skip this step and just press Finish setup to complete setting up your website details.
Step 3. Next Steps
Updated 7 months ago
