Getting Started with Website Security
How to log in and get started with Website Security
- Log in to your Webcentral account
- Click Manage, next to your domain
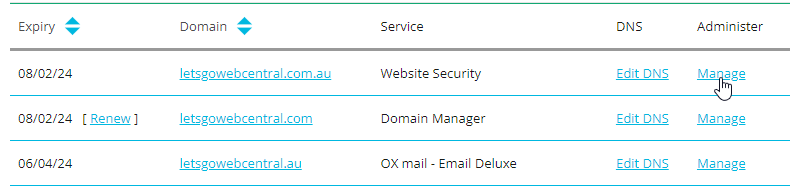
- Click Website Security

- Click Log into Website Security interface
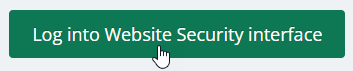
A new tab will open and the SiteLock webpage will load.
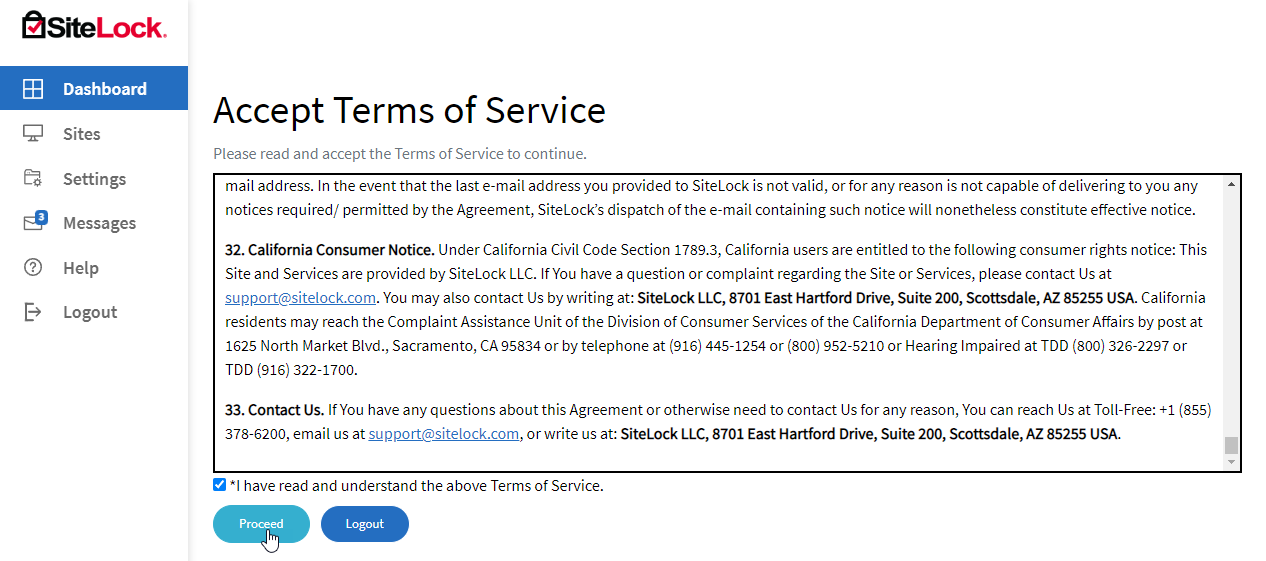
What is SiteLock? Webcentral's Website Security product is powered by SiteLock, an award-winning website security monitoring service that has protected millions of websites since 2008.
- Scroll to the end of the Terms of Service and tick the box to confirm you have read them, and then click Proceed
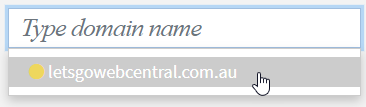
- Select your domain from the drop-down menu
It will already be there as an option
- A Configuration Alert will appear, click Configure

- You will need to enter your hosting's FTP details and then click Test Connection
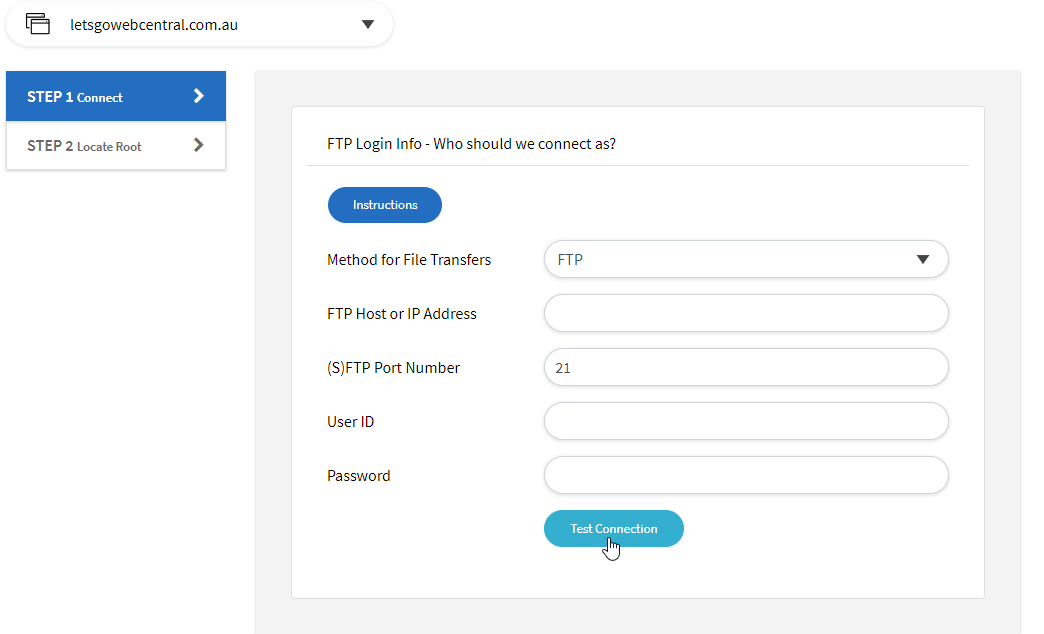
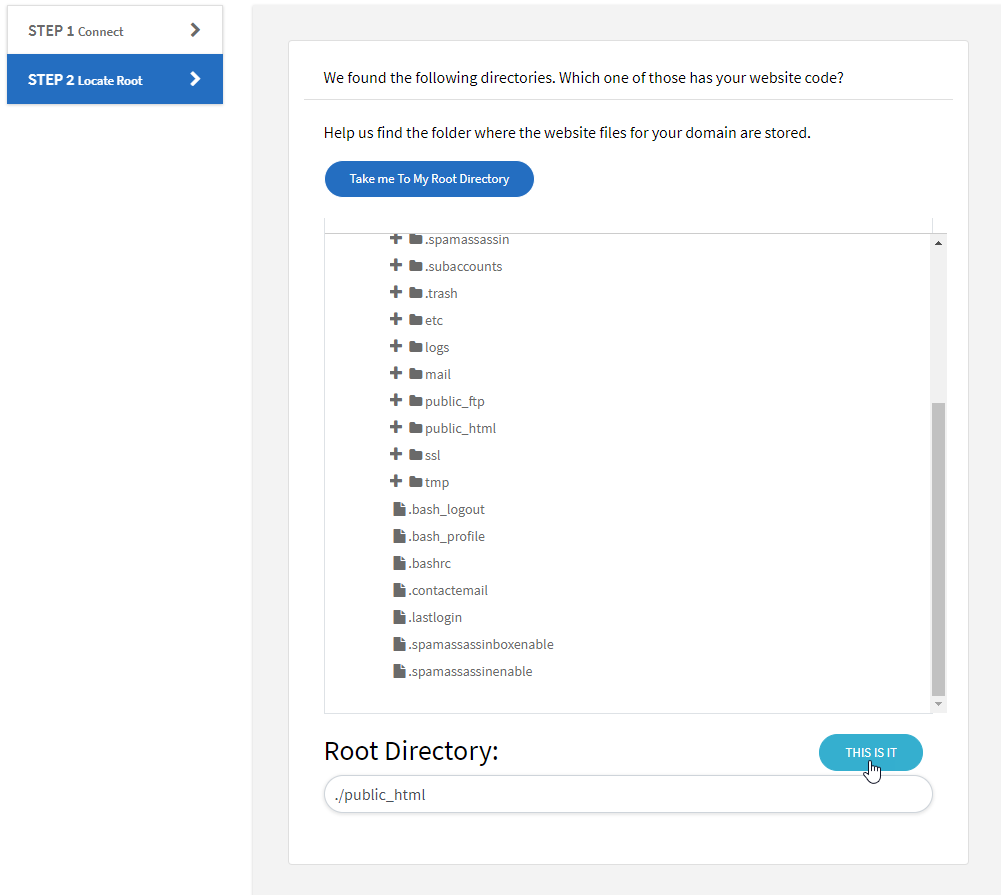
- Choose your root directory (this is where your website files are located)
For cPanel it's public_html
For Cloud Hosting It's / (forward slash)
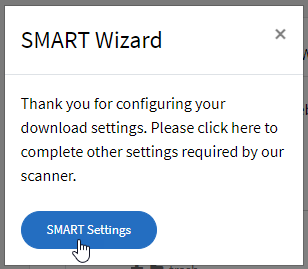
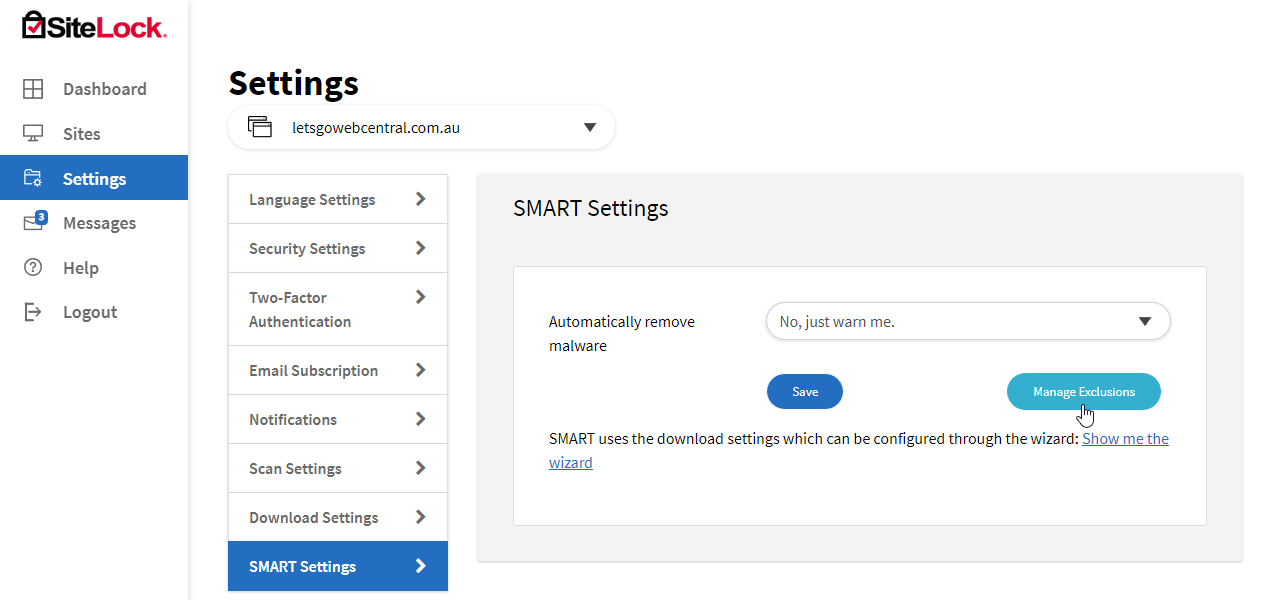
- The SMART Wizard box will appear, click SMART Settings to continue the setup
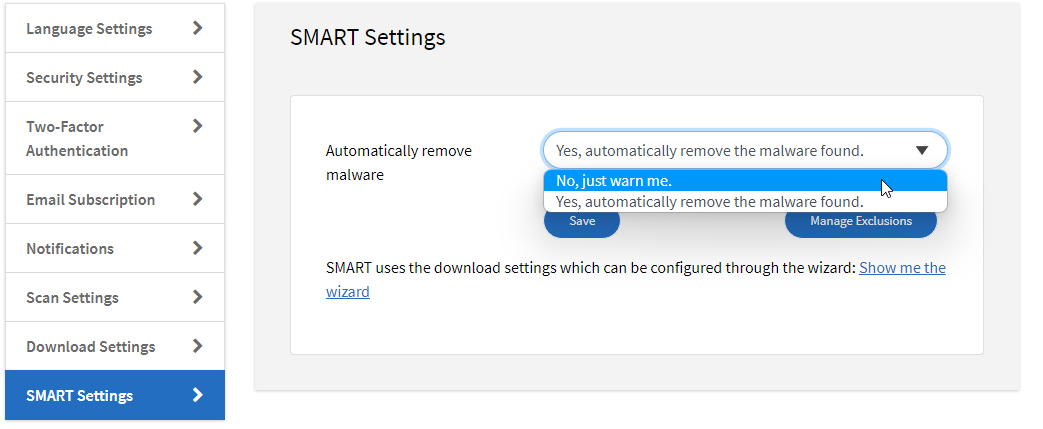
- From the drop-down menu, select whether you want the malware to be removed when detected or to just be notified about it, and then click Save
If you select No, Just warn me you will just be sent the report after the scan and the malware will not be removed. You can then decide to remove the malware yourself
If you select Yes, automatically remove the malware found you will be sent the report and the malware will be removed for you
Manage Exclusions
There may be files that you do not want to be scanned. To manage exclusions:
- Go to Settings
- Click SMART Settings
- Click Manage Exclusions
- Choose specific files or file types & sizes, which you want to exclude from any scans
- Click Update
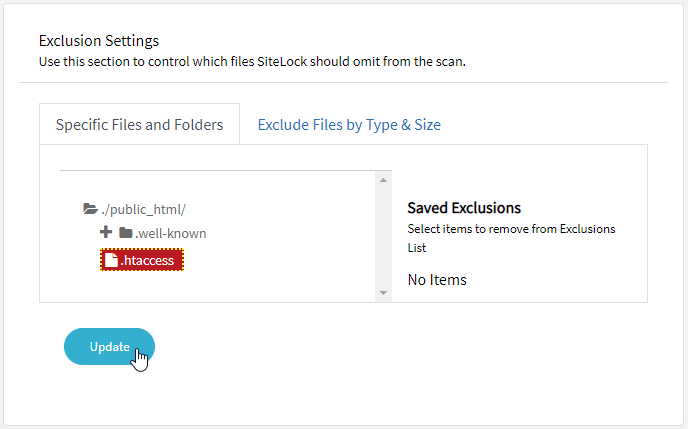
You have now excluded these files from the scan
Navigating the SiteLock control panel
To help use your SiteLock control panel and understand the dashboard, click here to view our guide.
Updated 9 months ago