Legacy Cloud Hosting - Alias Email Addresses
An alias email lets you create a professional-looking email address, that forwards all emails sent to it to another inbox like your Gmail, Outlook, or iCloud address.
So, if you’re not ready for professional email hosting yet but still want a professional address where customers can reach you, an alias is the perfect solution.
To create an alias make sure you have a service that allows you to create alias email addresses:
- If you have a Microsoft email, click here
- If you have cPanel, click here
- If you have Cloud Hosting or Domain Manager, follow the below steps:
- Log in to your Webcentral account
- Click Manage next to your domain
- Click Email (or Create New Email)
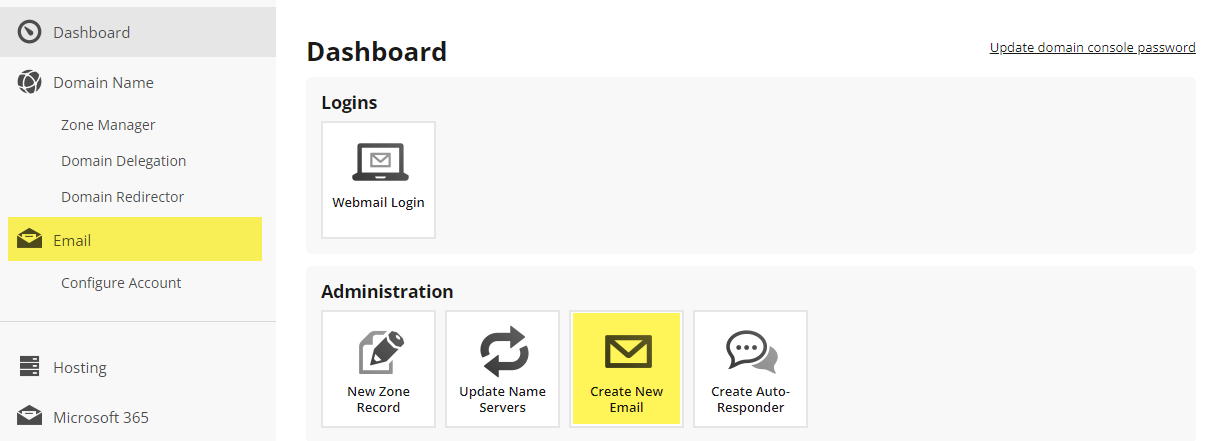
- From the drop-down menu select Alias account

- Click Create Email
- Next to ALIAS NAME,name your alias address (only type in the part before the @ symbol)
Tip: use something generic like info or contact
- Next to TARGET ADDRESS, type in your existing email account, the one you want your emails forwarded to
(e.g. [email protected], [email protected], [email protected], etc.)
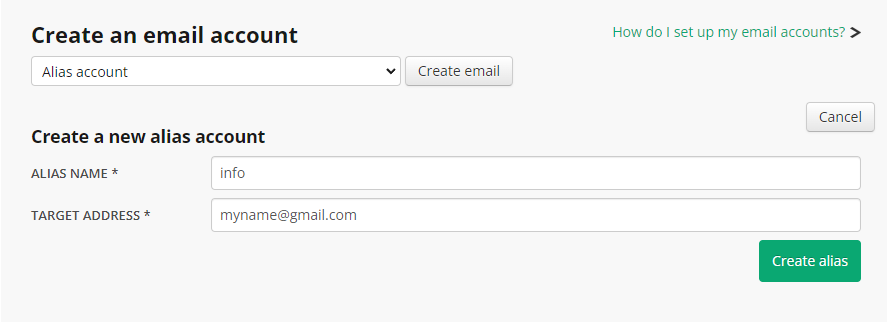
- Click Create alias
Your customers can now send emails to your alias, and they will arrive at your chosen email account.
Remember, an alias is only for inbound emails. Any replies you send will come from your real email address. To send emails from your professional address, you’ll need to upgrade to an email hosting product. You can check out Webcentral’s email products on our website, or chat with a sales specialist.
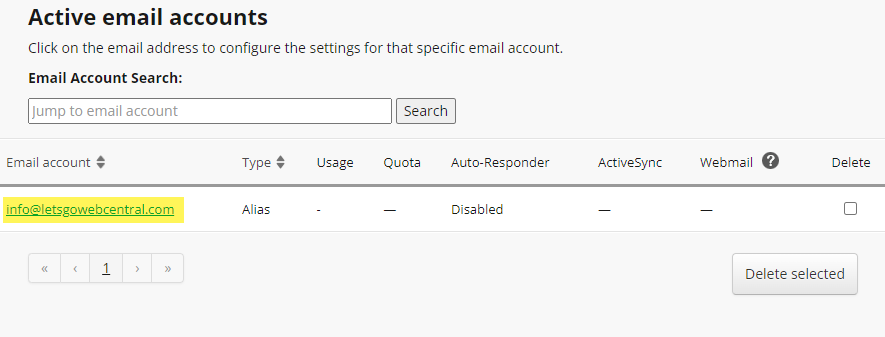
How to manage your aliases
- Under Active email accounts, click on the alias you created
You can now add more email accounts to forward to or delete existing ones.
How to add another forwarding address
- Next to FORWARDING ADDRESS type in the existing email account, you want to forward emails to
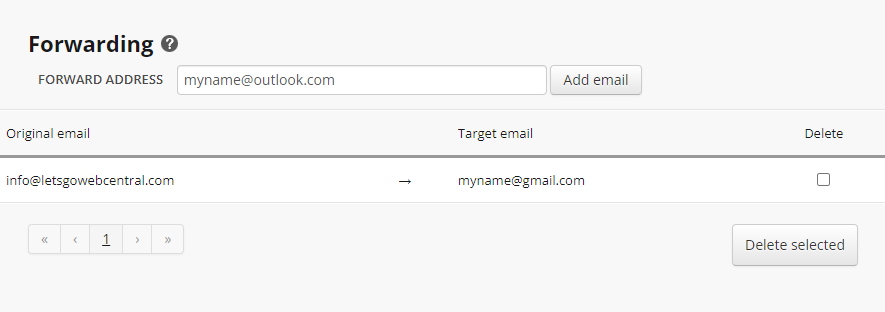
- Click Add email
Now whenever people send to your alias, the email will be forwarded to all your chosen target addresses.
How to delete existing target email addresses
- Tick the box under Delete (select as many target email addresses as needed)
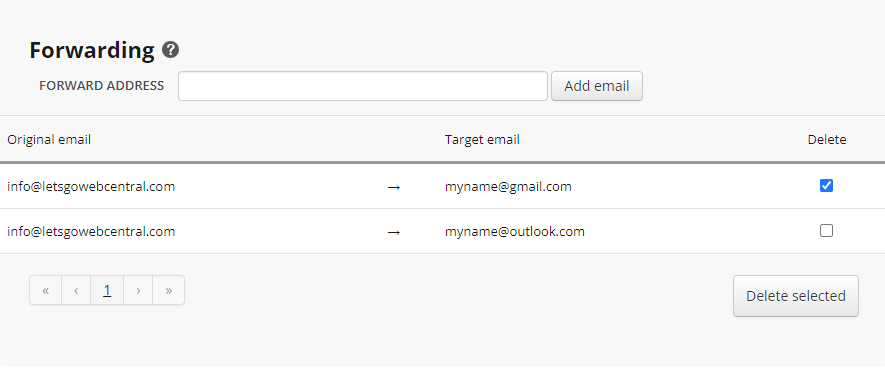
- Click Delete selected
How to delete an alias email address
If you need to create a different alias email but have reached your maximum alias accounts, you can delete your alias.
- Under Active email accounts, tick the box under Delete
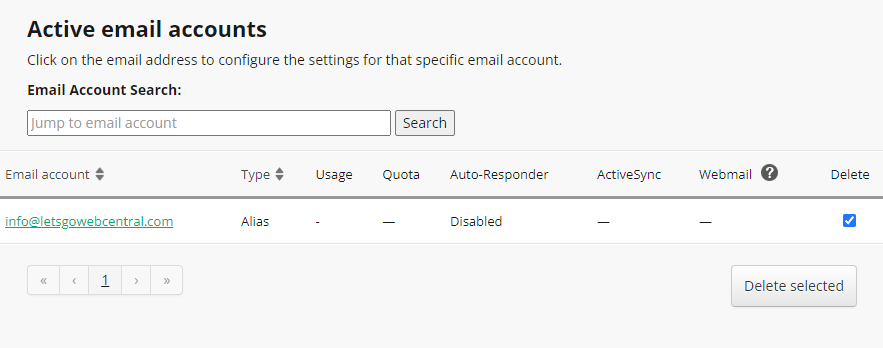
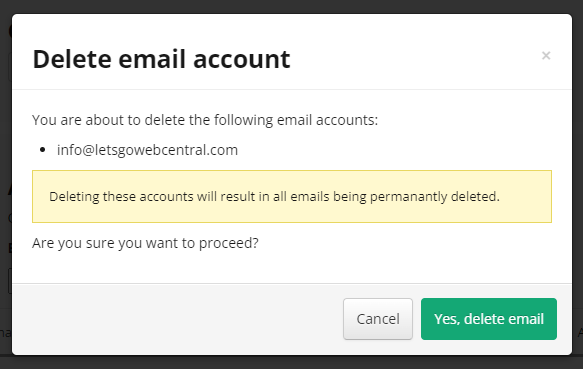
- Click Delete selected
- Click Yes, delete email
Updated 23 days ago