How to build a DIY website using the wizard
Our DIY WordPress service comes with an easy-to-use, step-by-step WordPress wizard that equips you with the tools to create a website in a matter of minutes. In addition to the wizard, your service includes a hosting environment where you can store, manage, and edit the data and files for your website.
Note: Any reference to cPanel means the WordPress Hosting environment
This guide will show you everything you need to get started:
- How to connect your domain to your website
- How to install WordPress and the WordPress wizard
- How to build a website using the wizard
How to connect your domain to your website
Your domain is what powers everything from your website to your emails and like any power tool, it needs to be plugged in to work. There are two ways to connect your domain to your website. If you bought your domain and DIY WordPress service together, then we've already done it for you and you can click here to skip to installing WordPress and the wizard.
Option 1: Change your Name Servers
Updating your domain's Name Servers is the easiest way to get started, just be aware that if you have any services already connected to this domain like emails, you'll want to make sure all important zone records are added to your cPanel before you change the Name Servers otherwise the service will be disrupted or stop altogether (click here to learn more about zone records and how to edit them in your WordPress Hosting).
Name Servers are updated with the company you bought the domain from. If you bought your domain from Webcentral, follow the below steps to change your Name Servers:
- Log in to your Webcentral account
- Click Manage, next to your domain

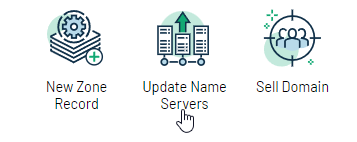
- Under Administration click Update Name Servers
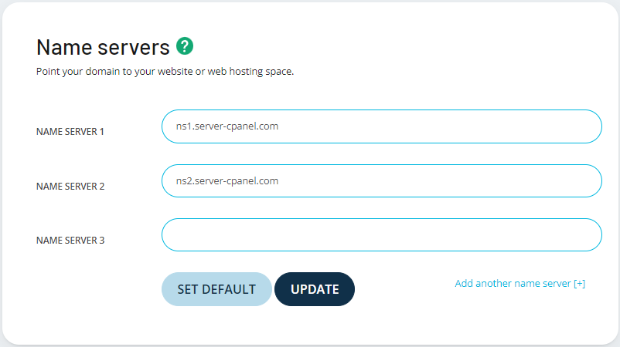
- Under Name servers, enter the below two Name Servers and delete any additional Name Servers, then click UPDATE:
For cPanel services purchased PRIOR To January 2024 please use the below DNS:
ns1.server-cpanel.com
ns2.server-cpanel.com
For cPanel services purchased AFTER January 2024 please use the below DNS:
ns1.mysecurecloudhost.com
ns1.mysecurecloudhost.com
Your domain is now connected to your WordPress hosting using Name Servers. It may take a few hours for the change to take effect but while that's happening you can install WordPress (click here).
Option 2: Change your A records
An A record is what connects your domain to your website. This option is usually best if you've been using your domain for a while and don't want to change your Name Servers.
- Log in to your account with your DNS Host (this is usually the company you bought your domain from)
- Click on the menu where you manage your domain’s zone records (this is sometimes called DNS Manager or Zone Manager)
- Edit your two A records (or create them if they do not exist) to point to your WordPress Hosting IP address
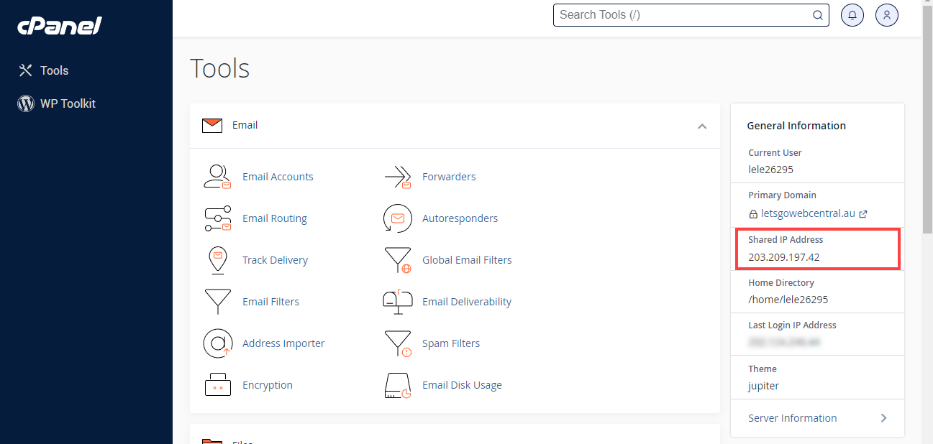
You will find your WordPress Hosting IP address after you log in to WordPress Hosting on the right side of the screen under Shared IP Address
- You will need to edit two A records, your root domain A record (which is just your domain name e.g. letsgowebcentral.com) and your www subdomain (which is your domain name with www at the beginning e.g. www.letsgowebcentral.com). This is because when your customers search your domain, whether they write letsgowebcentral.com or www.letsgowebcentral.com, it will load to the same website.
Your domain is now connected to your website using A records. It may take a few hours for the change to take effect but while that's happening you can install WordPress (click here).
How to install WordPress and the WordPress wizard
WordPress Hosting makes installing WordPress easy. Follow the below steps to install WordPress and the WordPress wizard with WP toolkit.
- Log in to your Webcentral account
- Click Manage, next to your domain
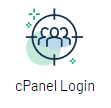
- Under Dashboard, click cPanel Login

You're now on the WordPress Hosting Tools page
- Click WP Toolkit, on the left side of the screen
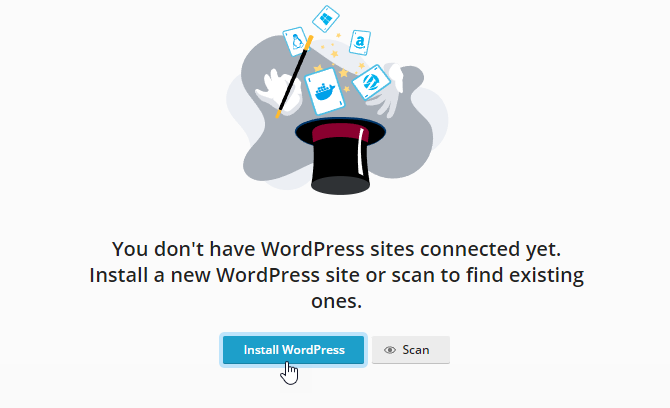
- Click Install WordPress
- Next to the Plugin/theme set click the drop-down menu and select DIY WordPress (this will install WordPress along with WordPress wizard)
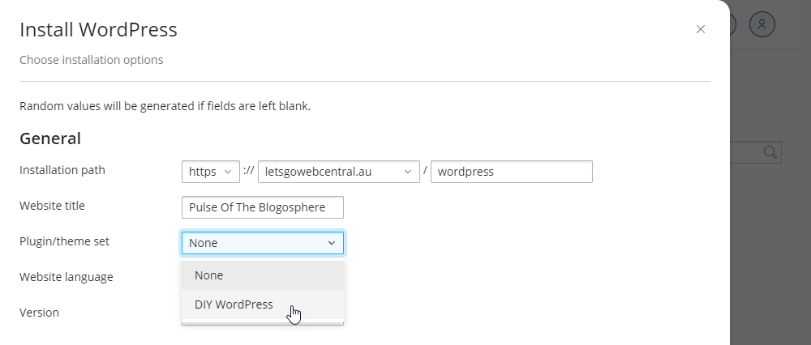
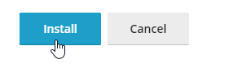
- Leave everything else as default for the fastest setup (or edit it as needed) and click Install
- It may take several minutes for the installation to complete
A menu in the bottom right corner of the screen will show you the installation progress
- An installation complete message will pop up asking if you want to install plugins, click No Thanks
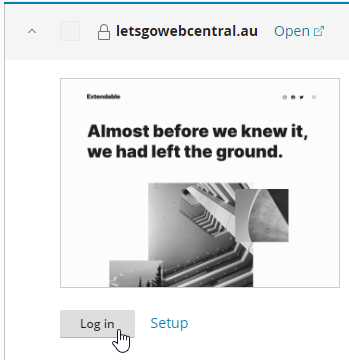
WordPress and the wizard are now installed. All that's left is to log in and build your website.
How to build a website using the wizard
With the step-by-step wizard, you can quickly create a website perfect for your business. Follow the below steps to get started.
- Log in to your Webcentral account
Already logged in to cPanel/WordPress Hosting? Skip to step 4
- Click Manage, next to your domain

- Under Dashboard, click cPanel Login
- Click WP Toolkit, on the left side of the screen

- Click Log in
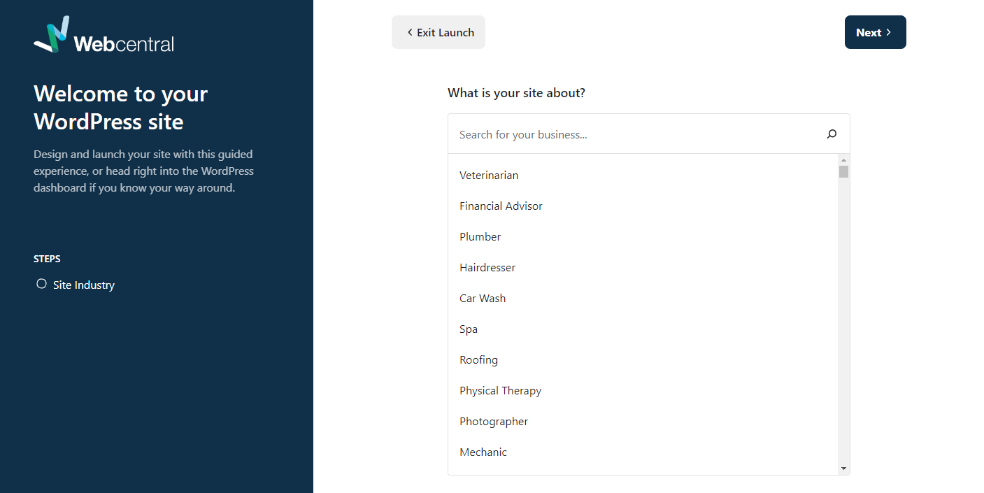
- Search for the type of business you're in or the closest fit and click Next
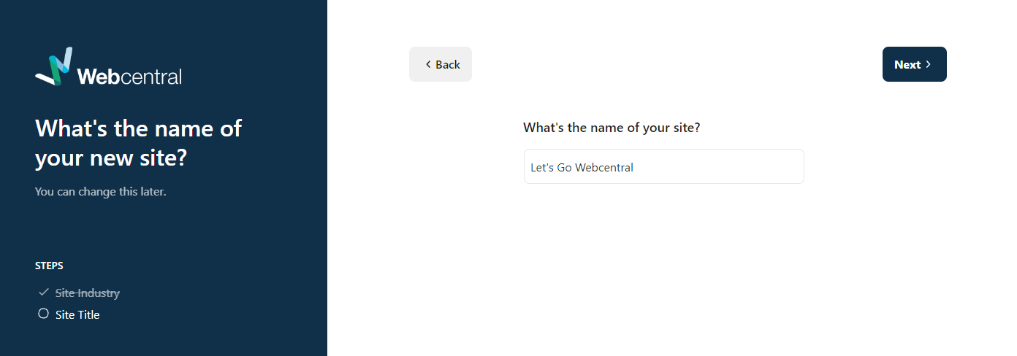
- Name your website (e.g., your business name)
This is what will appear in the top left corner of your website, next to your logo
- Select your Goals and click Next
Your goals will depend on your business and what you want to achieve from this website such as selling products and services, collecting donations, promoting events, and more

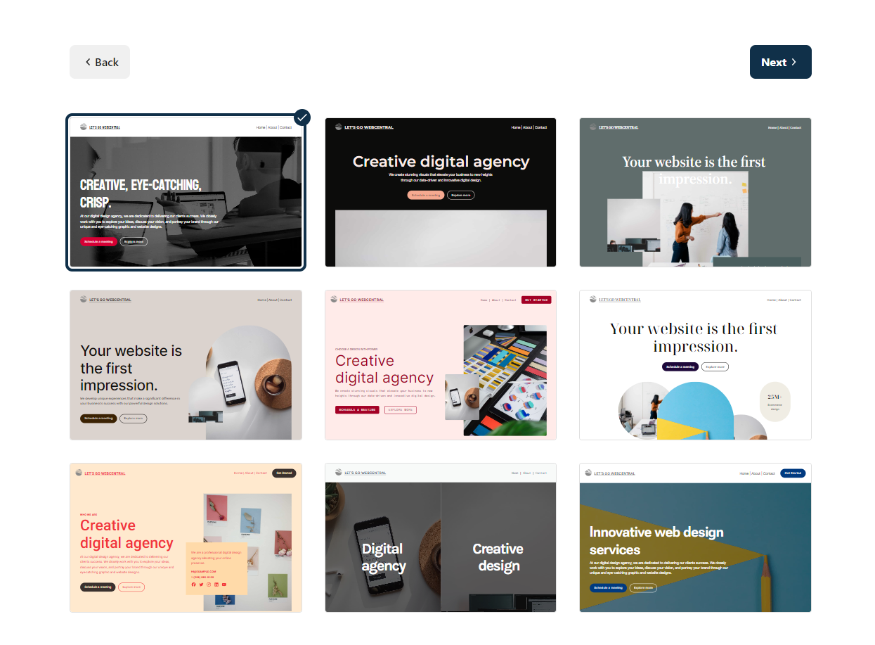
- Select the template you want to use and click Next
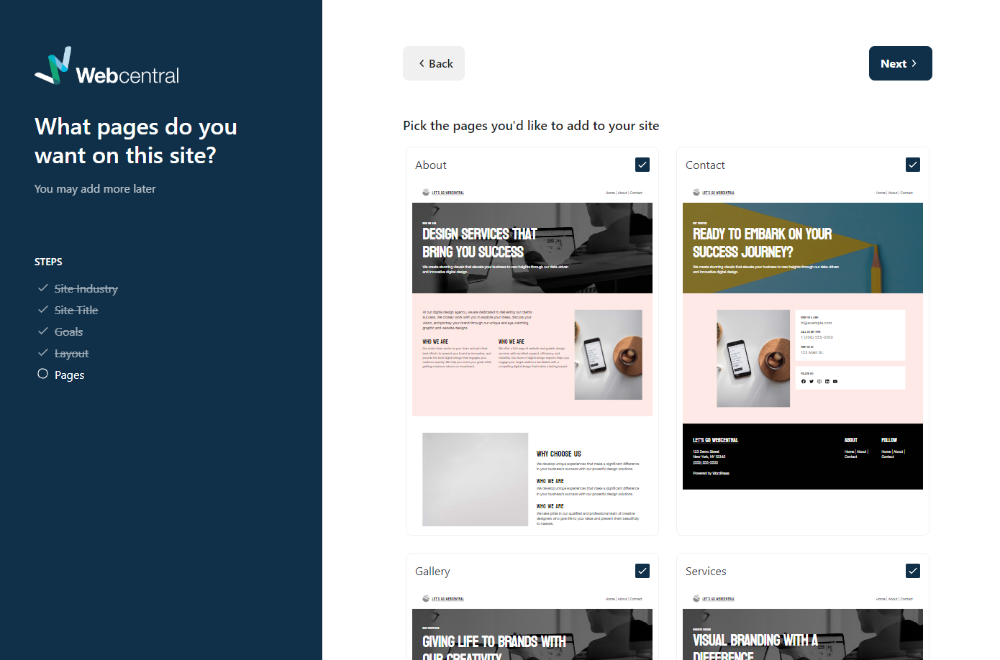
- Select what pages you want on your website
- Review your choices and click Launch site
To make any changes, click the step you want to go back to on the left side of the screen
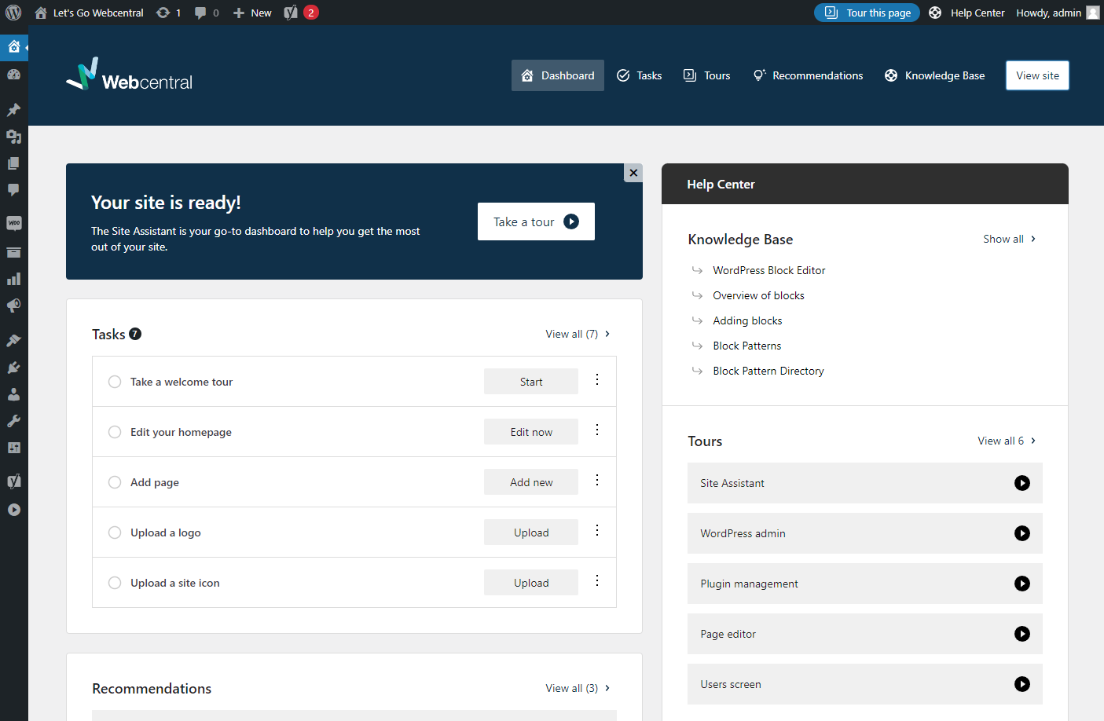
- It may take several minutes for your website to be built and published. Once finished, you'll be taken to Site Assistant.
- To customise your website, complete the Tasks
We recommend taking the welcome tour to get acquainted with Site Assistant and then completing each task to customise your website (you can skip any tasks that you don't want to do).
You can view your website at any time by clicking View site
You can come back to this page at any time and edit anything as needed.
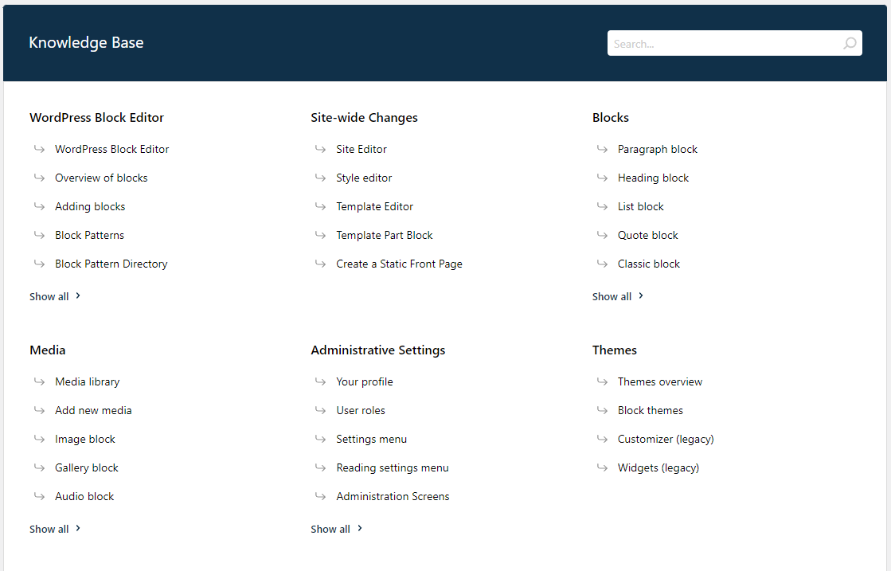
For more support check out the Site Assistant Knowledge Base
In Site Assistant, you'll find helpful guides that will show you everything you need to know to customise your website even further.
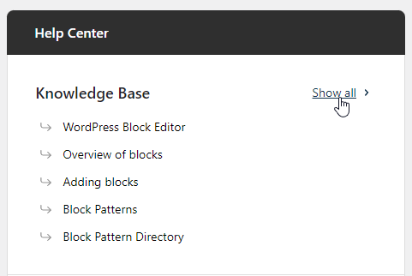
- Under Help Center, click Show all
- Click the guide you want to read or search for what you're looking for
Updated about 8 hours ago