iPhone/iPad email setup tutorial
Before you can configure email software to send and receive emails from our servers, you must
- Purchase a cPanel or Cloud hosting subscription service.
- Create an email account on our cPanel or Cloud hosting servers.
- Ensure you have your incoming, outgoing, username and password details ready to go
Once you have done this, you may configure your email software to connect to the email account you created on our servers.
Note: The default Apple Mail (or Mac Mail) application has several known issues, including not saving settings during setup, losing settings randomly and having issues with connecting several devices to the same email account. Unfortunately these are intermittent issues with the software itself, if you encounter these we recommend switching to Thunderbird or Outlook for Mac.
As a courtesy to our customers, we provide online tutorials on how to configure various email software. Our staff however are not able to provide support on how to use your iPhone or iPad. For further assistance in using Mail on your iPhone or iPad, see Apple's Mail support pages.
Set up an email account on the iPhone/iPad video tutorial
Set up an email account on the iPhone/iPad website tutorial
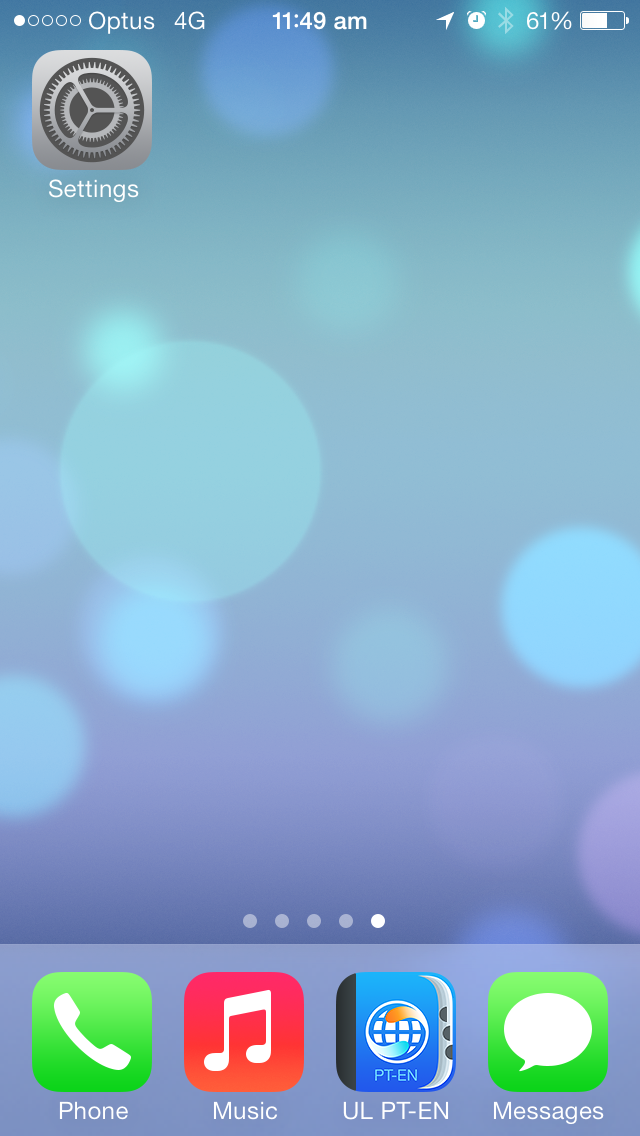
- From the home screen of your iPhone/iPad, press the Settings Icon

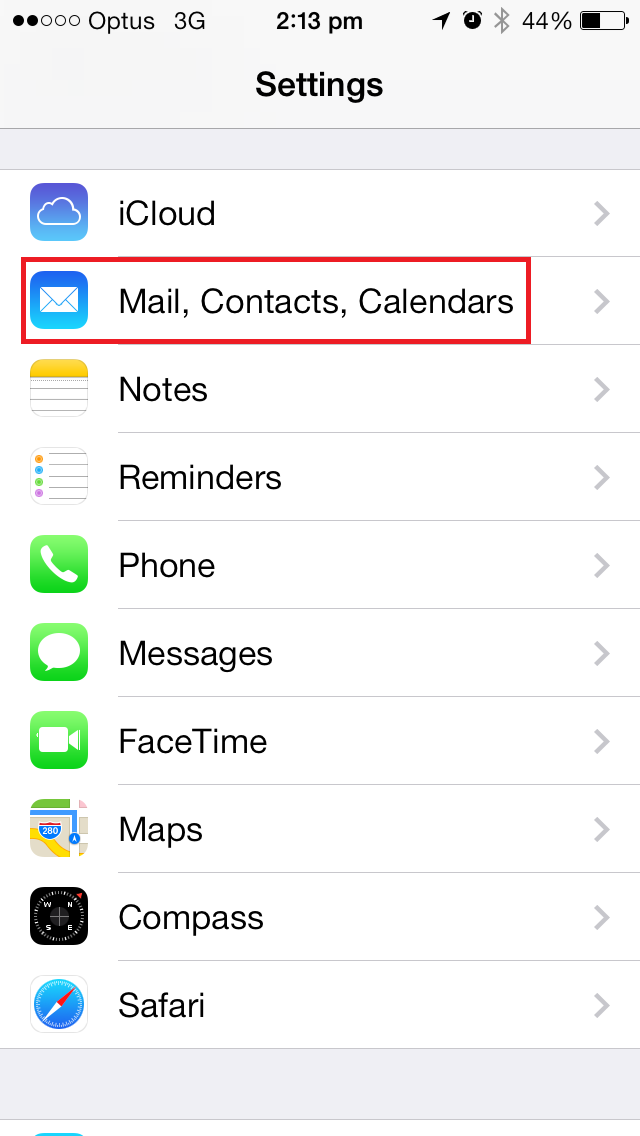
2. Select Mail, Contacts, Calendars
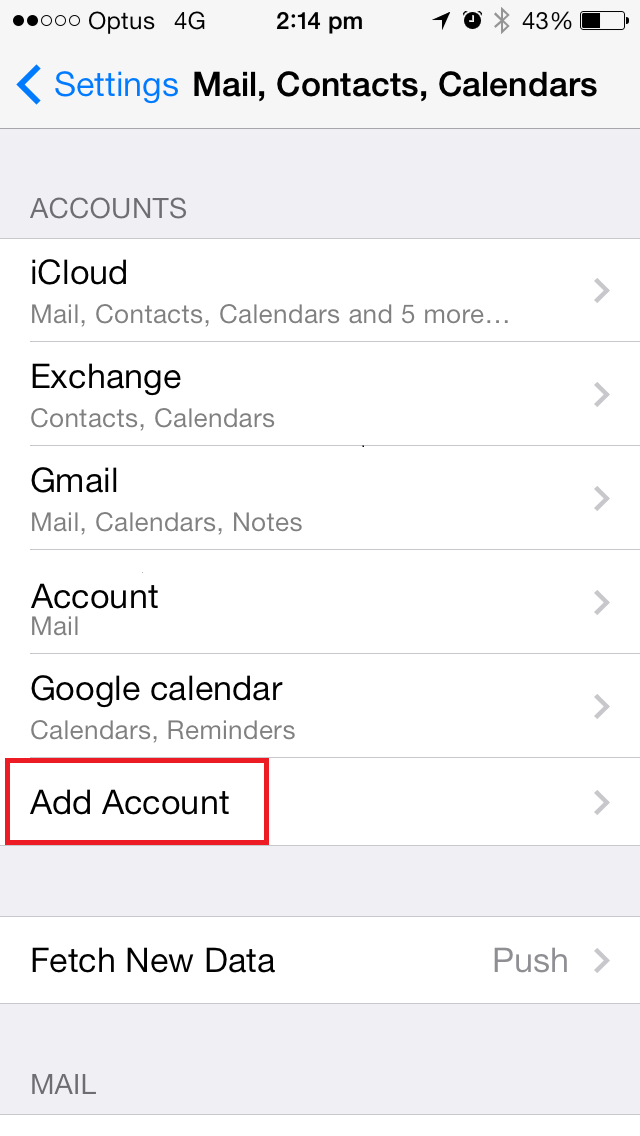
3. Under the Accounts section select Add Account
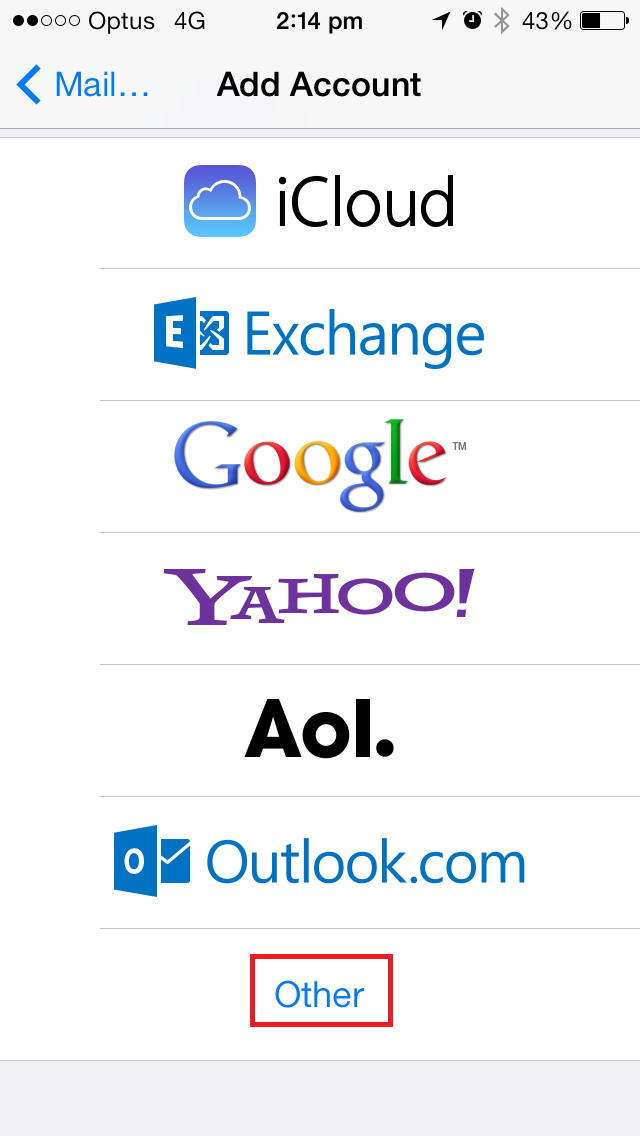
4. On the Add Account page select Other
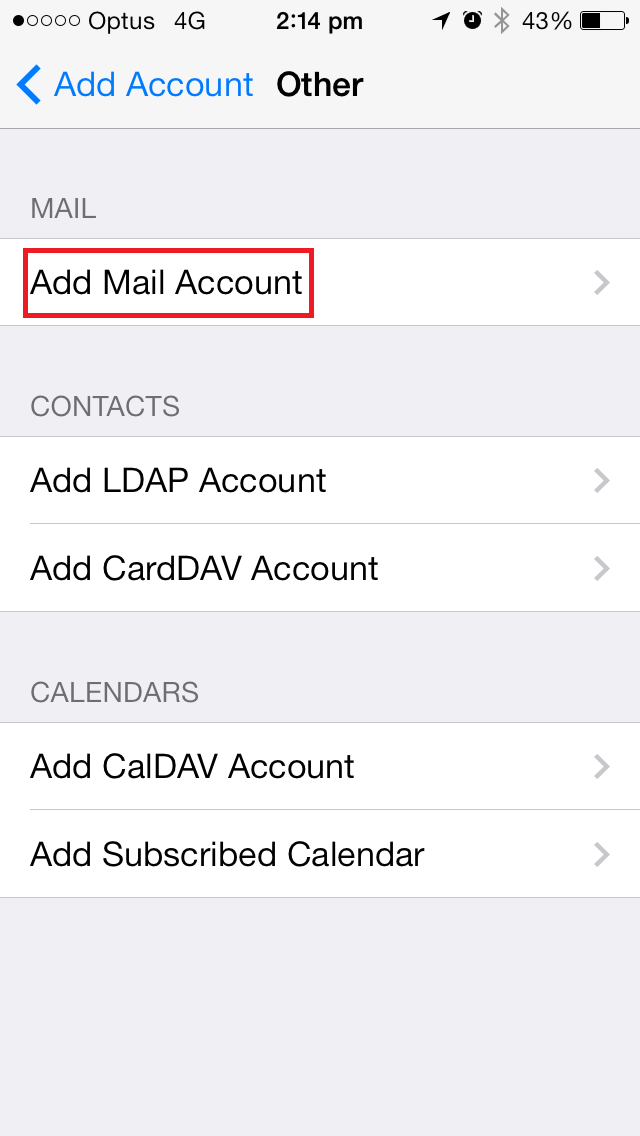
5. Under the Mail section, select Add Mail Account
6. On the New Account screen, complete the following details:
Your Name: The name to be displayed when sending email
Address: Your email address, e.g. [email protected]
Password: The password used for this email account.
Description : Any text description
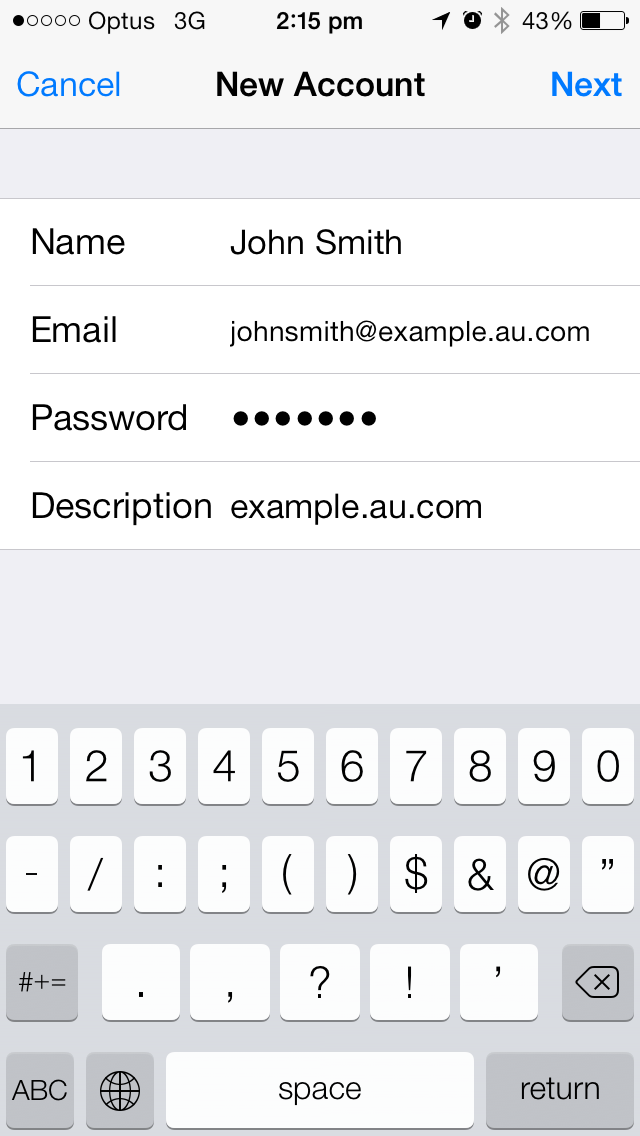
7. Press [Save]
The device may attempt to automatically retrieve the server settings. If it fails, continue following the steps below to configure your iPhone/iPad manually
8. Our servers support both POP and IMAP. Select IMAP or POP from the mail account types depending on your preference
To learn more about the difference between the two, read our POP vs IMAP support page

9. Scroll down the screen and complete the corresponding information.
Incoming Mail Server
Host Name: pop.example.com (if connecting via POP) or imap.example.com (if connecting via IMAP). Where example.com is your domain name.
Username: Your full email address, eg. [email protected]
Password: The password to your email address
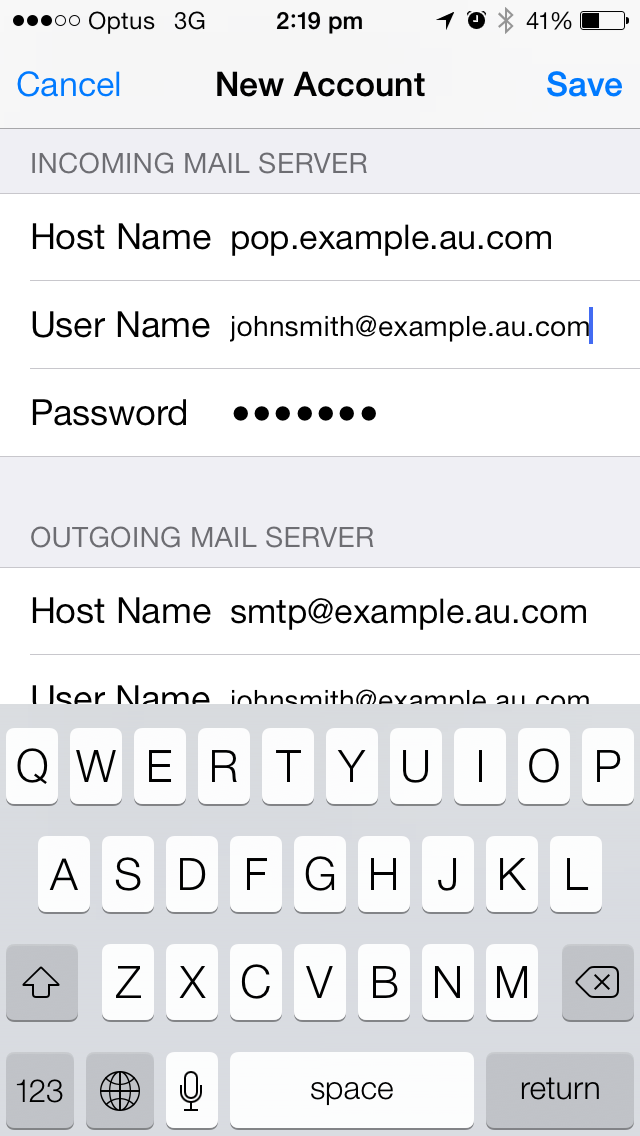
Outgoing Mail Server
Host Name: smtp.example.com
**Username: Your full email address, eg. [email protected]
**Password: The password to your email address.
10. Scroll back to the top of the screen and press [Save].
Your device will now attempt to verify all the settings you’ve entered. You’ll need to wait for it to do this.
Note: You may be given a warning that your device cannot connect via SSL or that it cannot be verified

The reason this warning comes up is because your device may be attempting to connect to our shared mail server via an SSL connection using your domain name rather than the name which the SSL certificate belongs to.
If this warning comes up, you may simply press continue.
For more information about this warning, read our SSL certificate on shared email service article.
11. That completes the configuration of your iPhone/iPad to our email servers. Before using it however, we recommend testing that a few other settings have been configured correctly. The iPhone/iPad is known for automatically using some default settings which may cause you some problems. Continue with the steps below to ensure that the settings on your device are manually set correctly.
Modify the Email Settings on your iPhone/iPad
- From the home screen of your iPhone/iPad, press the Settings Icon.
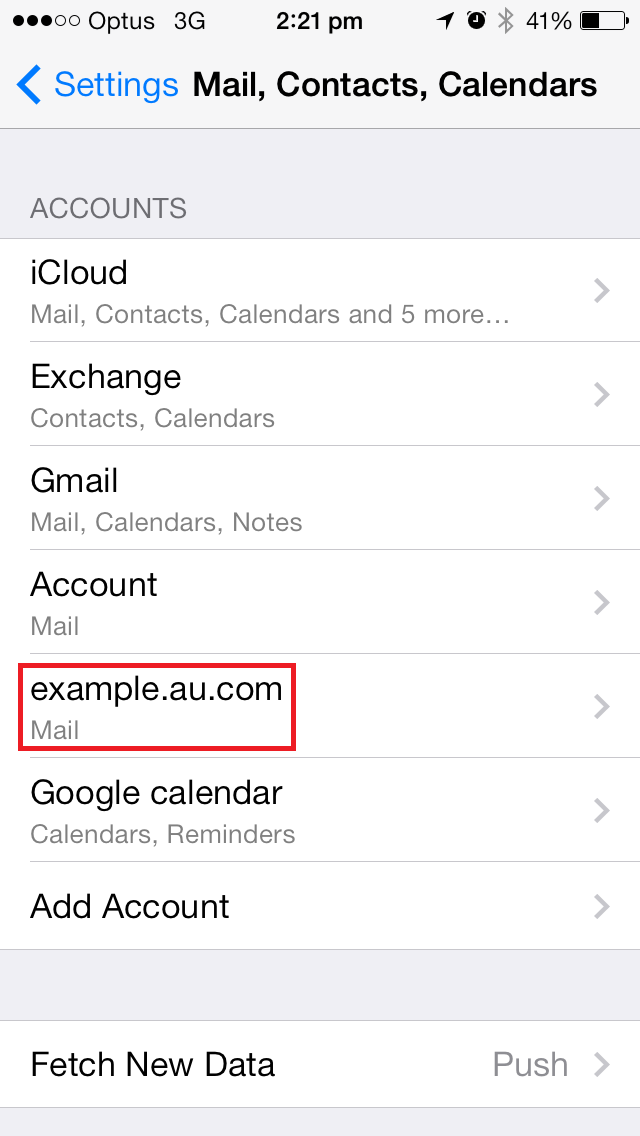
- Select Mail, Contacts, Calendars.
- The email account you just created will be displayed in the Accounts section.
- Select the email account you just created
5. Scroll down to the Outgoing Mail Server section and press SMTP
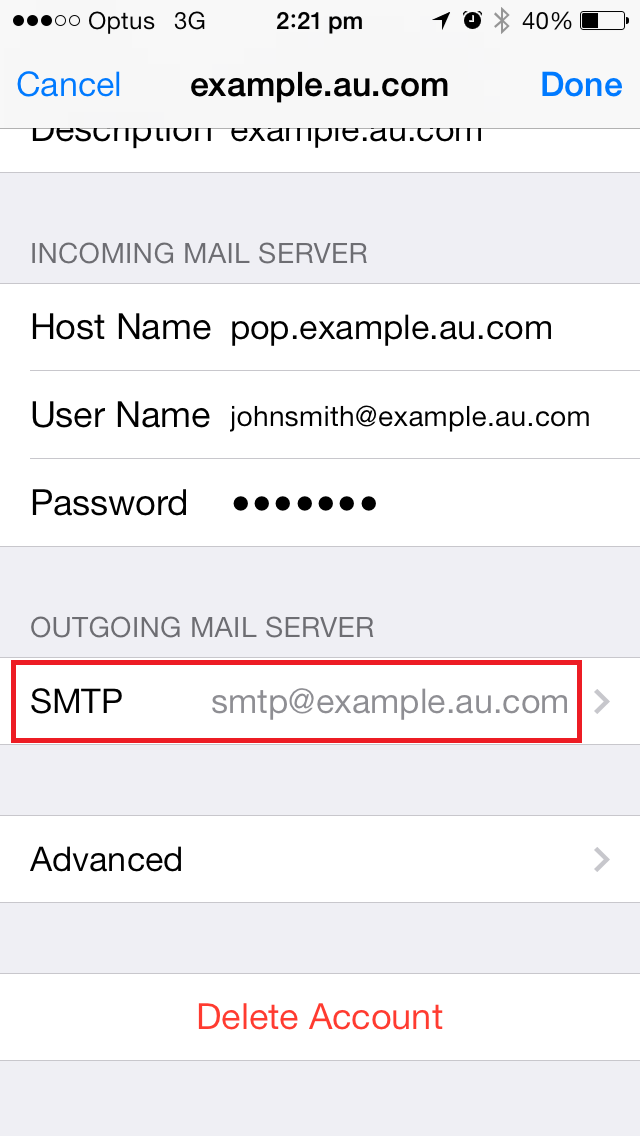
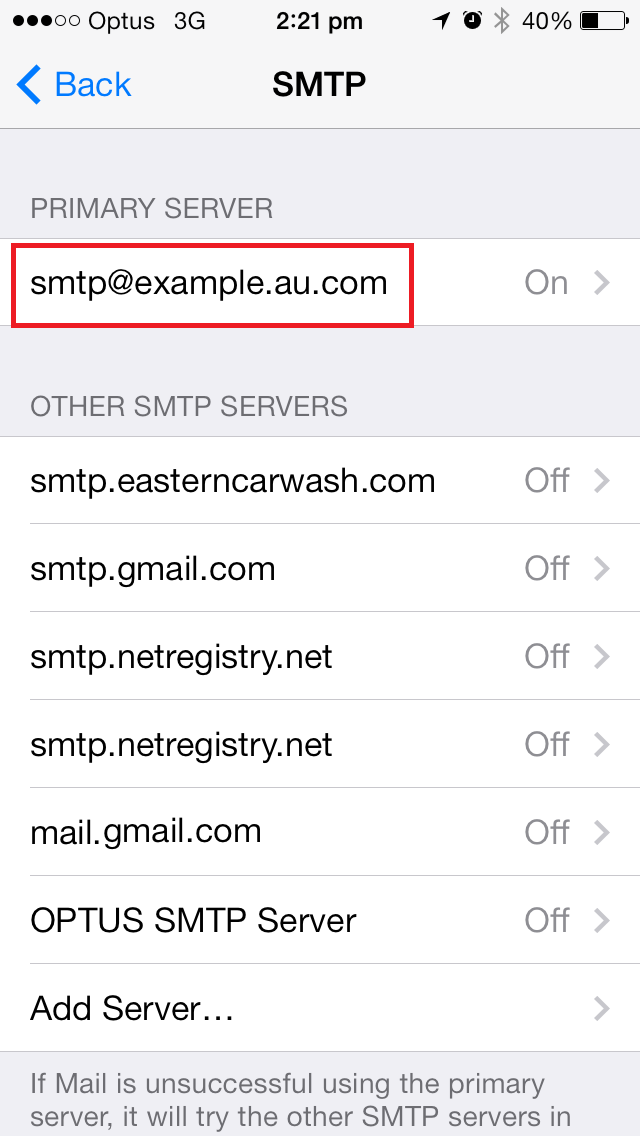
6. If only using your email services with us on your device, your primary server should be smtp.example.com.au. Select this SMTP server to configure it further
7. Modify the following information if not already completed:
SSL: Off.
Authentication: Password.
Server Port: 587.
If wanting to use SSL, set SSL to be on and the server port to be 465. Make sure to read our article about using SSL on our Shared Email Service
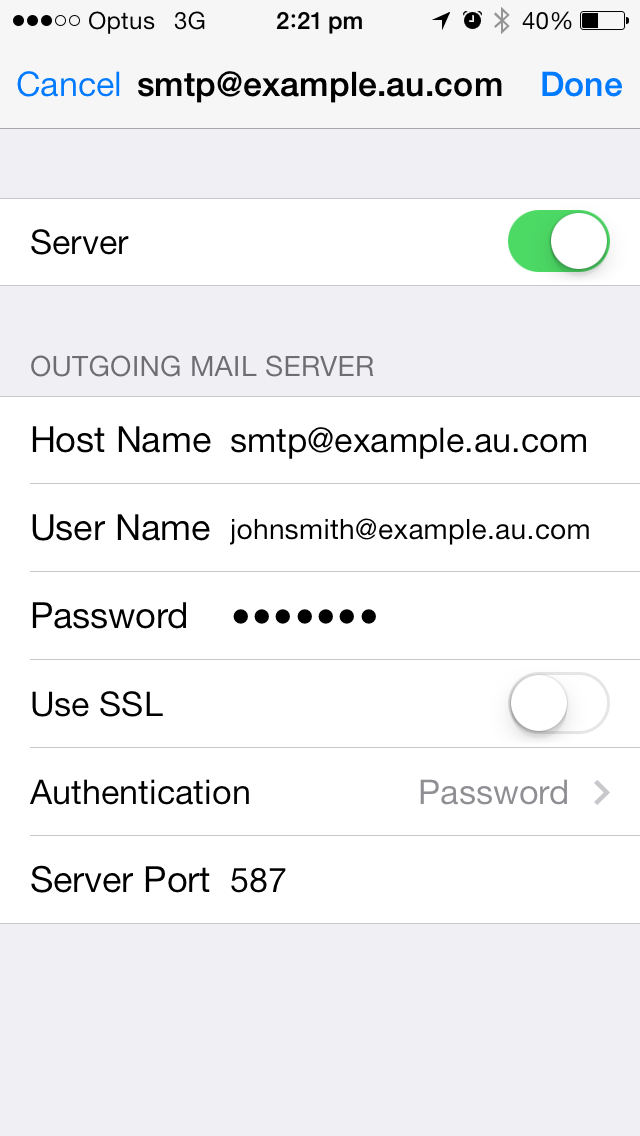
8. Press Done
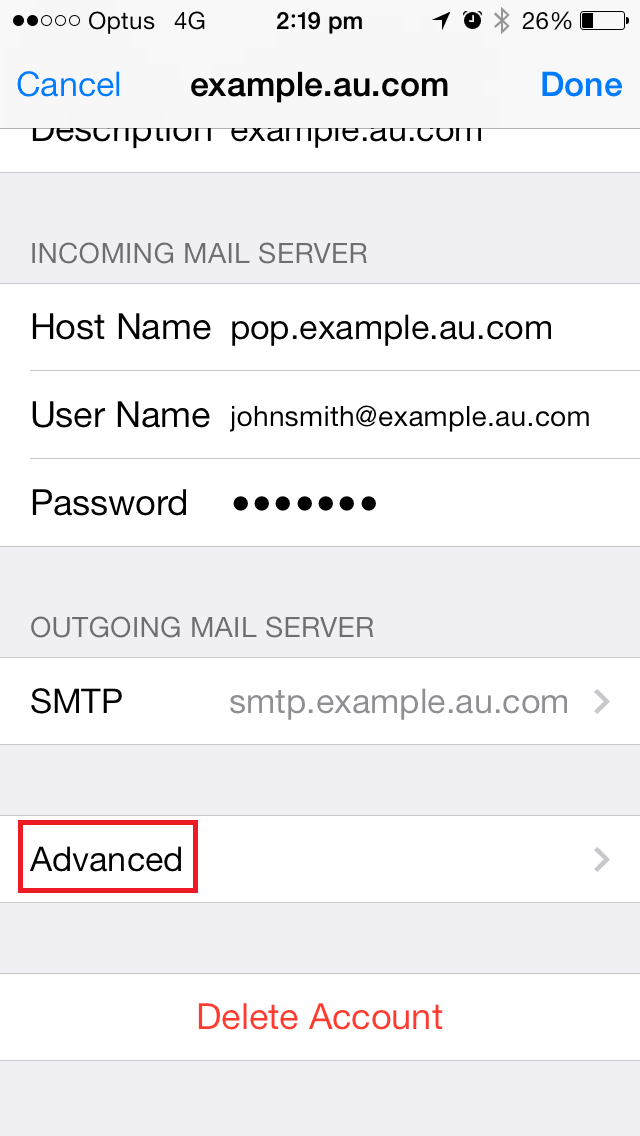
9. To modify your incoming mail server settings, go back to the mail email account page and press Advanced rather than SMTP
10. Modify the following information if not already completed:
SSL: Off.
Authentication: Password.
Server Port: 110.
If wanting to use SSL, set SSL to be on and the server port to be 995. Make sure to read our article about using SSL on our Shared Email Service.
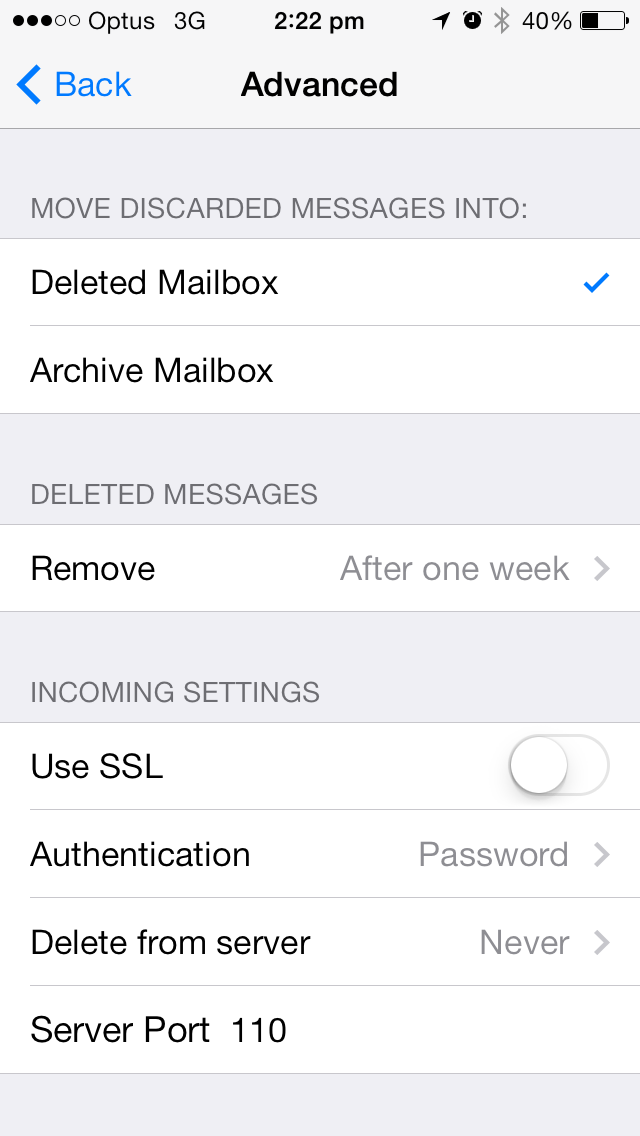
11. From this screen, you may also allow your device to delete emails off of our servers when it downloads them or set them to delete after a set period of time.
You’re now complete. Test by sending an email to the account.
Updated 4 months ago