Setting up Microsoft Mail
To configure Microsoft Mail to work with your e-mail account, follow these steps:- Start Mail.
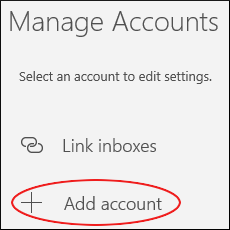
- Click Accounts, and then in the Manage Accounts sidebar, click Add account:
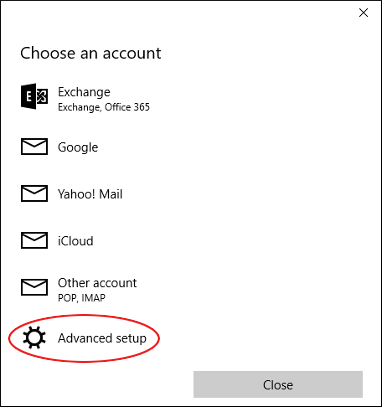
- In the Choose an account dialog box, scroll down, and then click Advanced setup:
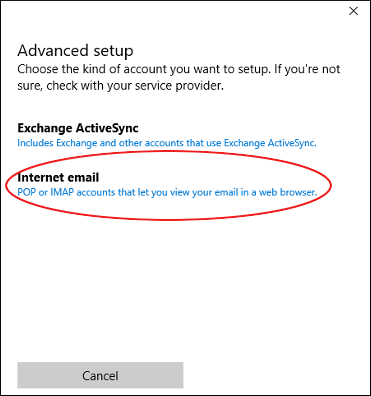
- In the Advanced setup dialog box, click Internet email:
- In the Internet email account dialog box, in the Account name text box, type a descriptive name for the account. The name can be anything you want:
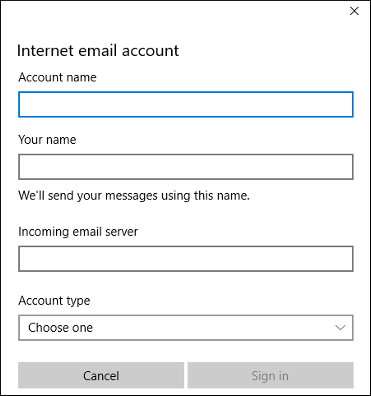
- In the Your name text box, type the name you want to appear on messages you send.
- In the Incoming email server text box, type
imap.titan.email. - In the Account type list box, select IMAP4.
- In the Email address text box, type the full e-mail address of the Titan Mail account you created.
- In the User name text box, type the full e-mail address of the Titan Mail account you created.
- In the Password text box, type the password for the e-mail account.
- In the Outgoing (SMTP) email server text box, type
smtp.titan.email. - Confirm that all of the following check boxes are selected:
- Outgoing server requires authentication
- Use the same user name and password for sending email
- Require SSL for incoming email
- Require SSL for outgoing email
- Click Sign in. When Mail finishes configuring the account, the All done! Your account was set up successfully message appears.
- Click Done, and then click the refresh icon:
