Installing themes To install a WordPress theme using the Webcentral Dashboard, follow these steps:
- Log in to the Webcentral Panel at https://theconsole.webcentral.au/
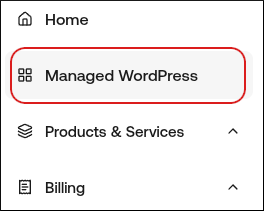
- In the left sidebar, click Managed WordPress:
- On the My Websites page, locate the site, and then click Manage:

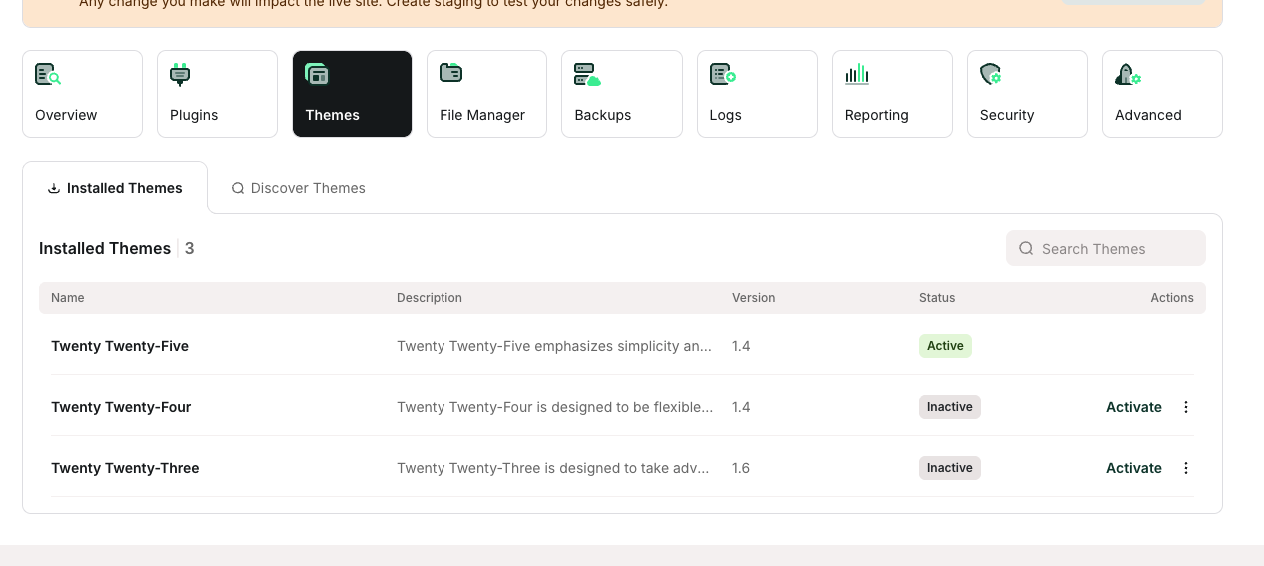
- On the Webcentral dashboard, click the Themes icon:
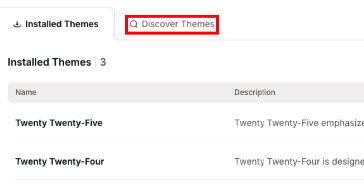
- Click the Discover Themes tab:
- In the Search Themes text box, type the name or functionality of the theme you want to install.
- In the search results, locate the theme you want to install, and then click Install. The theme now appears on the Installed Themes tab.
- Log in to the Webcentral Panel at https://theconsole.webcentral.au/
- In the left sidebar, click Managed WordPress:
- On the My Websites page, locate the site, and then click Manage:
- On the Webcentral dashboard, click the Themes icon:
- On the Installed Themes tab appears a list of your installed themes. Choose one of the following actions:
- To deactivate an active theme, in the Actions column, click the three-dot icon, and then click Deactivate.
- To activate a deactivated theme, in the Actions column, click the three-dot icon, and then click Activate.
- To update a theme, in the Actions column, click the three-dot icon, and then click Update.
- To delete a theme, in the Actions column, click the three-dot icon, and then click Delete.