To create a staging site, follow these steps:
- Log in to the Webcentral Panel at https://theconsole.webcentral.au/
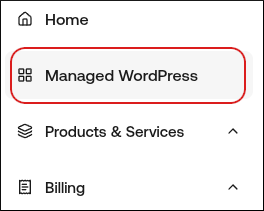
- In the left sidebar, click Managed WordPress:
- On the My Websites page, locate the site, and then click Manage:

- On the Webcentral dashboard, click Create Staging:
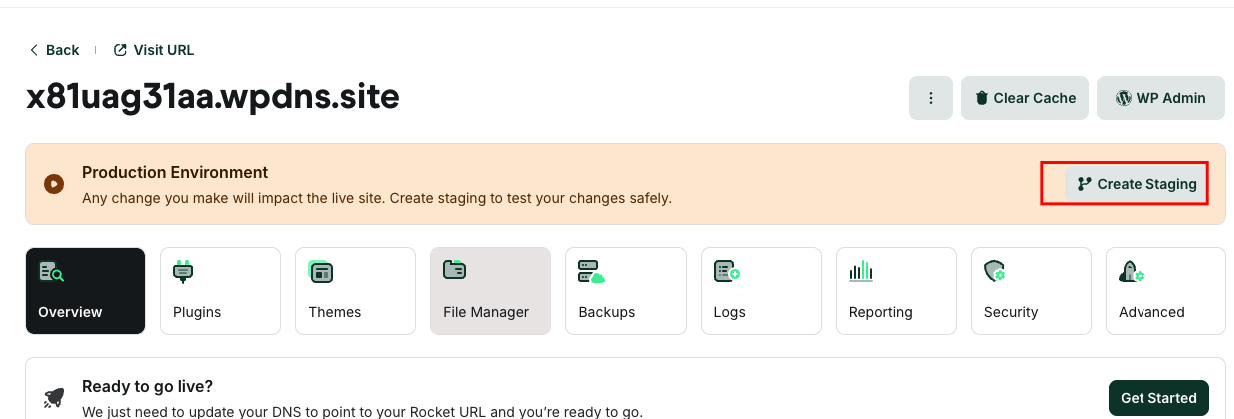
- This process can take a few moments to complete. When it does, a message appears stating you are in staging mode. You can now work with the staging site to perfect the changes you’d like to make.
Publishing your staging site When you’re ready to make the staging site live, click Publish in the top right corner. Important: Publishing a staging site overwrites your live site.
Deleting your staging site To delete your staging site, follow these steps:
- Confirm that the staging site is selected the top left corner, where the white box says staging
- Click Delete Staging to the right.