Step 1: Create your first site Creating a WordPress site takes just 60 seconds. To get started, follow these steps:
- Log in to the Webcentral Panel at https://theconsole.webcentral.au/
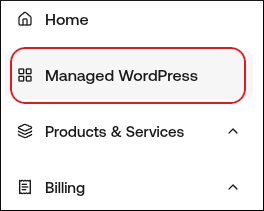
- In the left sidebar, click Managed WordPress:
- On the My Websites page, click Add Website:

- On the Add a Website page, in the Site name/label text box, type your WordPress site’s name:
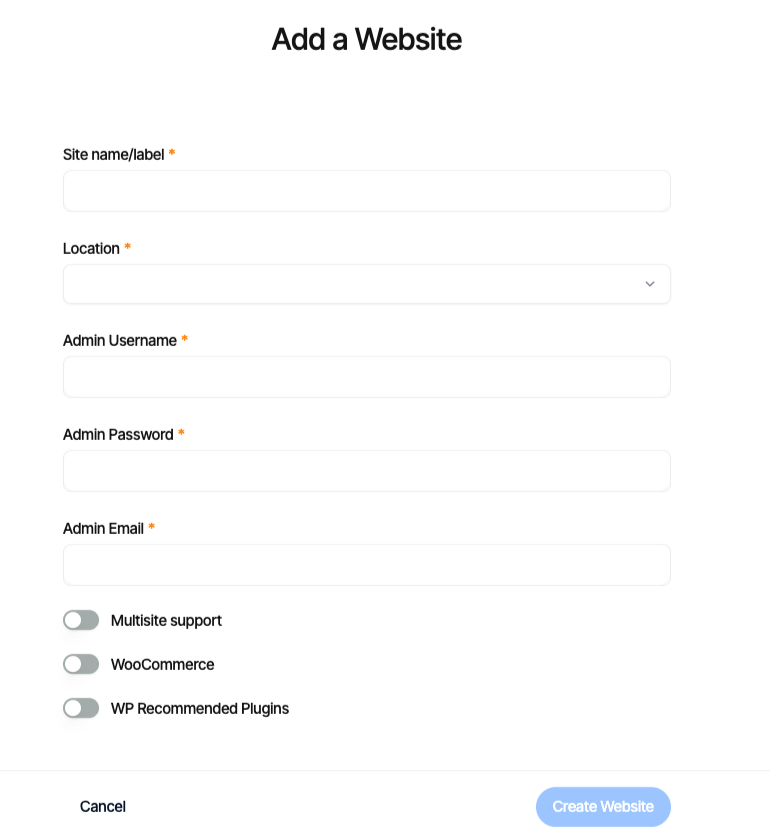
- In the Location list box, select the location for your WordPress site.
- In the Admin Username text box, type the admin username you want to use.
- In the Admin Password text box, type a complex password for the admin user.
- In the Admin Email text box, type your admin email address to receive important WordPress emails.
- Enable any additional options for your installation, and then click Create Website.
Step 2: Build or migrate your WordPress site Now that your site is created, you can access it immediately on your site URL (eg: https://abc123.onrocket.site). You can also log in to the WordPress admin dashboard directly. To do this, follow these steps:
- Log in to the Webcentral Panel at https://theconsole.webcentral.au/
- In the left sidebar, click Managed WordPress.
- On the My Websites page, locate the site, and then click Manage:

- At the top right of the page, click WP Admin:
 Tip: If you would like us to migrate your WordPress site from its old host for free, please open a support ticket at https://theconsole.webcentral.au/ Please provide the following details in the ticket:
- WordPress URL
- WordPress admin username
- WordPress admin password
Step 3: Go live! If you’re building a new site or are ready to update your DNS on an existing site, follow these steps:
- Log in to the Webcentral Panel at https://theconsole.webcentral.au/
- In the left sidebar, click Managed WordPress.
- On the My Websites page, locate the site, and then click Manage:

- In the Ready to go live? section, click Get Started:

- In the Change Domain Name section, type the domain you want to use with WordPress:
- If you want to use the base domain name, type example.com where example.com represents your apex domain.
- If you want to use the www subdomain, type www.example.com where example.com represents your apex domain.

- Click Continue.
- In the Configure SSL section, copy the values for the two TXT records.
- Log in to your domain’s registrar or DNS provider, and create TXT records that contain the values you obtained in the previous step.
- Click Continue.
- In the Update DNS section, copy the values for the A and CNAME records.
- Log in to your domain’s registrar or DNS provider, and create A and CNAME records that contain the values you obtained in the previous step.
- 104.19.154.92
- 104.19.155.92
- Click Close.
That’s it! You’ve successfully created your first site on the Managed WordPress platform. If you have any issues or require assistance, please do not hesitate to open a support ticket at https://theconsole.webcentral.au/. We’ll be glad to help you!