- Mini Web Hosting
- Starter Web Hosting
- Plus Web Hosting
- Pro Web Hosting
- Max Web Hosting
- Hosting for WordPress
Managing your website files
You can create, edit, and delete files and directories, and much more. To do this, follow these steps:- Log in to your account as described in Managing your website in the Hosting Panel.
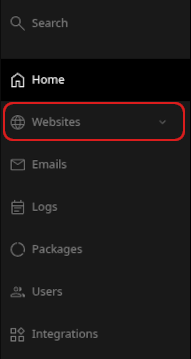
- When the control panel appears, in the left sidebar, click Websites:
- On the Manage websites page, click the website you want to manage.
- A list of tabs appears at the top of the page. Click the Files tab:

- The File manager appears:
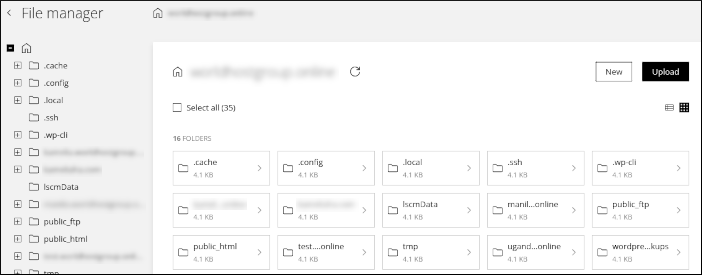
- You can navigate the file system using the folder tree in the left sidebar:
- Click a folder name to view its contents in the right pane.
- Click the plus sign (+) icon to view subfolders beneath the current folder.
- In the right pane you can do many operations:
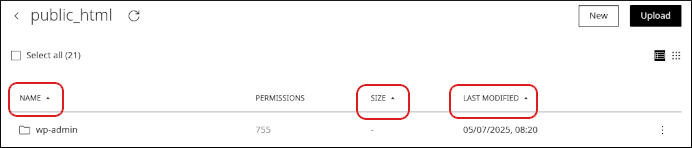
- To sort the listing by name, size, or the date it was last modified, click the column heading:
- To create a new file or folder, click New, and then click File or Folder.
- To upload a file or folder to your account, click Upload, and then click File or Folder.
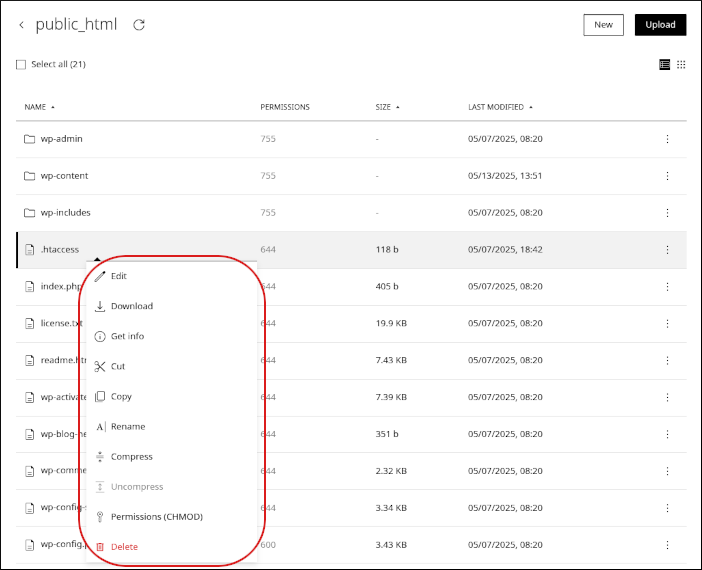
- To modify an existing file or folder, right-click it, and then select an option:
- To edit a file, click Edit.
- To download a file to your local computer, click Download.
- To view path, file size, permissions, and other information for a file or folder, click Get info.
- To copy a file or folder, click Copy.
- To rename a file or folder, click Rename.
- To compress a file or folder, click Compress.
- To decompress a compressed file or folder, click Uncompress.
- To change the permissions for a file or folder, click Permissions (CHMOD).
- To delete a file or folder, click Delete.
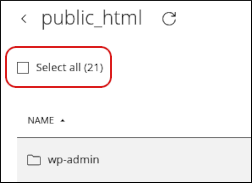
- To process multiple files at once, select the Select all check box, and then select one of the options that appears at the bottom of the page:

- To sort the listing by name, size, or the date it was last modified, click the column heading: