- Mini Web Hosting
- Starter Web Hosting
- Plus Web Hosting
- Pro Web Hosting
- Max Web Hosting
- Hosting for WordPress
In many cases, you do not need to install an SSL certificate manually. For example, if you are using the free SSL certificate, it is installed automatically. Use the following procedure if you need to install an SSL certificate that you purchased from Webcentral or another provider.
Installing an SSL certificate
To install an SSL certificate and its private key, follow these steps:- Log in to your account as described in Managing your website in the Hosting Panel.
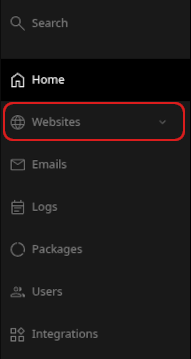
- When the control panel appears, in the left sidebar, click Websites:
- On the Manage websites page, click the website you want to manage.
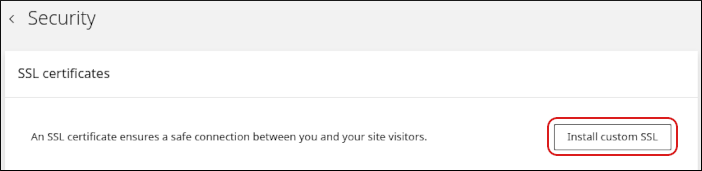
- A list of tabs appears at the top of the page. Click the Security tab:

- The Security page appears. In the SSL certificates section, click Install custom SSL:
- In the Domain list box, select the domain for which you want to install the SSL certificate.
- In the Certificate (CRT) text box, paste the text of the certificate. Alternatively, click Upload file to upload the certificate file directly.
- In the Private key text box, paste the text of the private key. Alternatively, click Upload file to upload the private key file directly.
- Click Upload. The Hosting Panel installs the certificate and private key for the specified domain.