Create a database and user
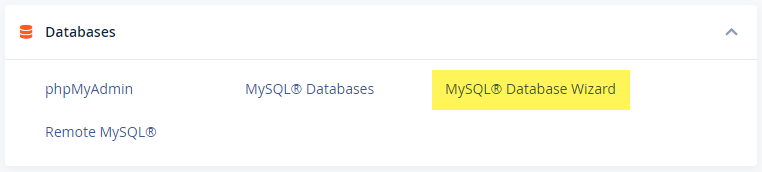
- In the cPanel main menu click MySQL Database Wizard
- Under Step 1: Create A Database, type in a database name and click Next Step
- Under Step 2: Create Database Users, type in a username and password and click Create User
- Under Step 3: Add user to the database, tick the privileges you want to give the user
- You can tick ALL PRIVILEGES to have full control over the database
- Under Step 4: Complete the Task, click Return Home
- You have now created a database and user
Upload your database
- If you already have a database and want to transfer it to your cPanel, download your database from your current website host onto your computer
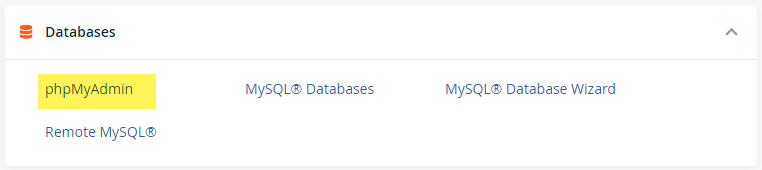
- In the cPanel main menu click phpMyAdmin
- On the left-hand side of the screen click on the database you just created
- Click Import

- Under File to import click Choose file
- Select the database file from your computer and click Open
- Click Go
- A green box and tick will appear saying Import has been successfully finished, [number] queries executed. (filename)
Connect your database
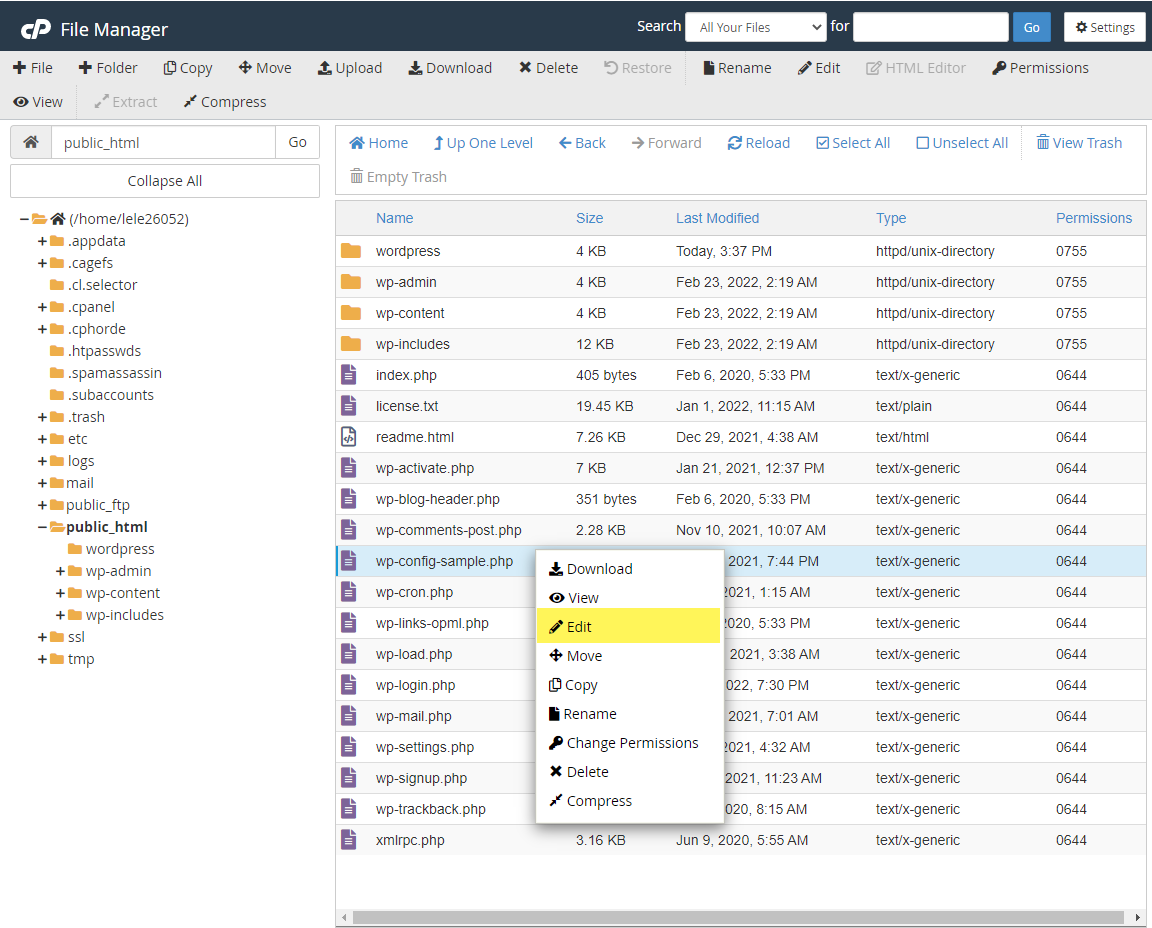
If you have imported your database you will need to connect it to your website.- In the cPanel main menu click File Manager
- On the left-hand side of the screen, click the public_html folder
- Right-click (command-click for Mac) the configuration file and click Edit (your configuration file may look different to the below. The below is a WordPress website)
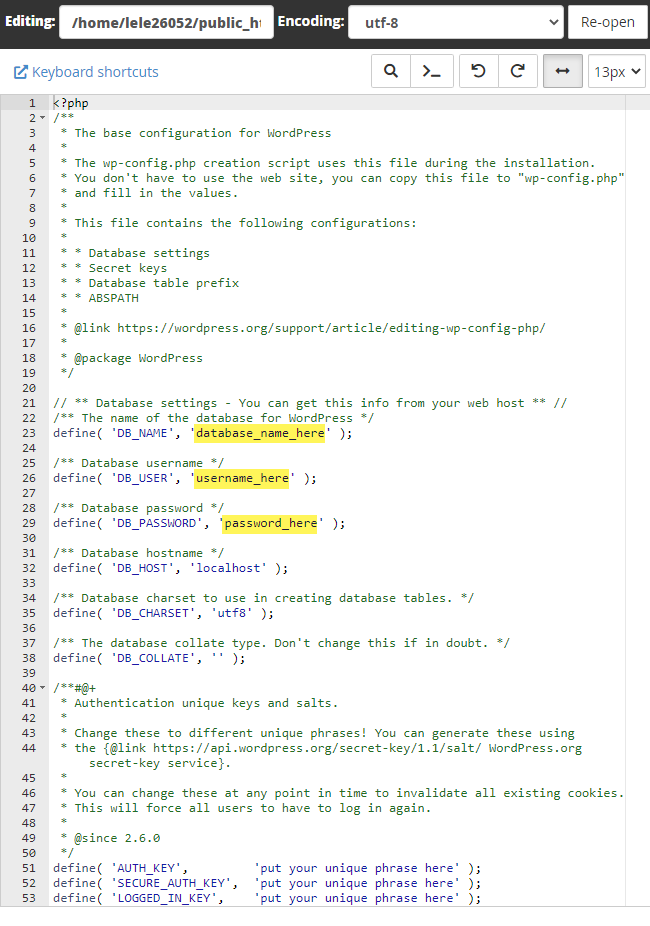
- The Edit menu will appear, click Edit
- Where you see your current database name, username and password delete it and write your new database name, username, and password (the one you just created in cPanel)
- Click Save Changes
- Click Close
- Your database is now connected to your website