> ## Documentation Index
> Fetch the complete documentation index at: https://support.webcentral.au/llms.txt
> Use this file to discover all available pages before exploring further.
# Managing DNS settings in the Hosting Panel
> Learn how to manage DNS settings for a domain in the Webcentral Hosting Panel. Note that this article currently only applies to domains purchased from Webcentral that do not have an associated hosting product (standalone domains).
This article describes how to manage DNS settings for a domain in the Webcentral Hosting Panel.
This article only applies to domains purchased from **Webcentral** that do **not** have an associated hosting product. (In other words, a standalone domain, such as one used only for email hosting services.)
To manage DNS settings for your domain, follow these steps:
1. Log in to the Hosting Panel at [https://theconsole.webcentral.au](https://theconsole.webcentral.au).
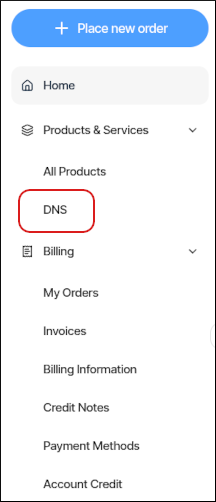
2. In the left sidebar, under **Products & Services**, click **DNS**:
3. If you previously created a zone for your domain, in the **Select a domain** list box, select your domain, and then click **Manage Domain**. Go to step 5.
4. If you have not created a zone previously for your domain, the **Create a new zone** dialog appears:
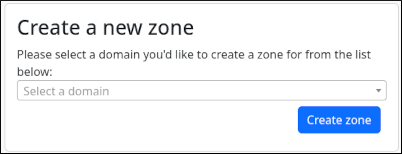
* In the **Select a domain** list box, select your domain, and then click **Create zone**.
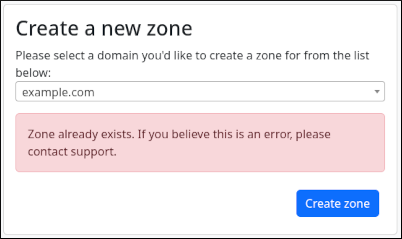
If you click **Create zone** and receive a **Zone already exists** message, then the domain you selected already has a DNS zone on our nameservers. Most likely the domain is associated with a hosting product and is not a standalone domain:
5. The **DNS Editor** tab appears for the domain:

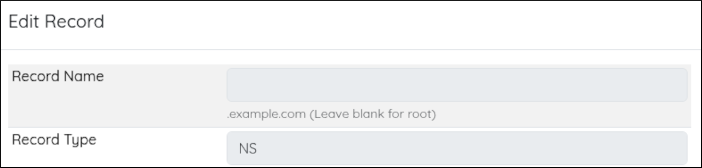
* To edit an existing record in the zone, click **Edit**, make your changes, and then click **Save Changes**:
* To delete an existing record in the zone, click **Delete**.
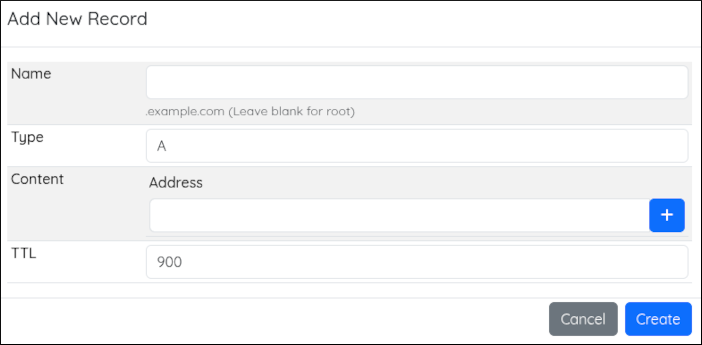
* To add a new record to the zone, click **Add New Record**, and then click **Create**:
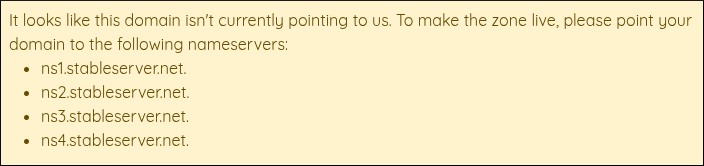
If you receive a **It looks like this domain isn't currently pointing to us** message, then your domain's nameservers are pointed to another provider. For your DNS changes in the Hosting Panel to take effect, you must update the nameservers for your domain: